Top Trends from KBB 2020

Every two years the experts from the KBB (kitchen, bedroom and bathroom) sector come together to showcase new products, designs and ideas in Birmingham’s NEC. Whilst it may not be Salone Del Mobile or London Design Week, it’s a really good indication of what the UK market is going to look like over the next year.

I have picked my 3 favourite trends to show you and what I think we can all incorporate into our homes if we want to!

Note : it was more KB than KBB this year as there was a distinct lack of bedroom stands which was a shame.

MInt (1).jpg

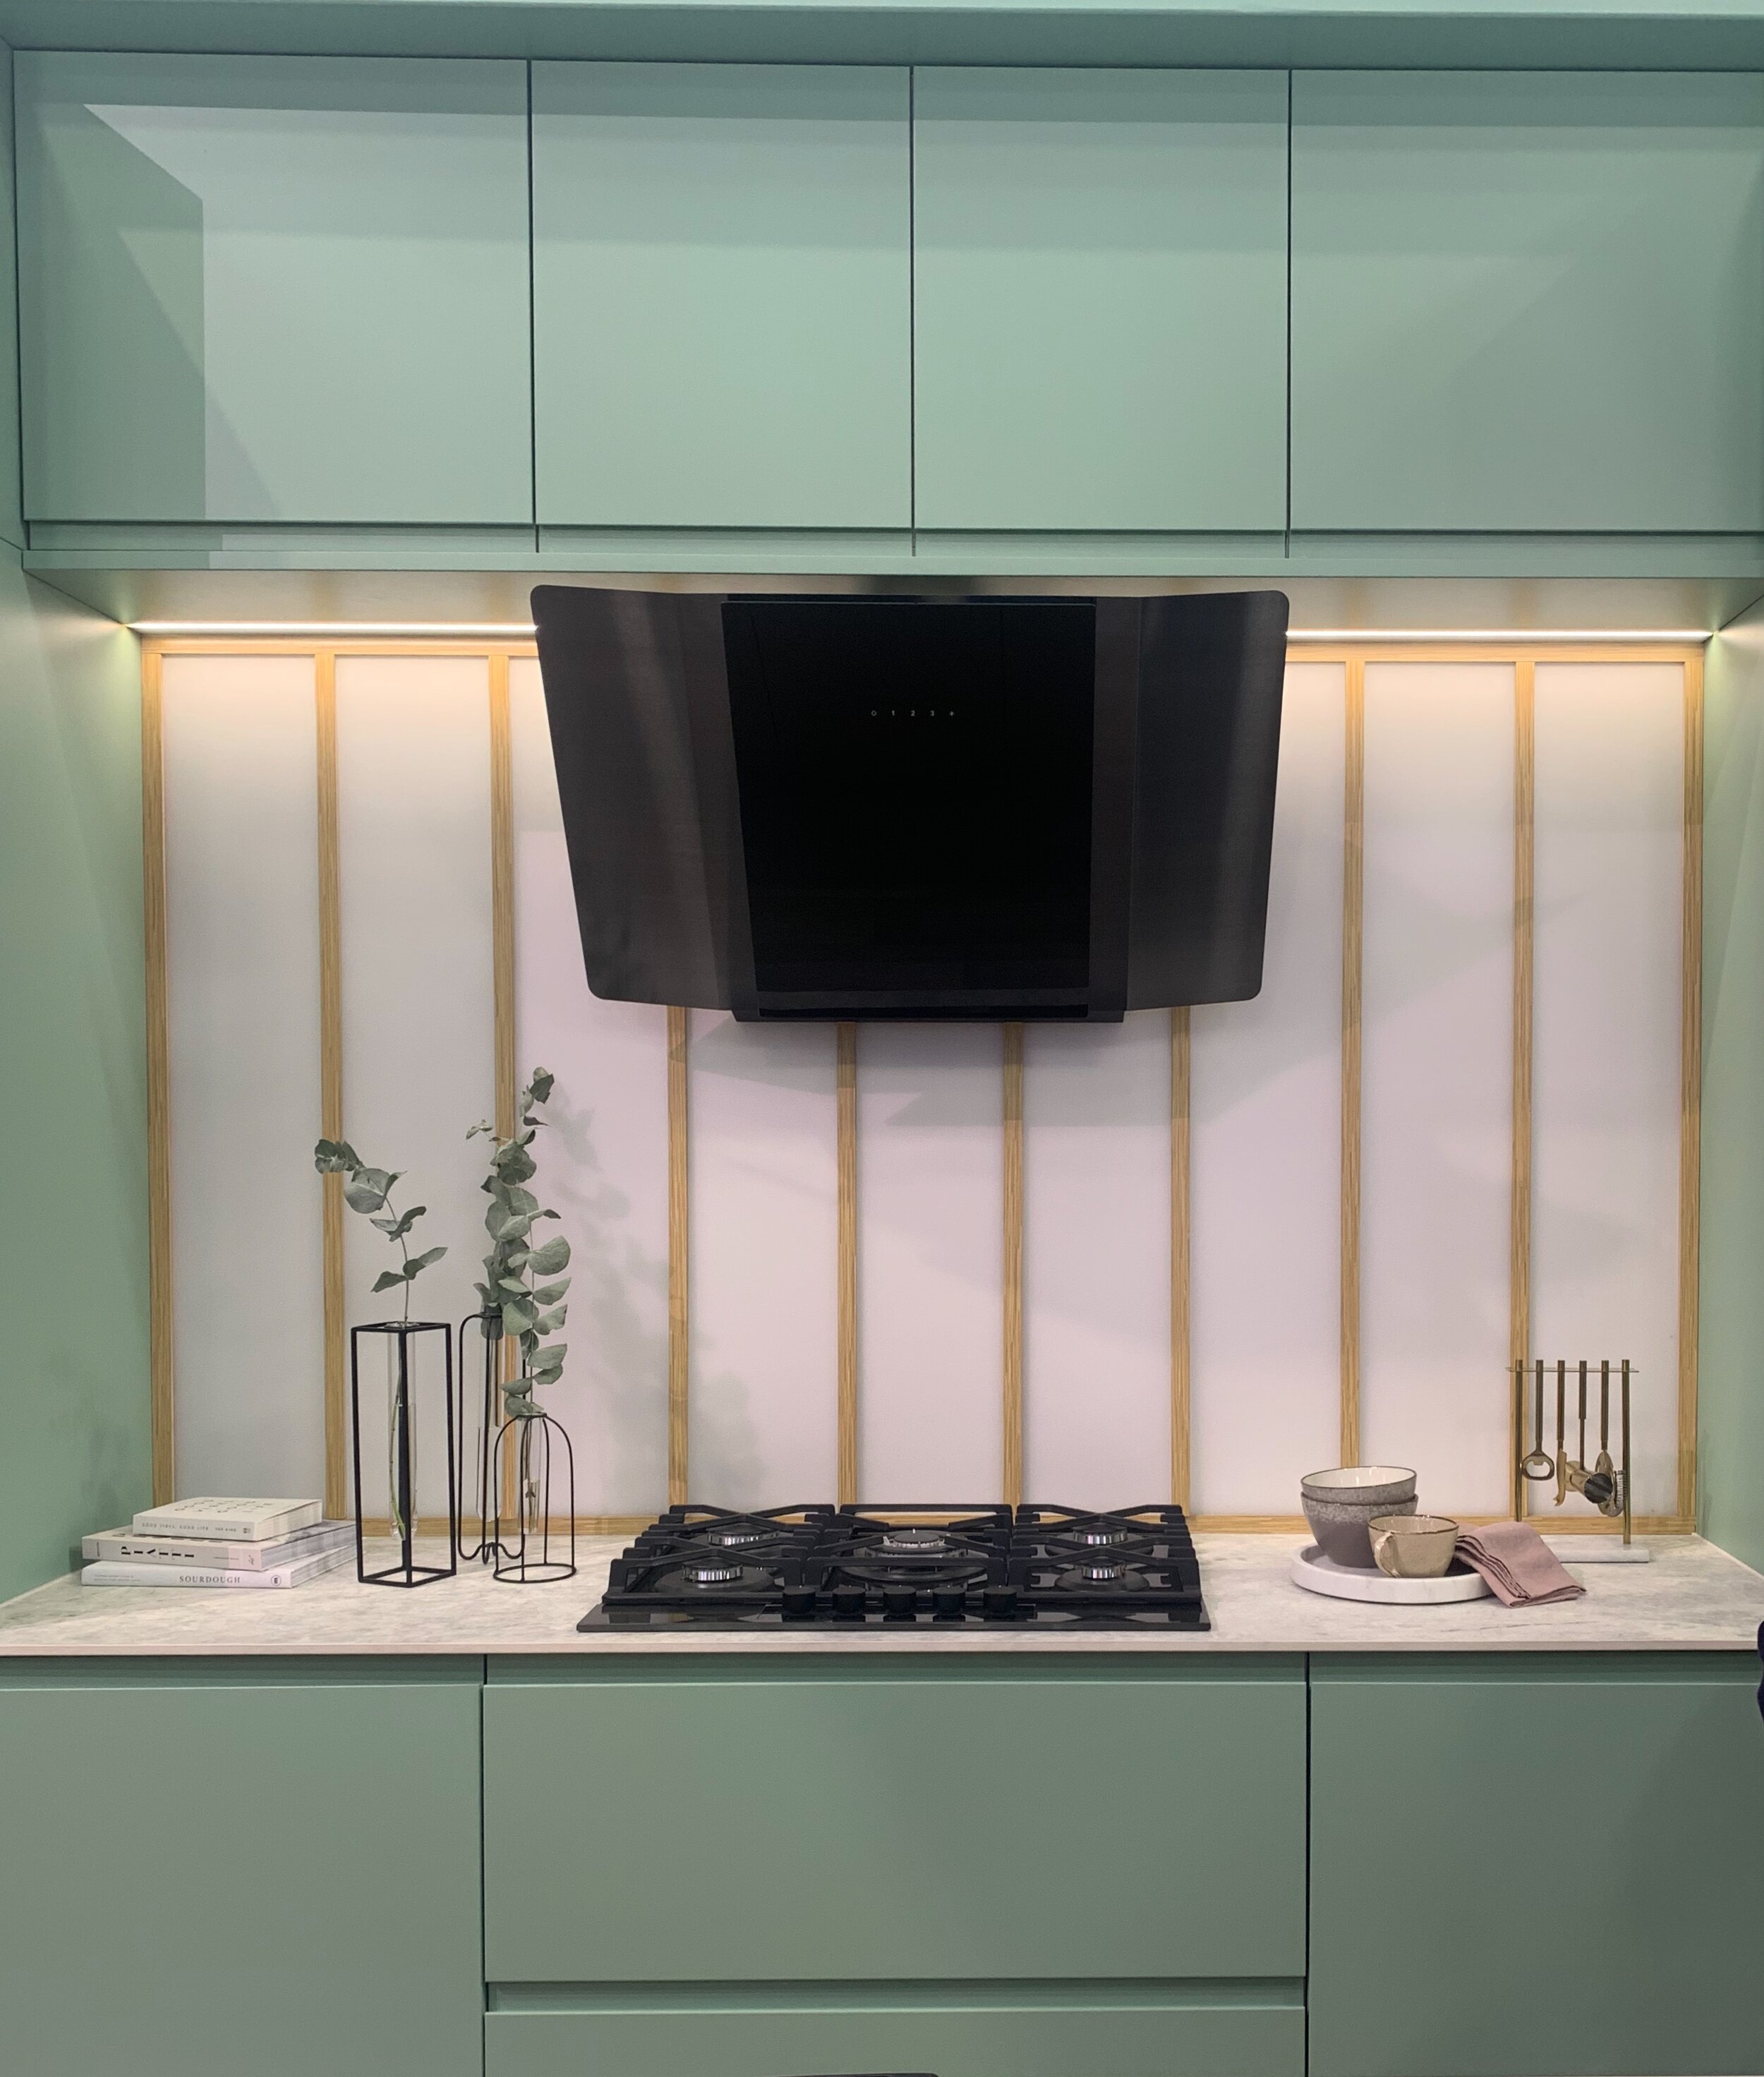
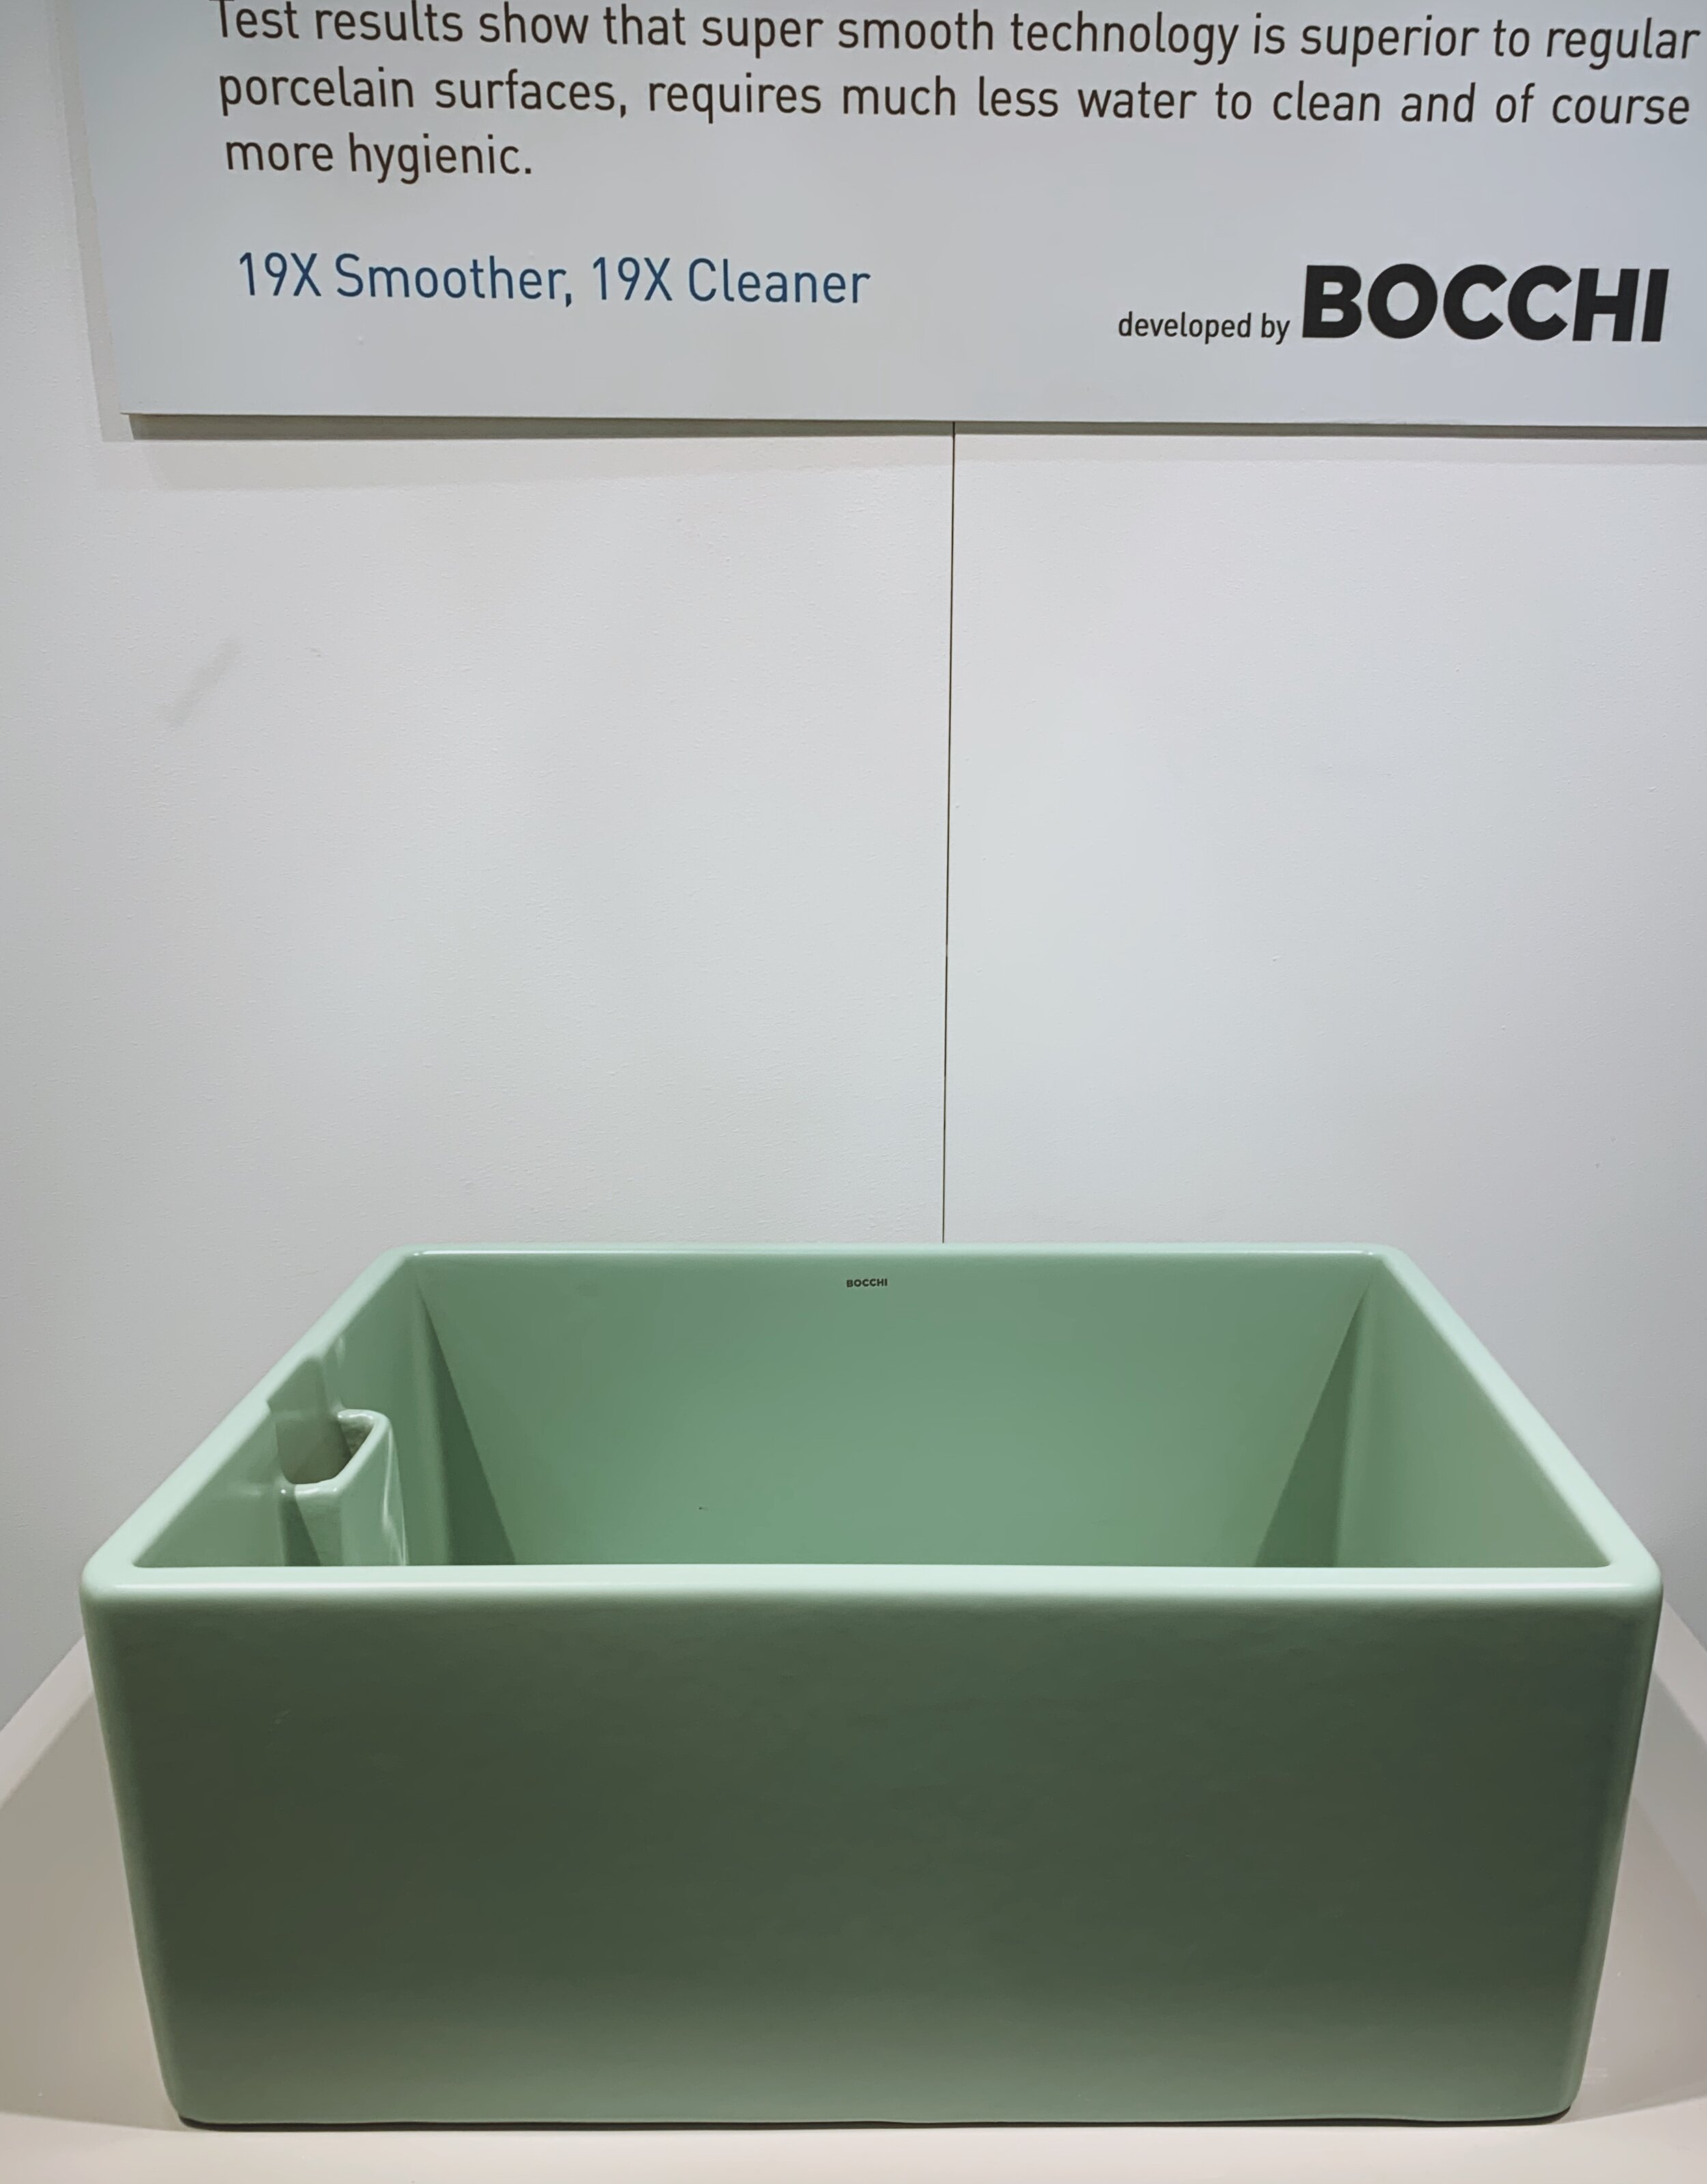
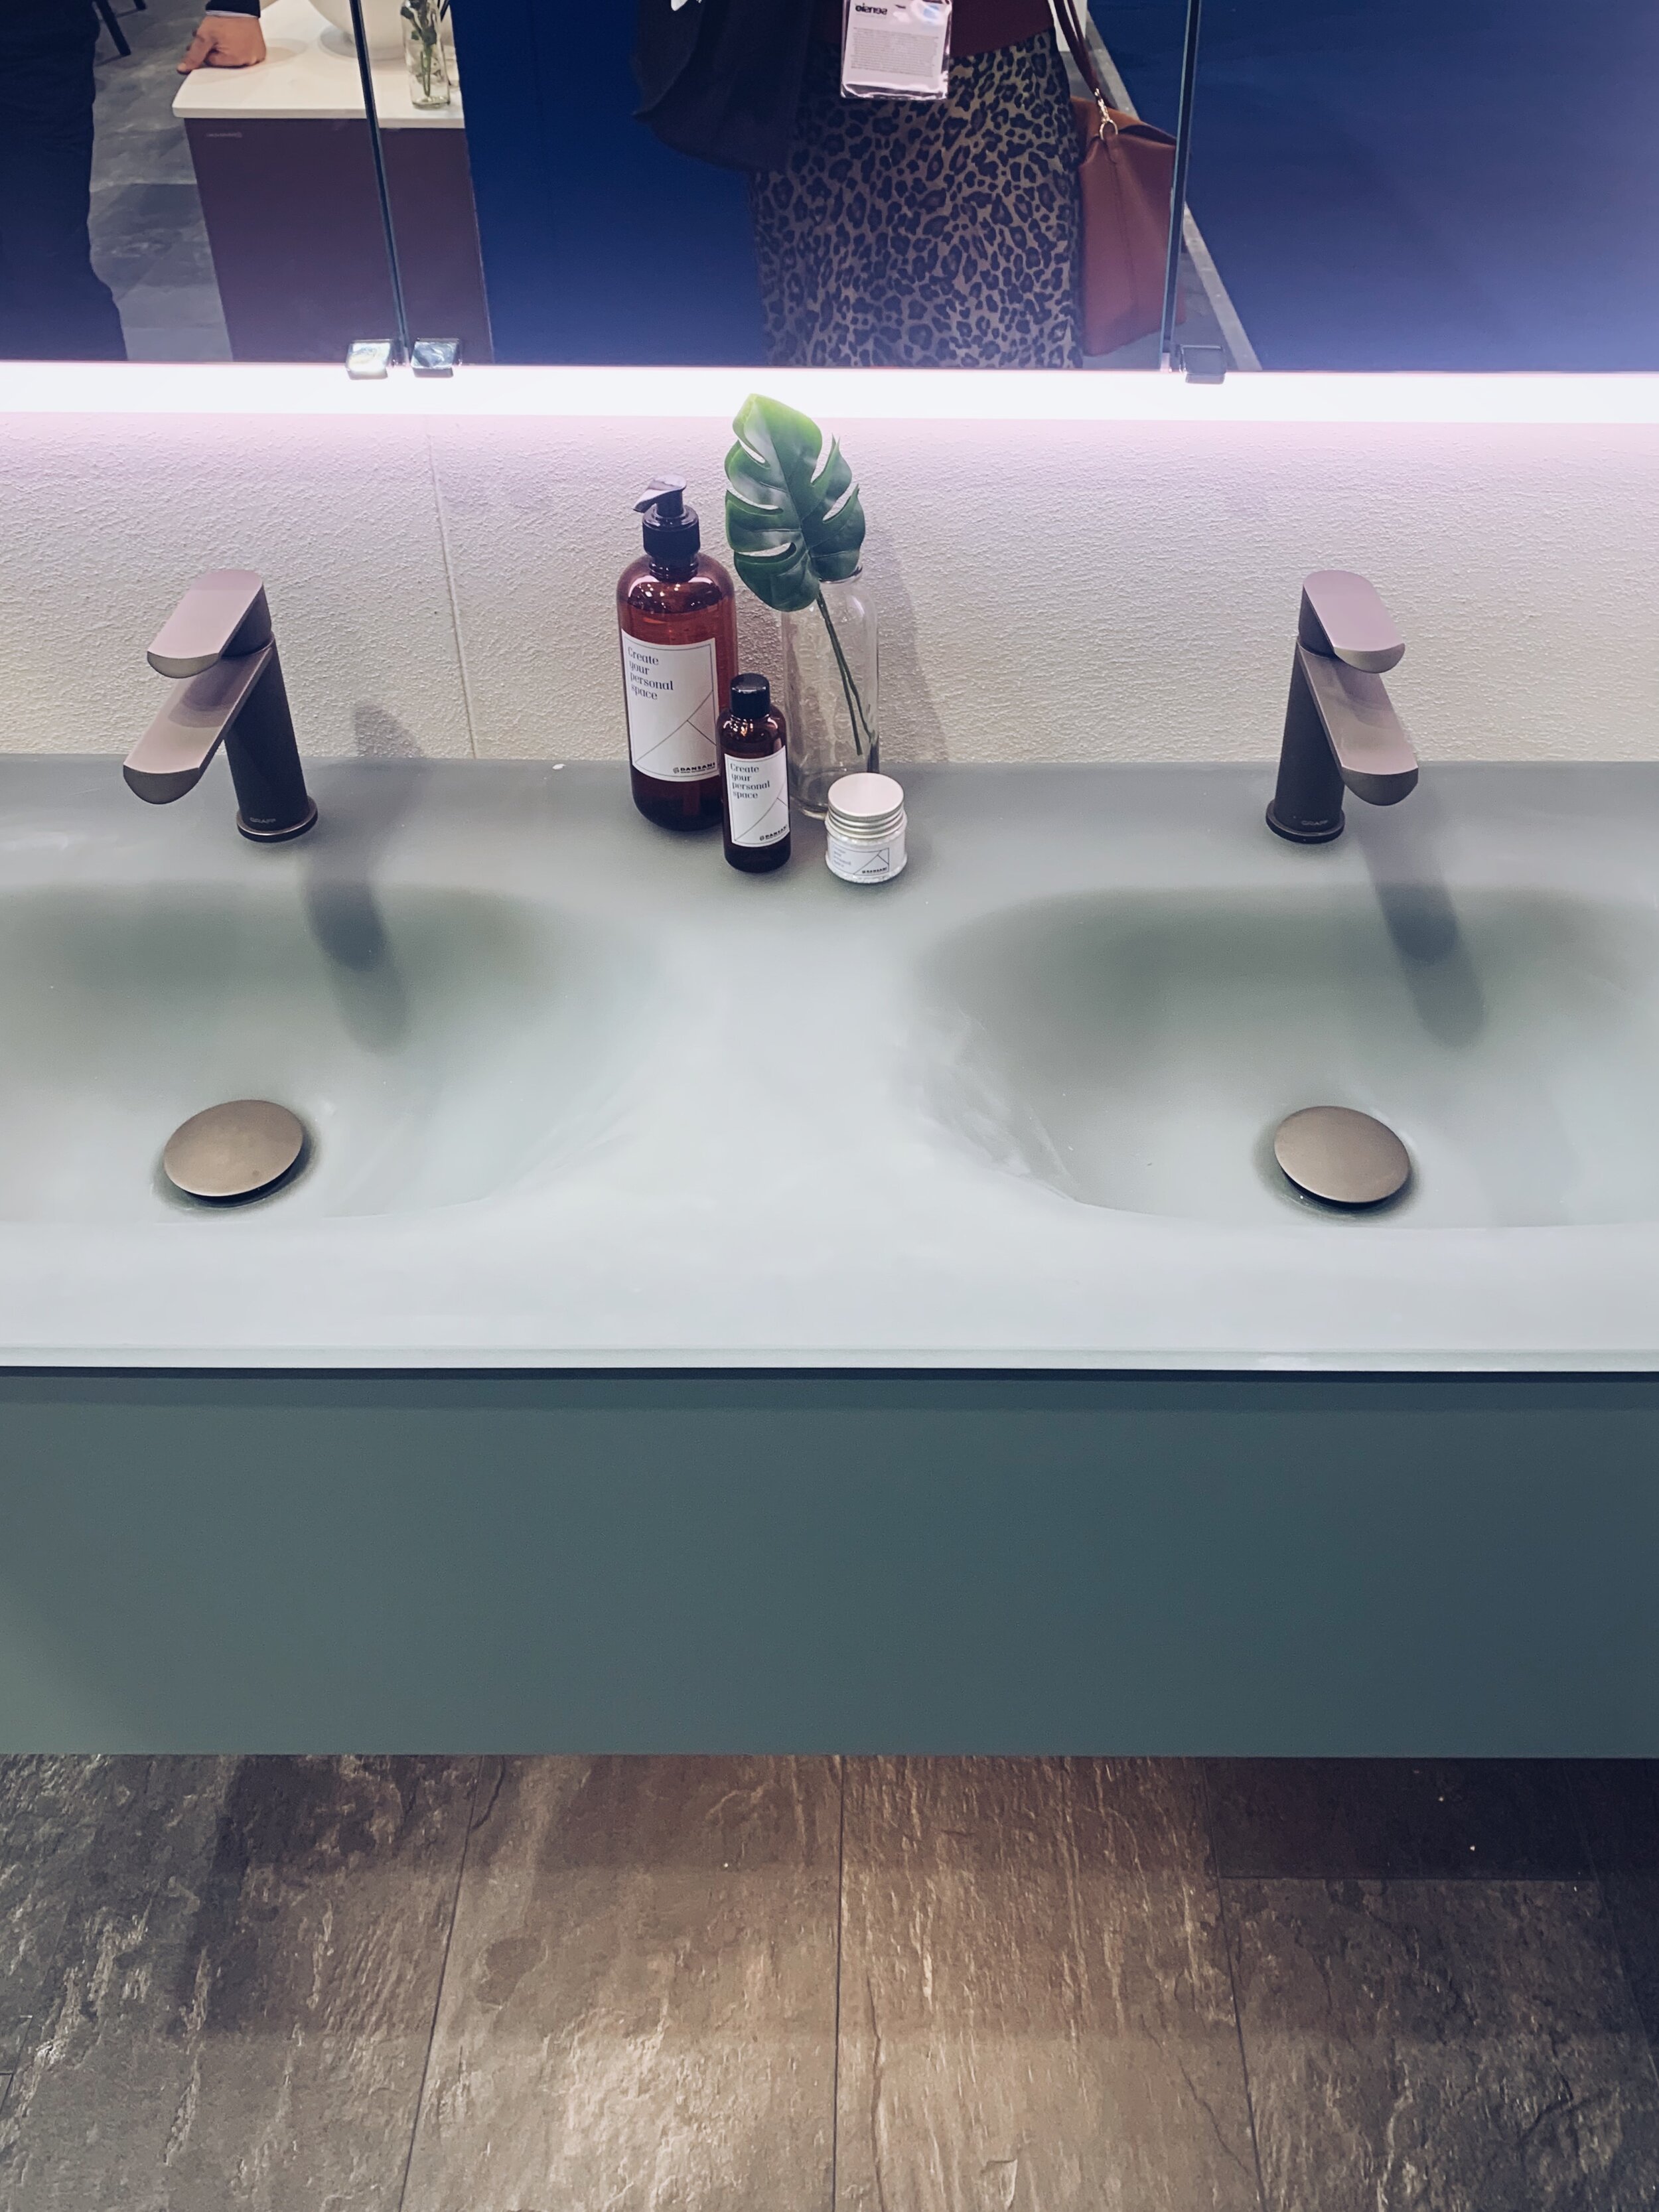
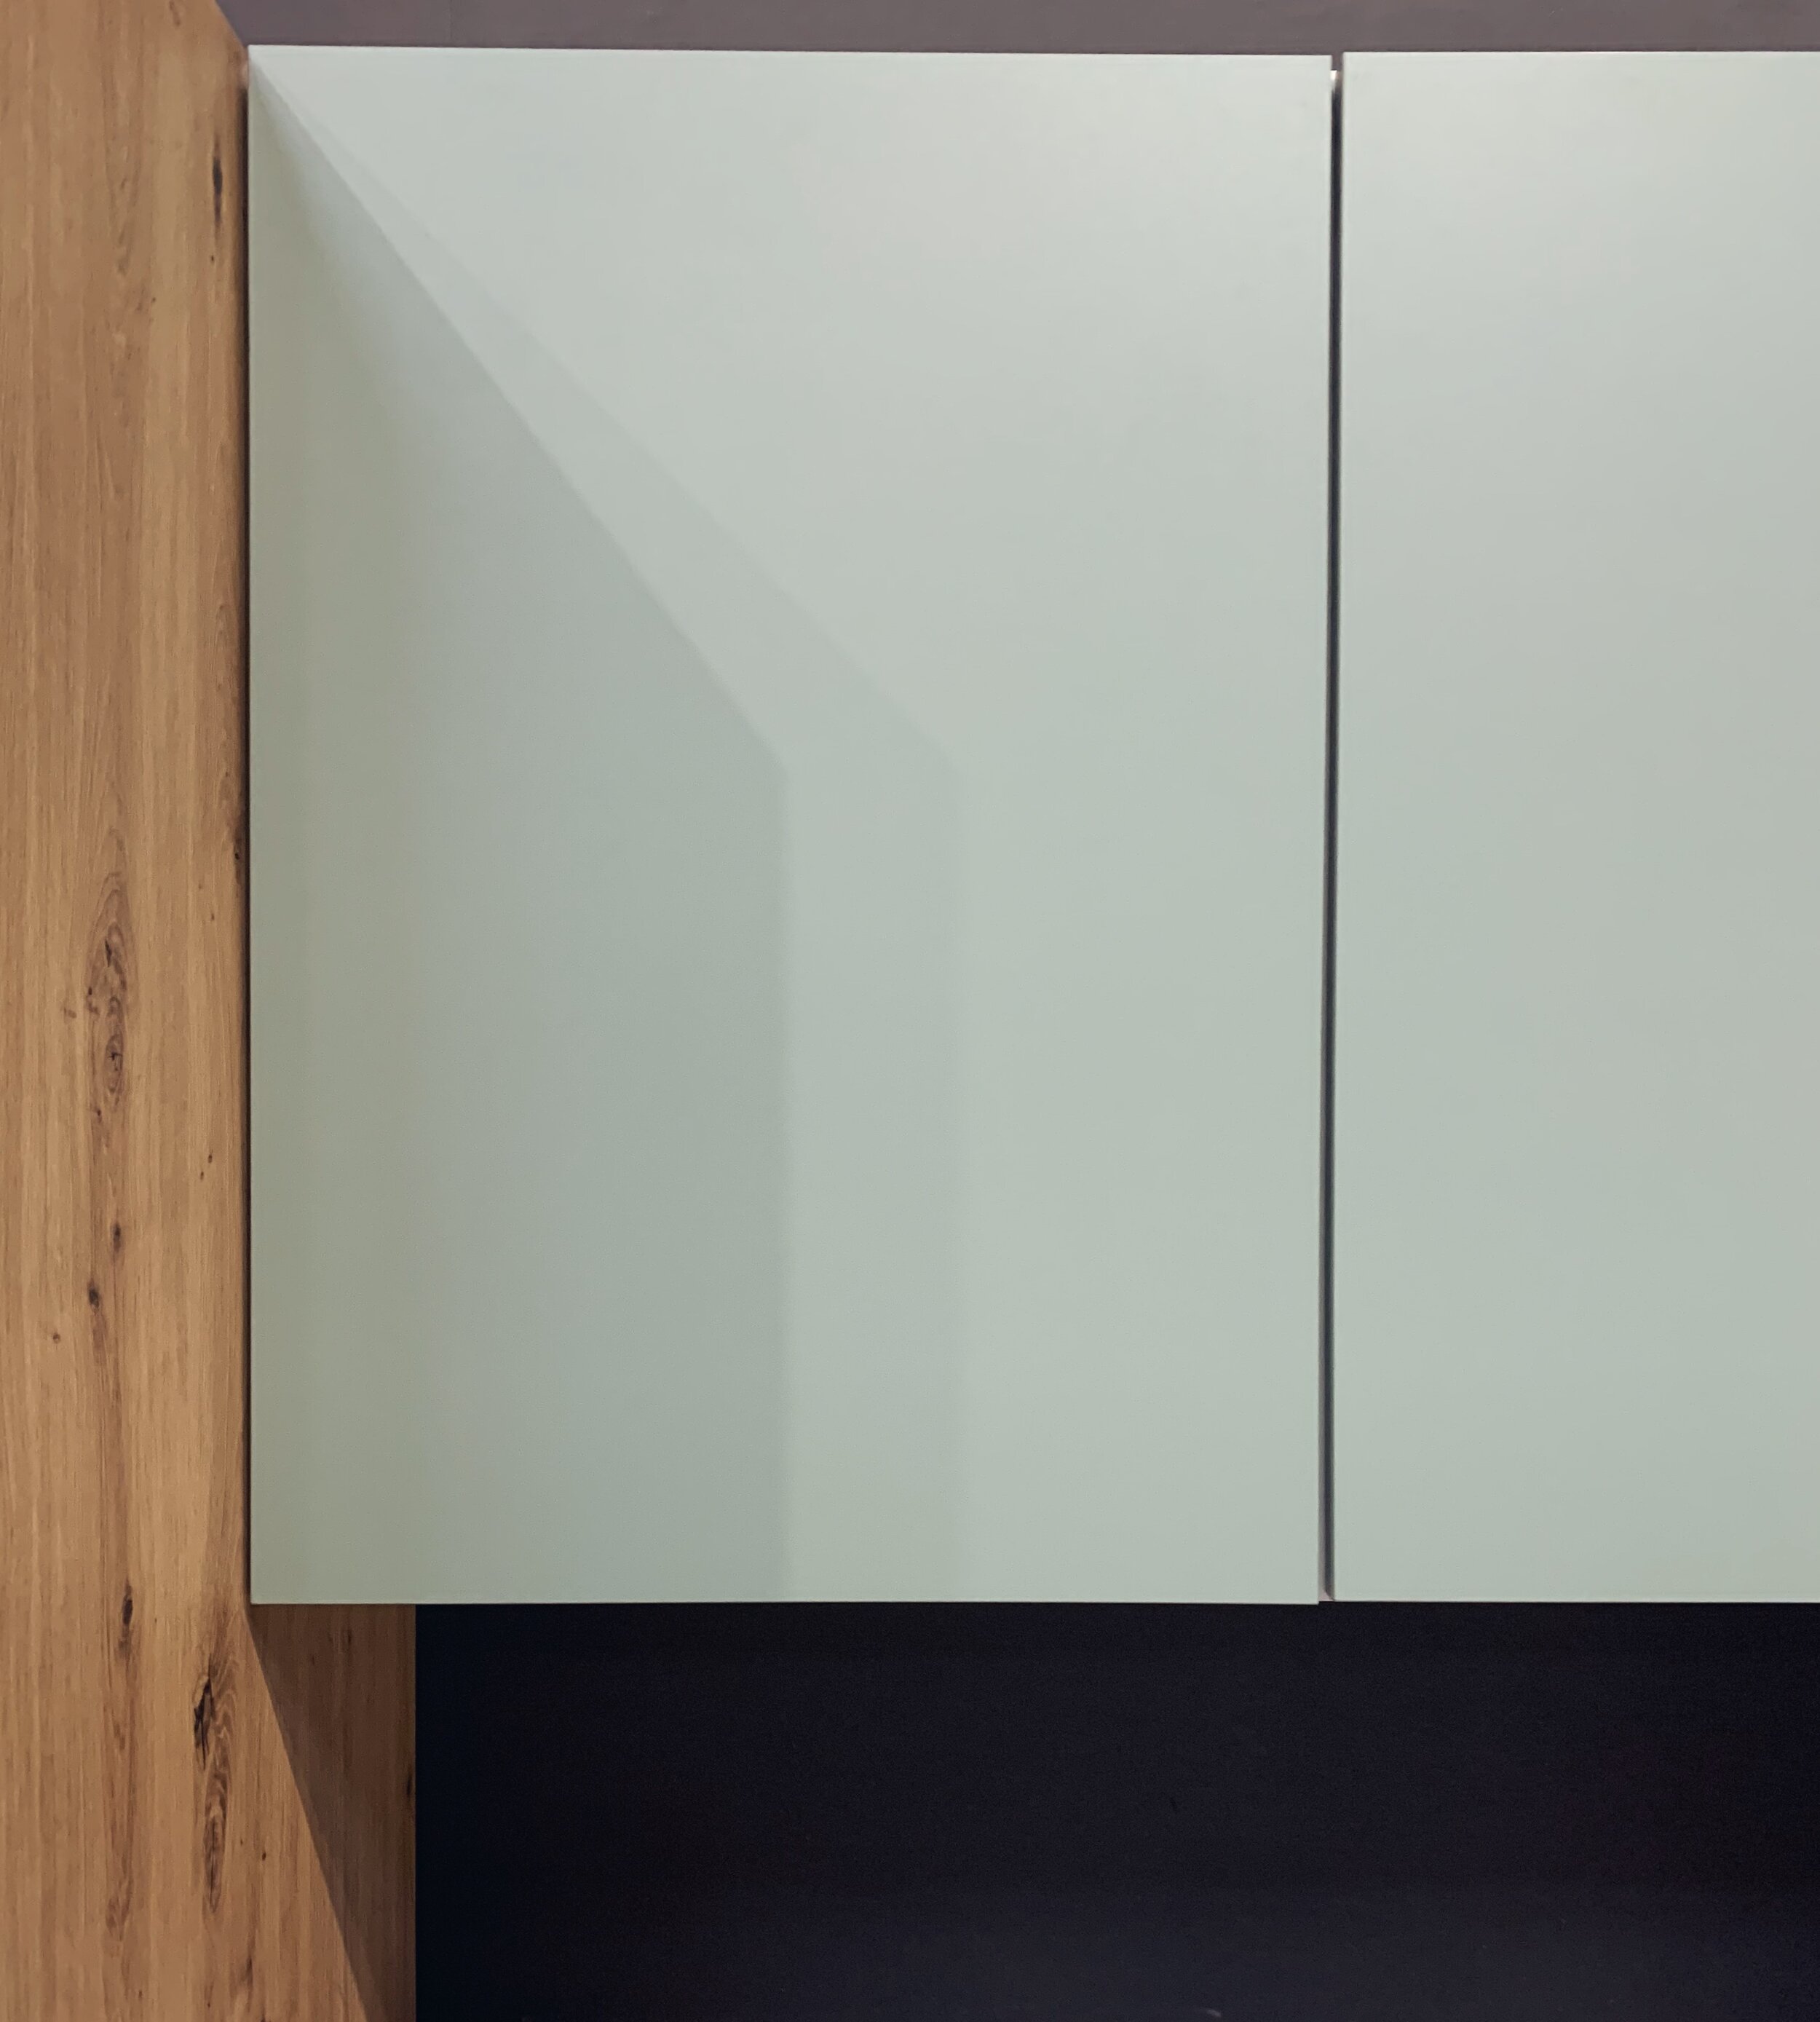
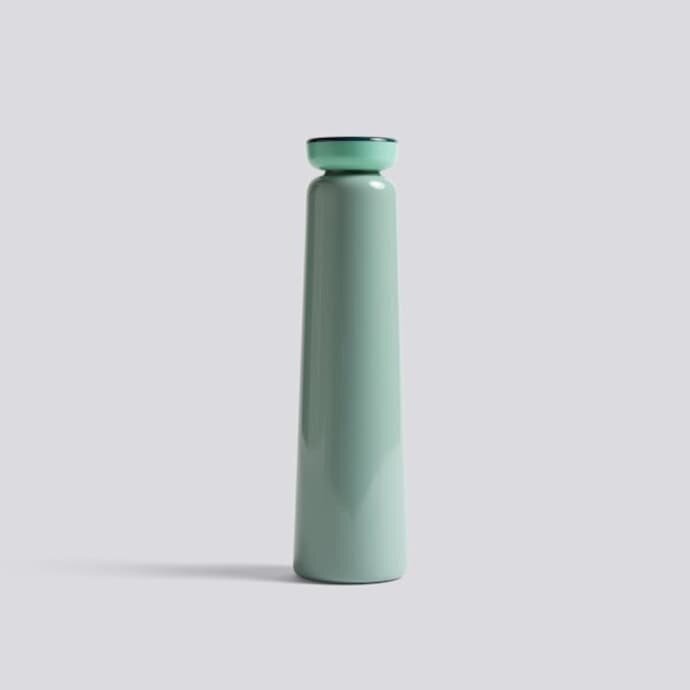
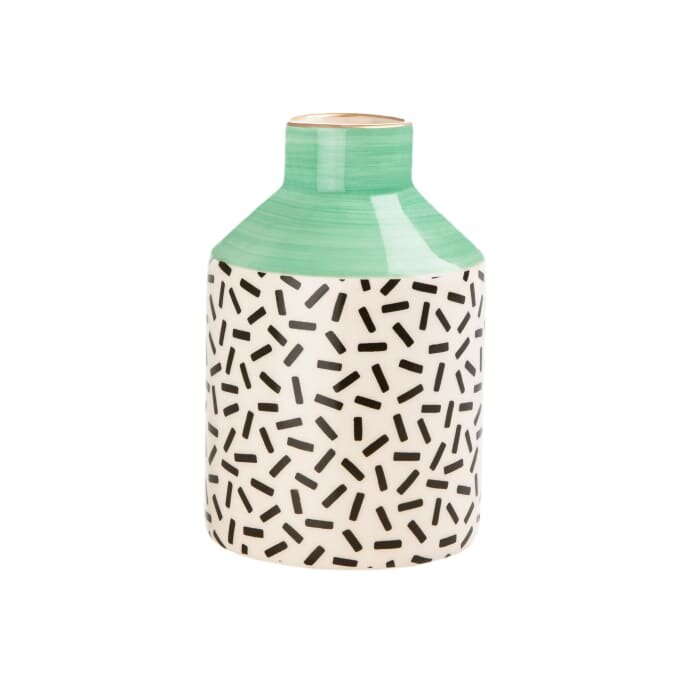
Neo-Mint has been around for a few months now but this is the first time I have seen it in the KBB sector. Dulux launched their colour of the year - Tranquil Dawn - in September 2019 and it clearly has had an impact on some companies with kitchen cupboards, basins and bathroom vanities all being showcased in mint. A lot of stands were combining the mint with a pastel pink, making it the perfect spring refresh for our homes.

If a full on mint kitchen or bathroom isn’t for you but you’d like to dabble then I have found some accessories that could work to introduce the colour in different ways.

MInt (2).jpg

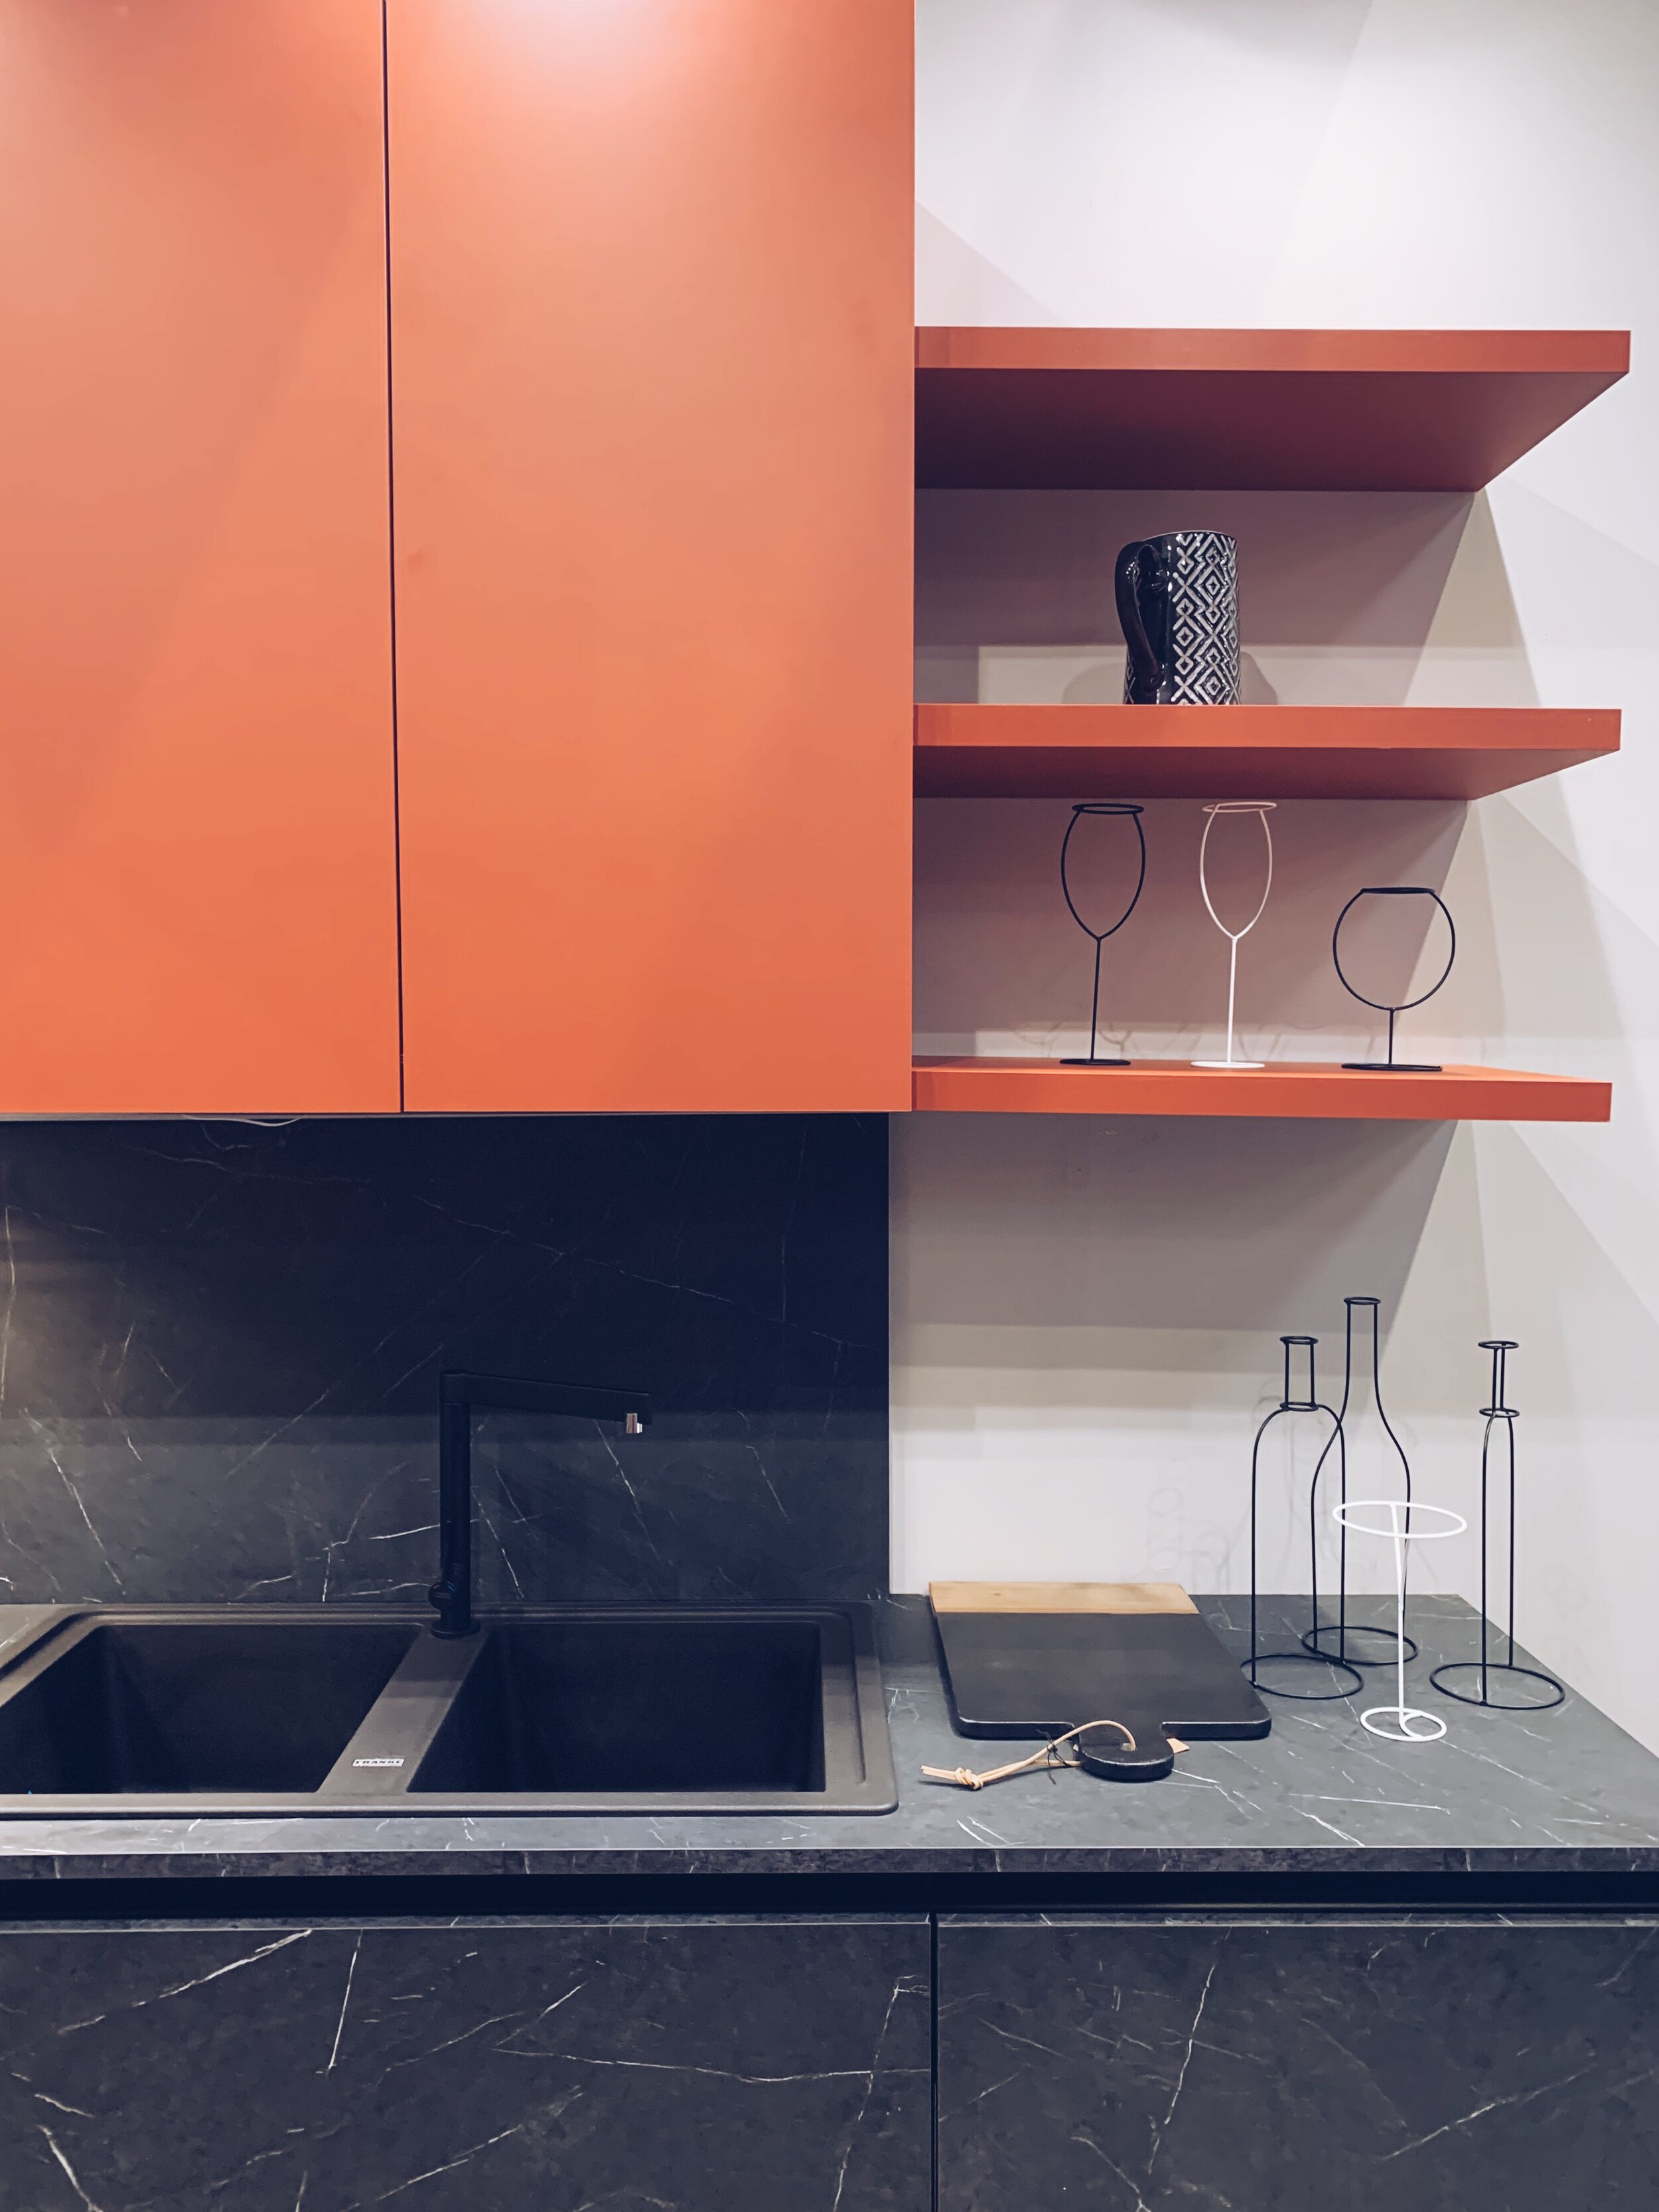
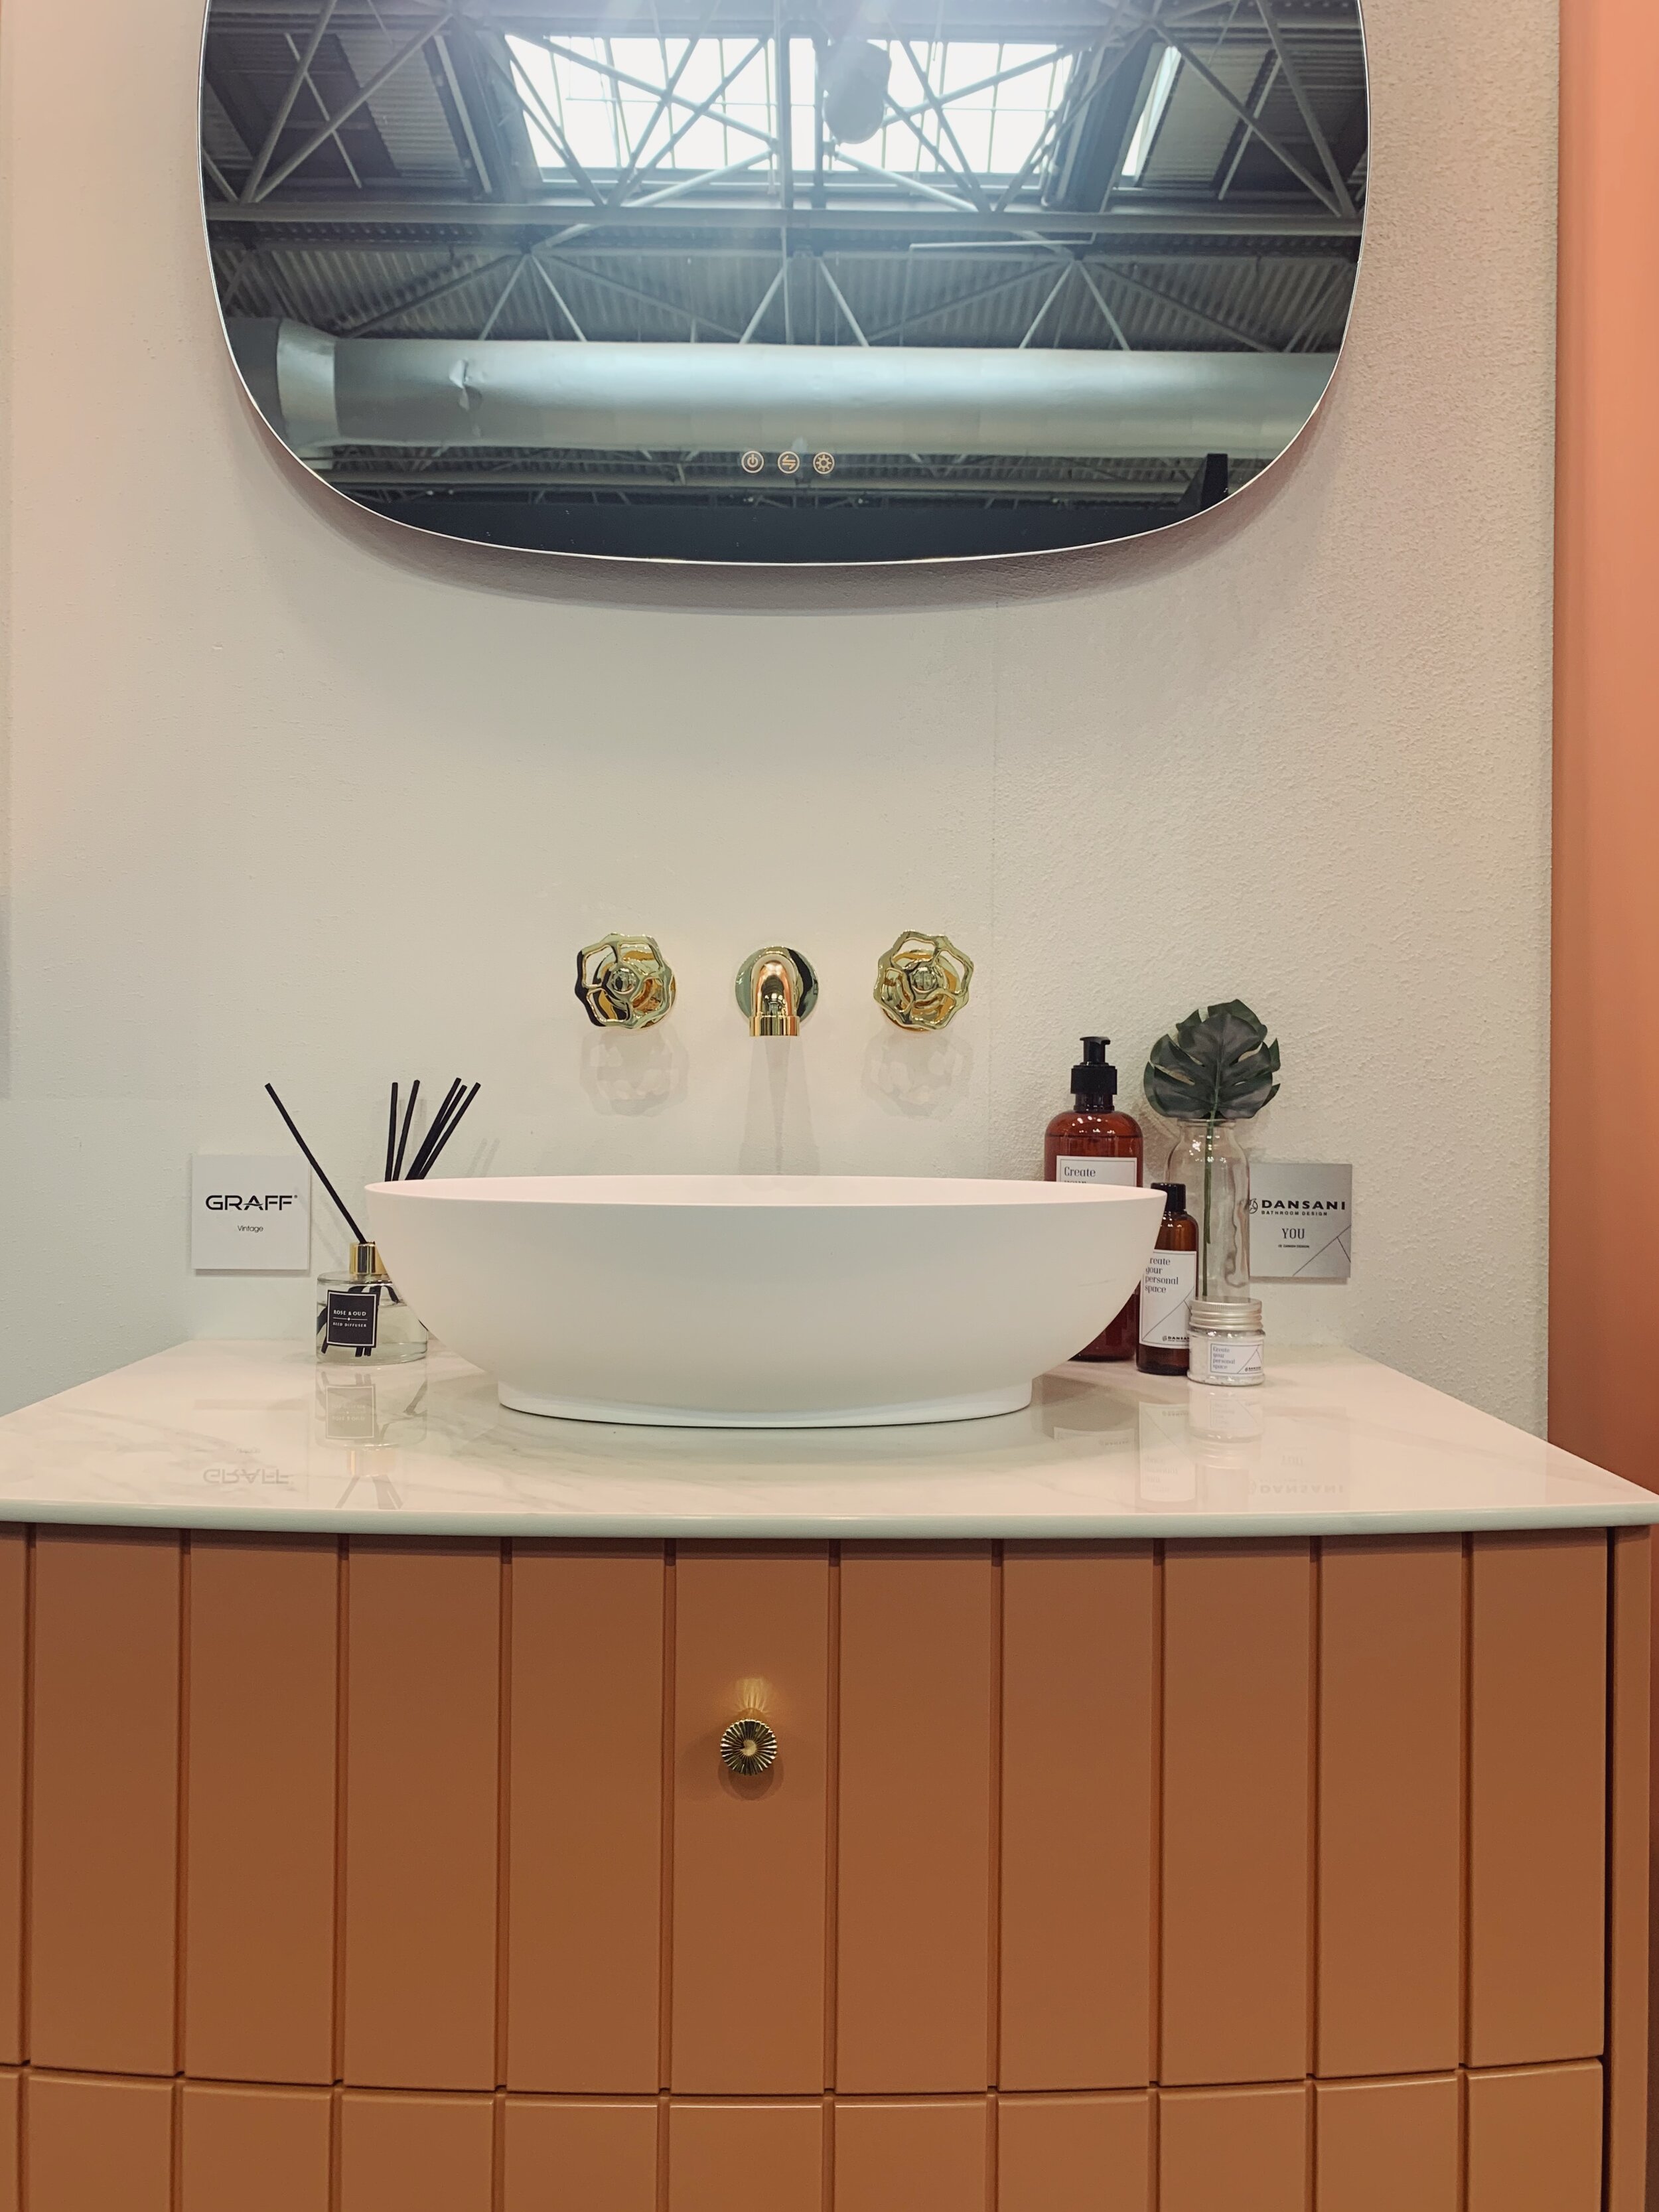
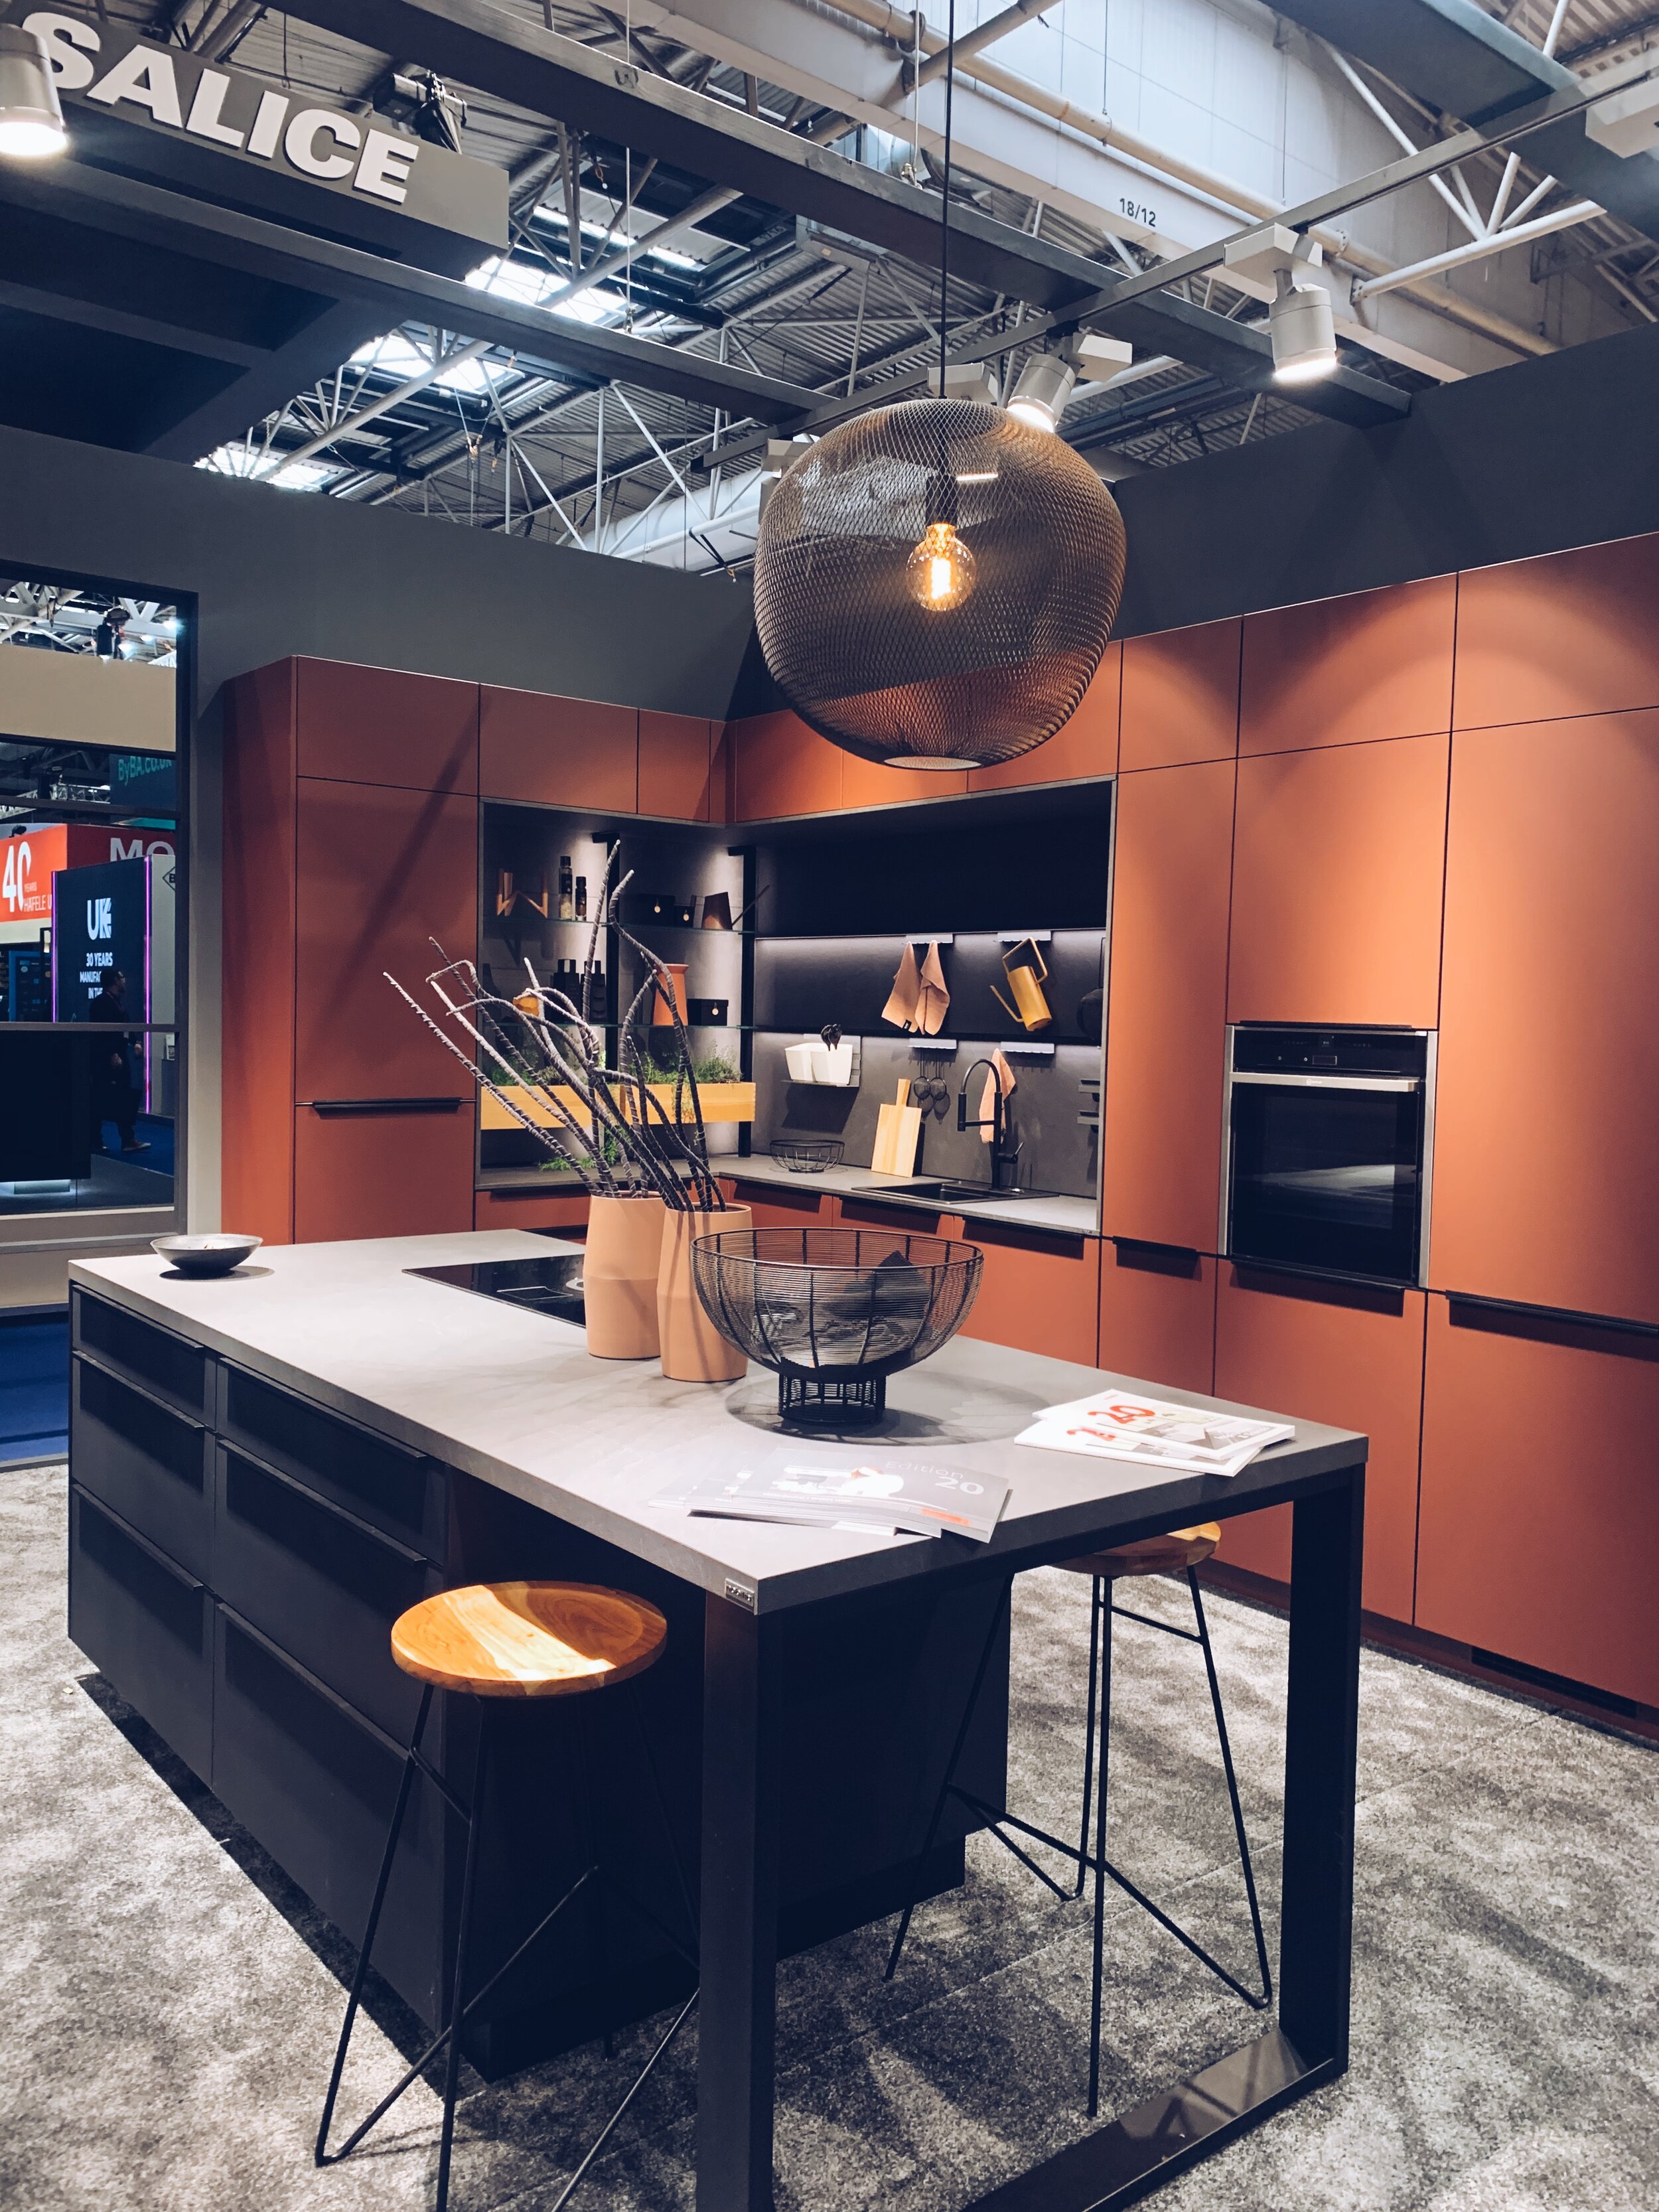
Earthly tones in a kitchen may seem like they are only for the brave but when the orange is used in small does and combined with a matt black - you can get a really sophisticated but fun design. The bathroom is a great place to start if you want to introduce a bolder colour and my new favourite find is the Danish Bathroom company who showcased some really exciting vanity colours.

Some products to try if Terracotta is floating your boat!

MInt.jpg

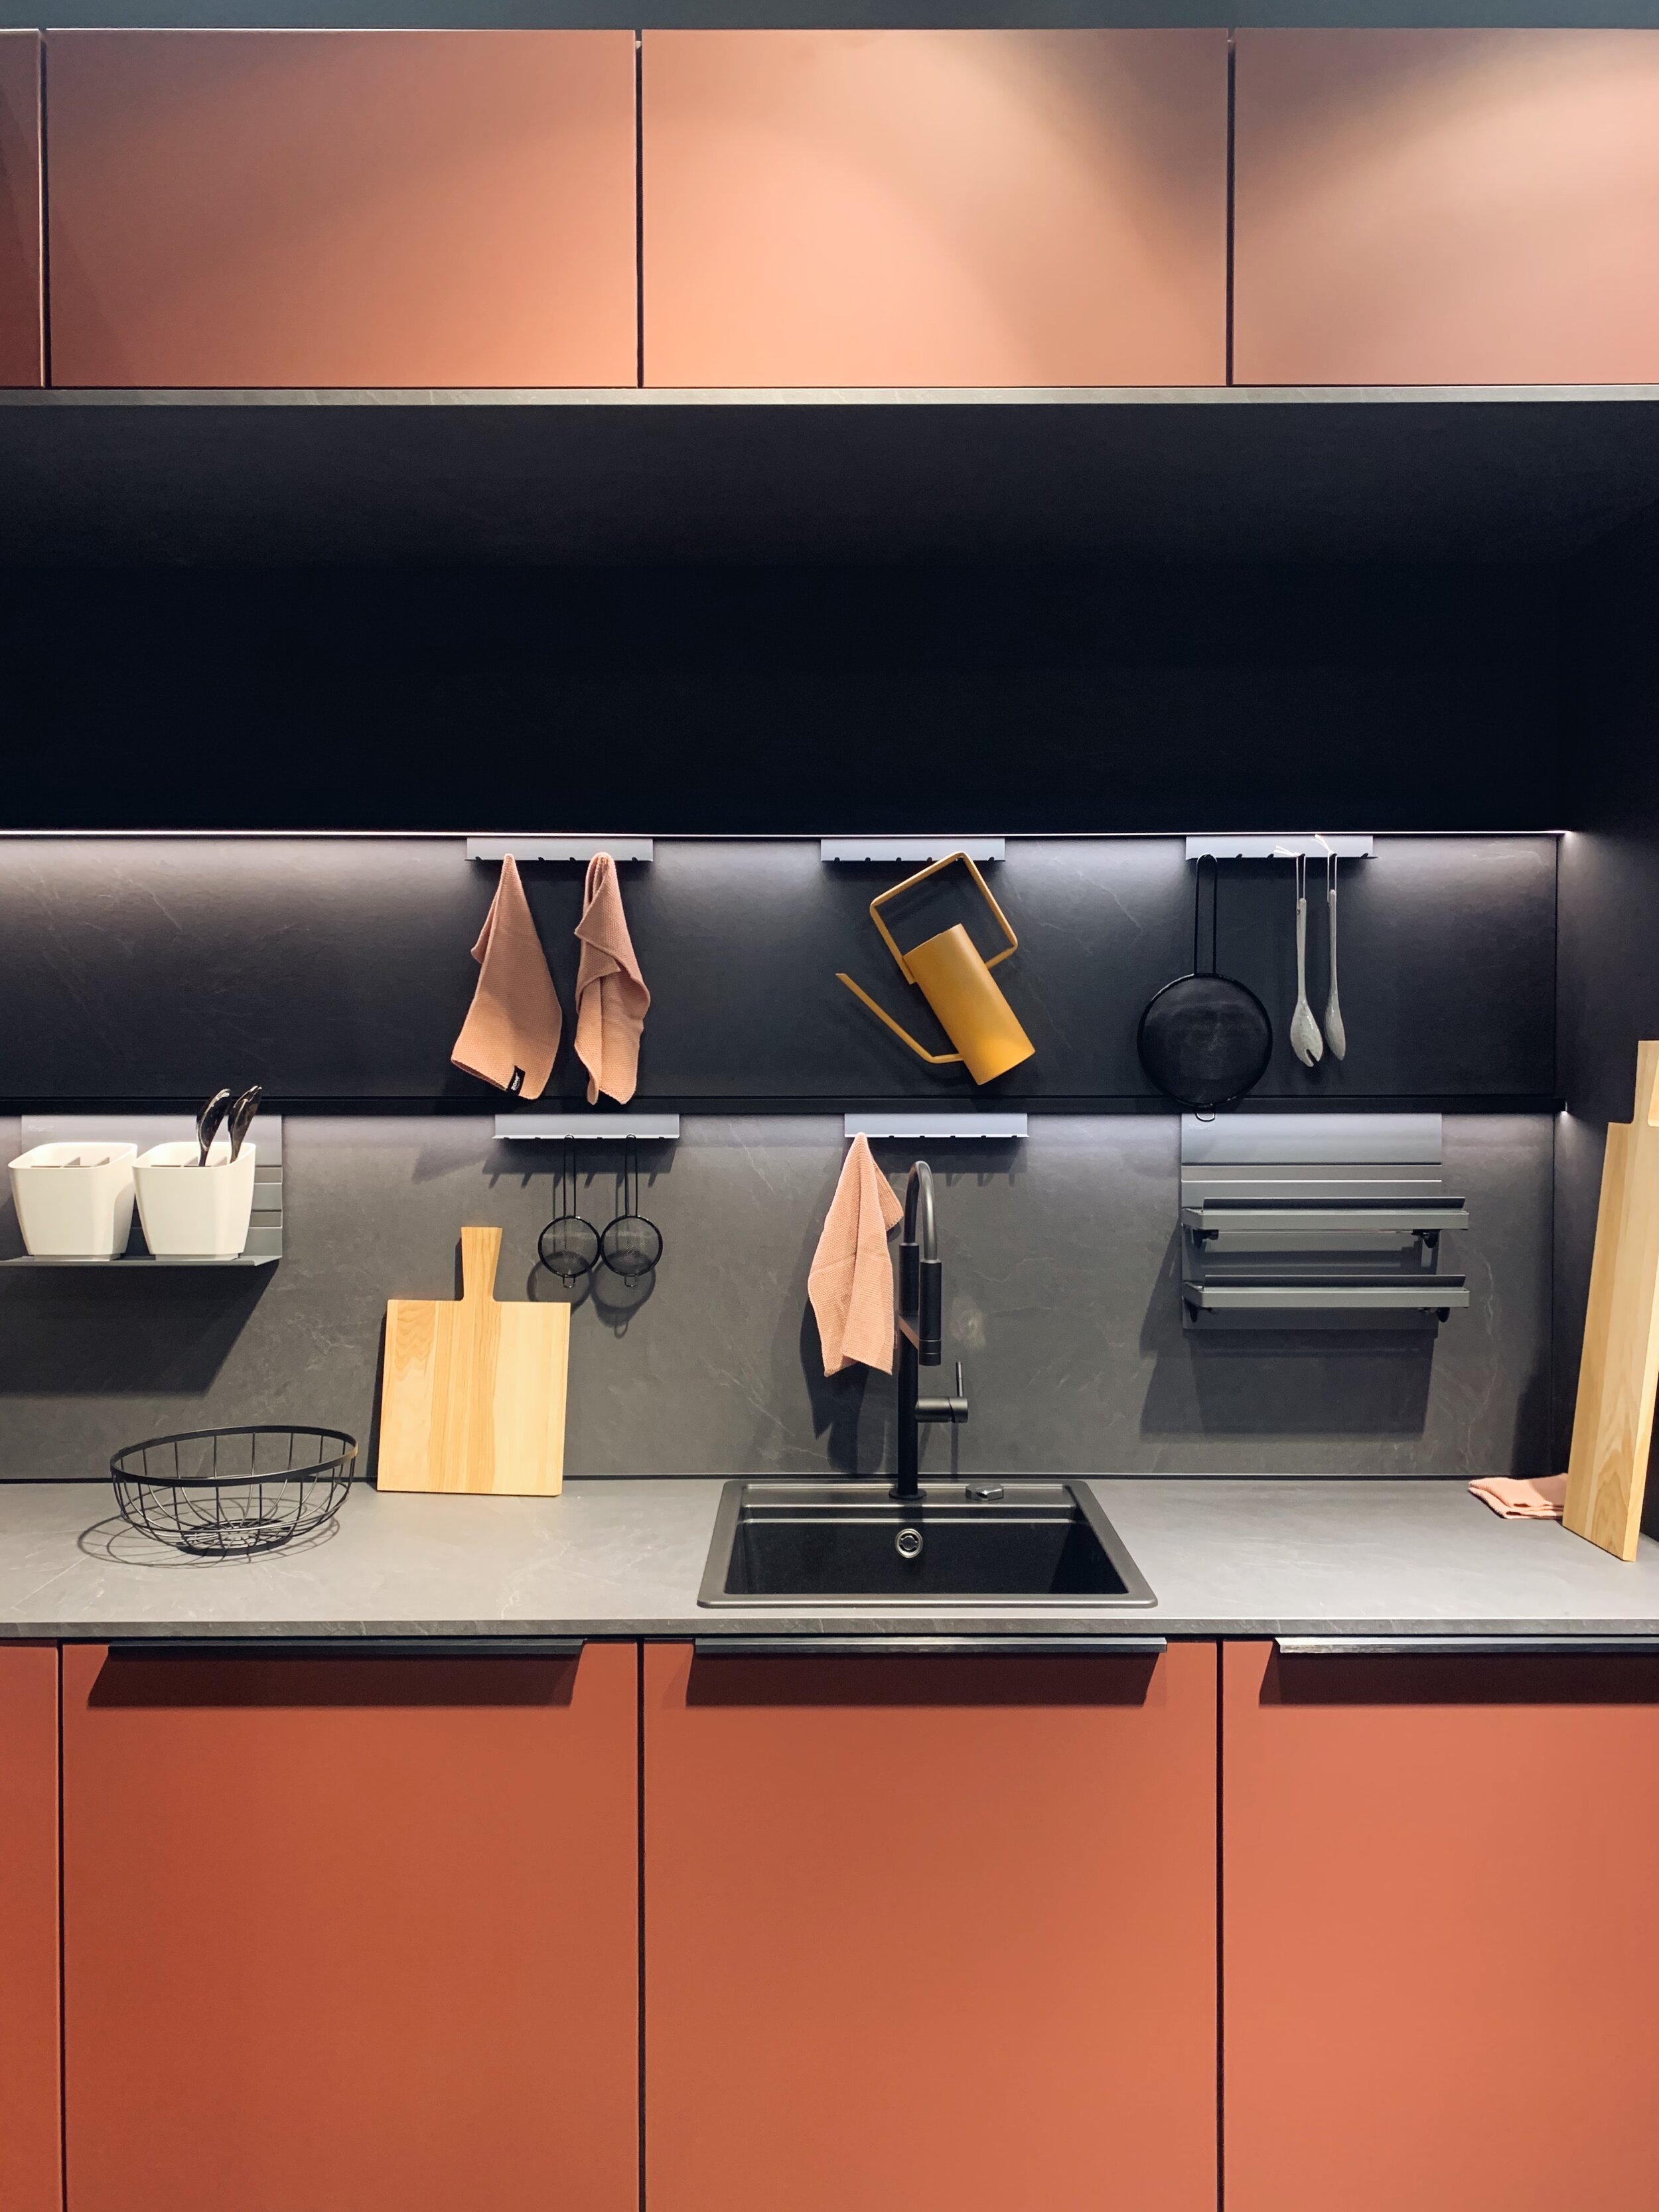
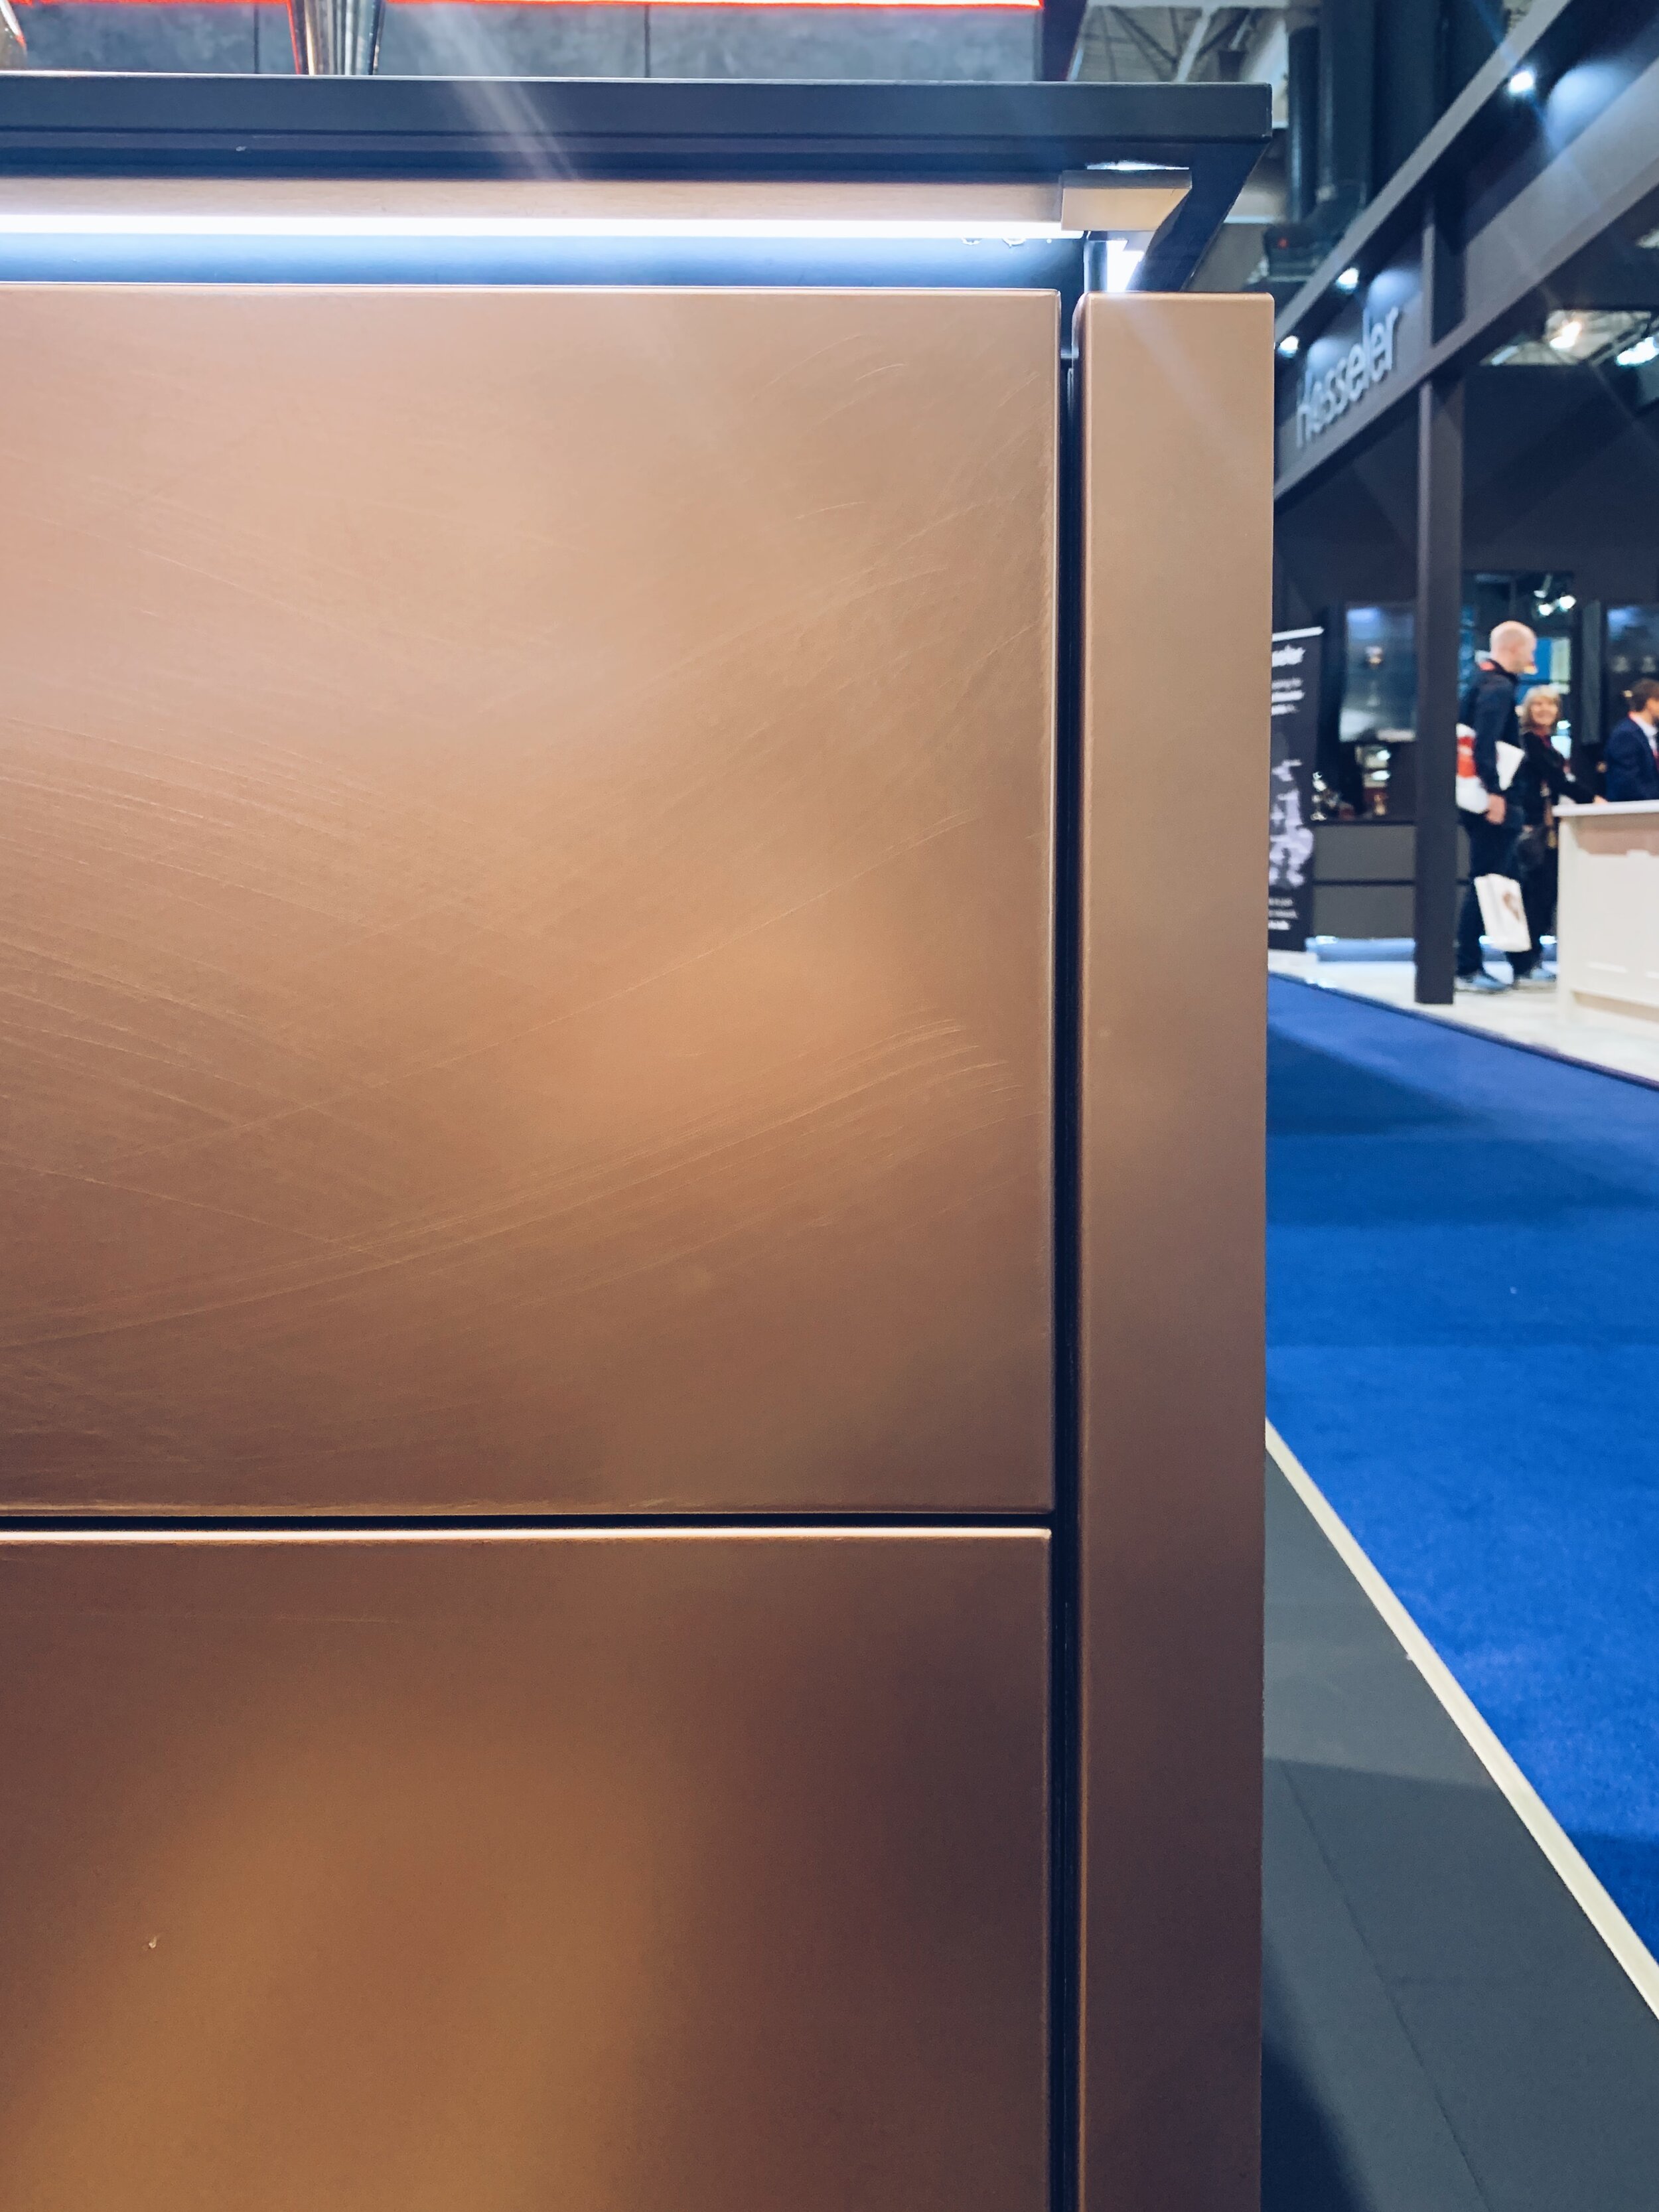
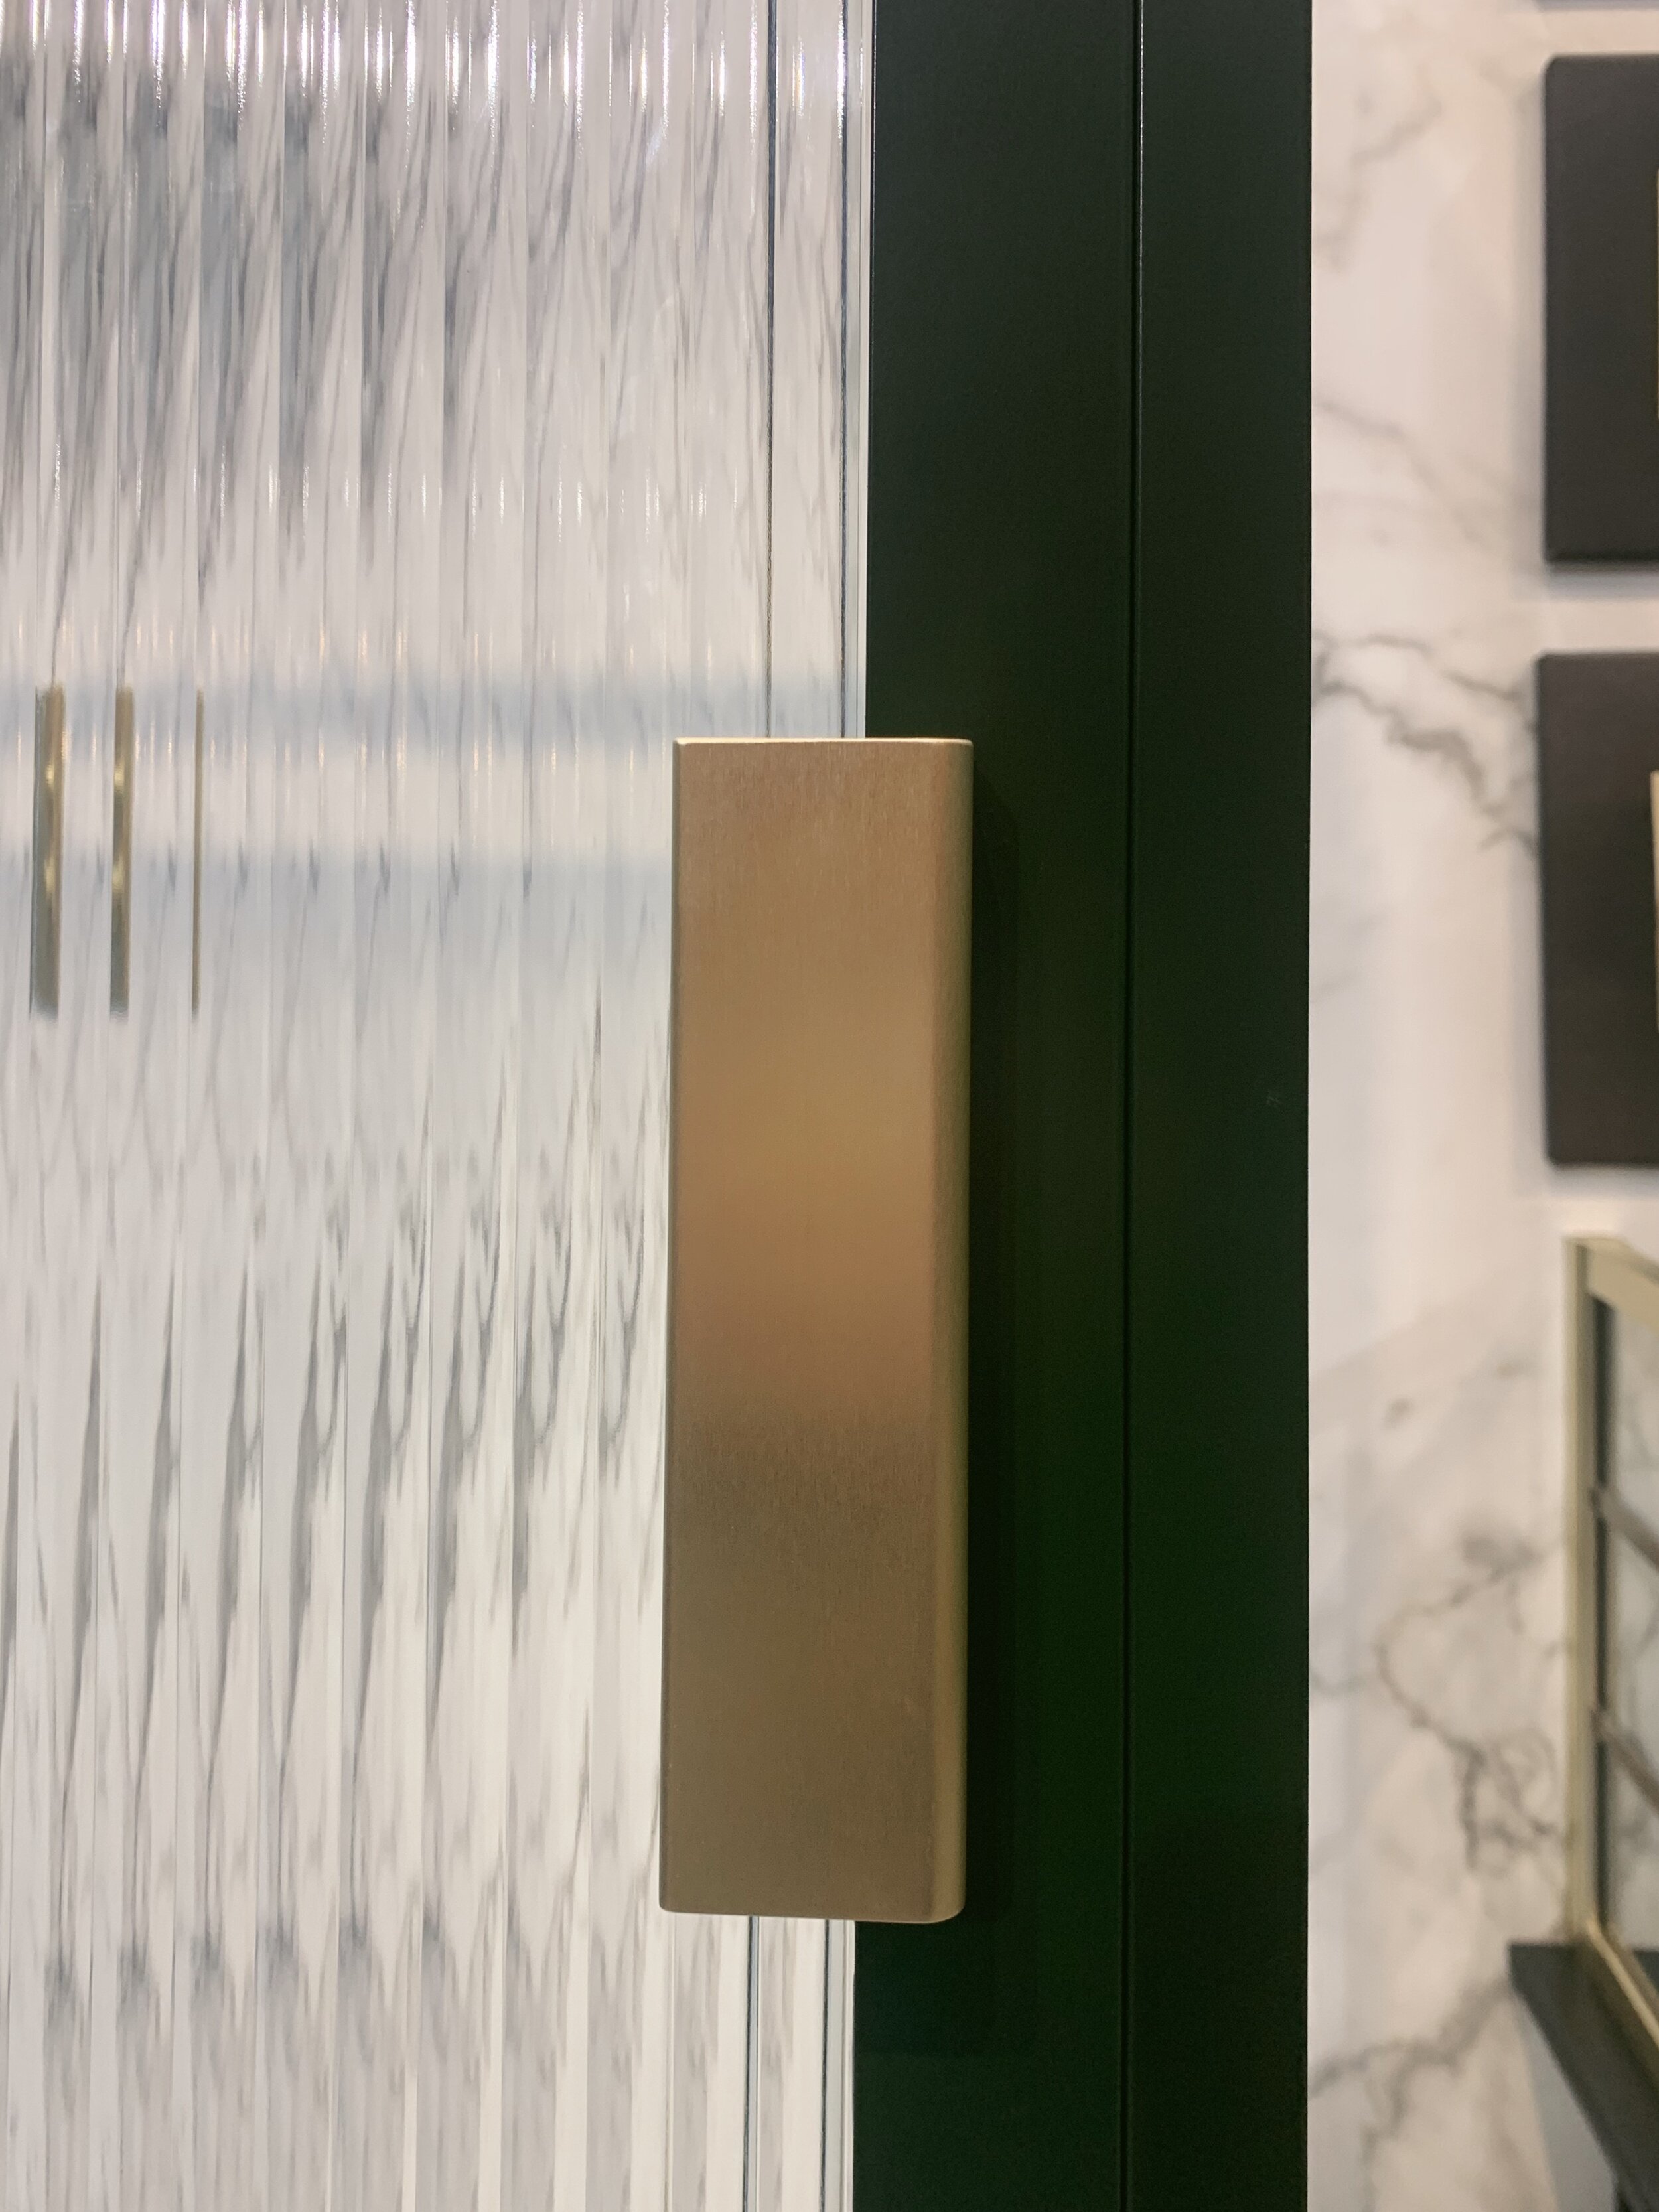
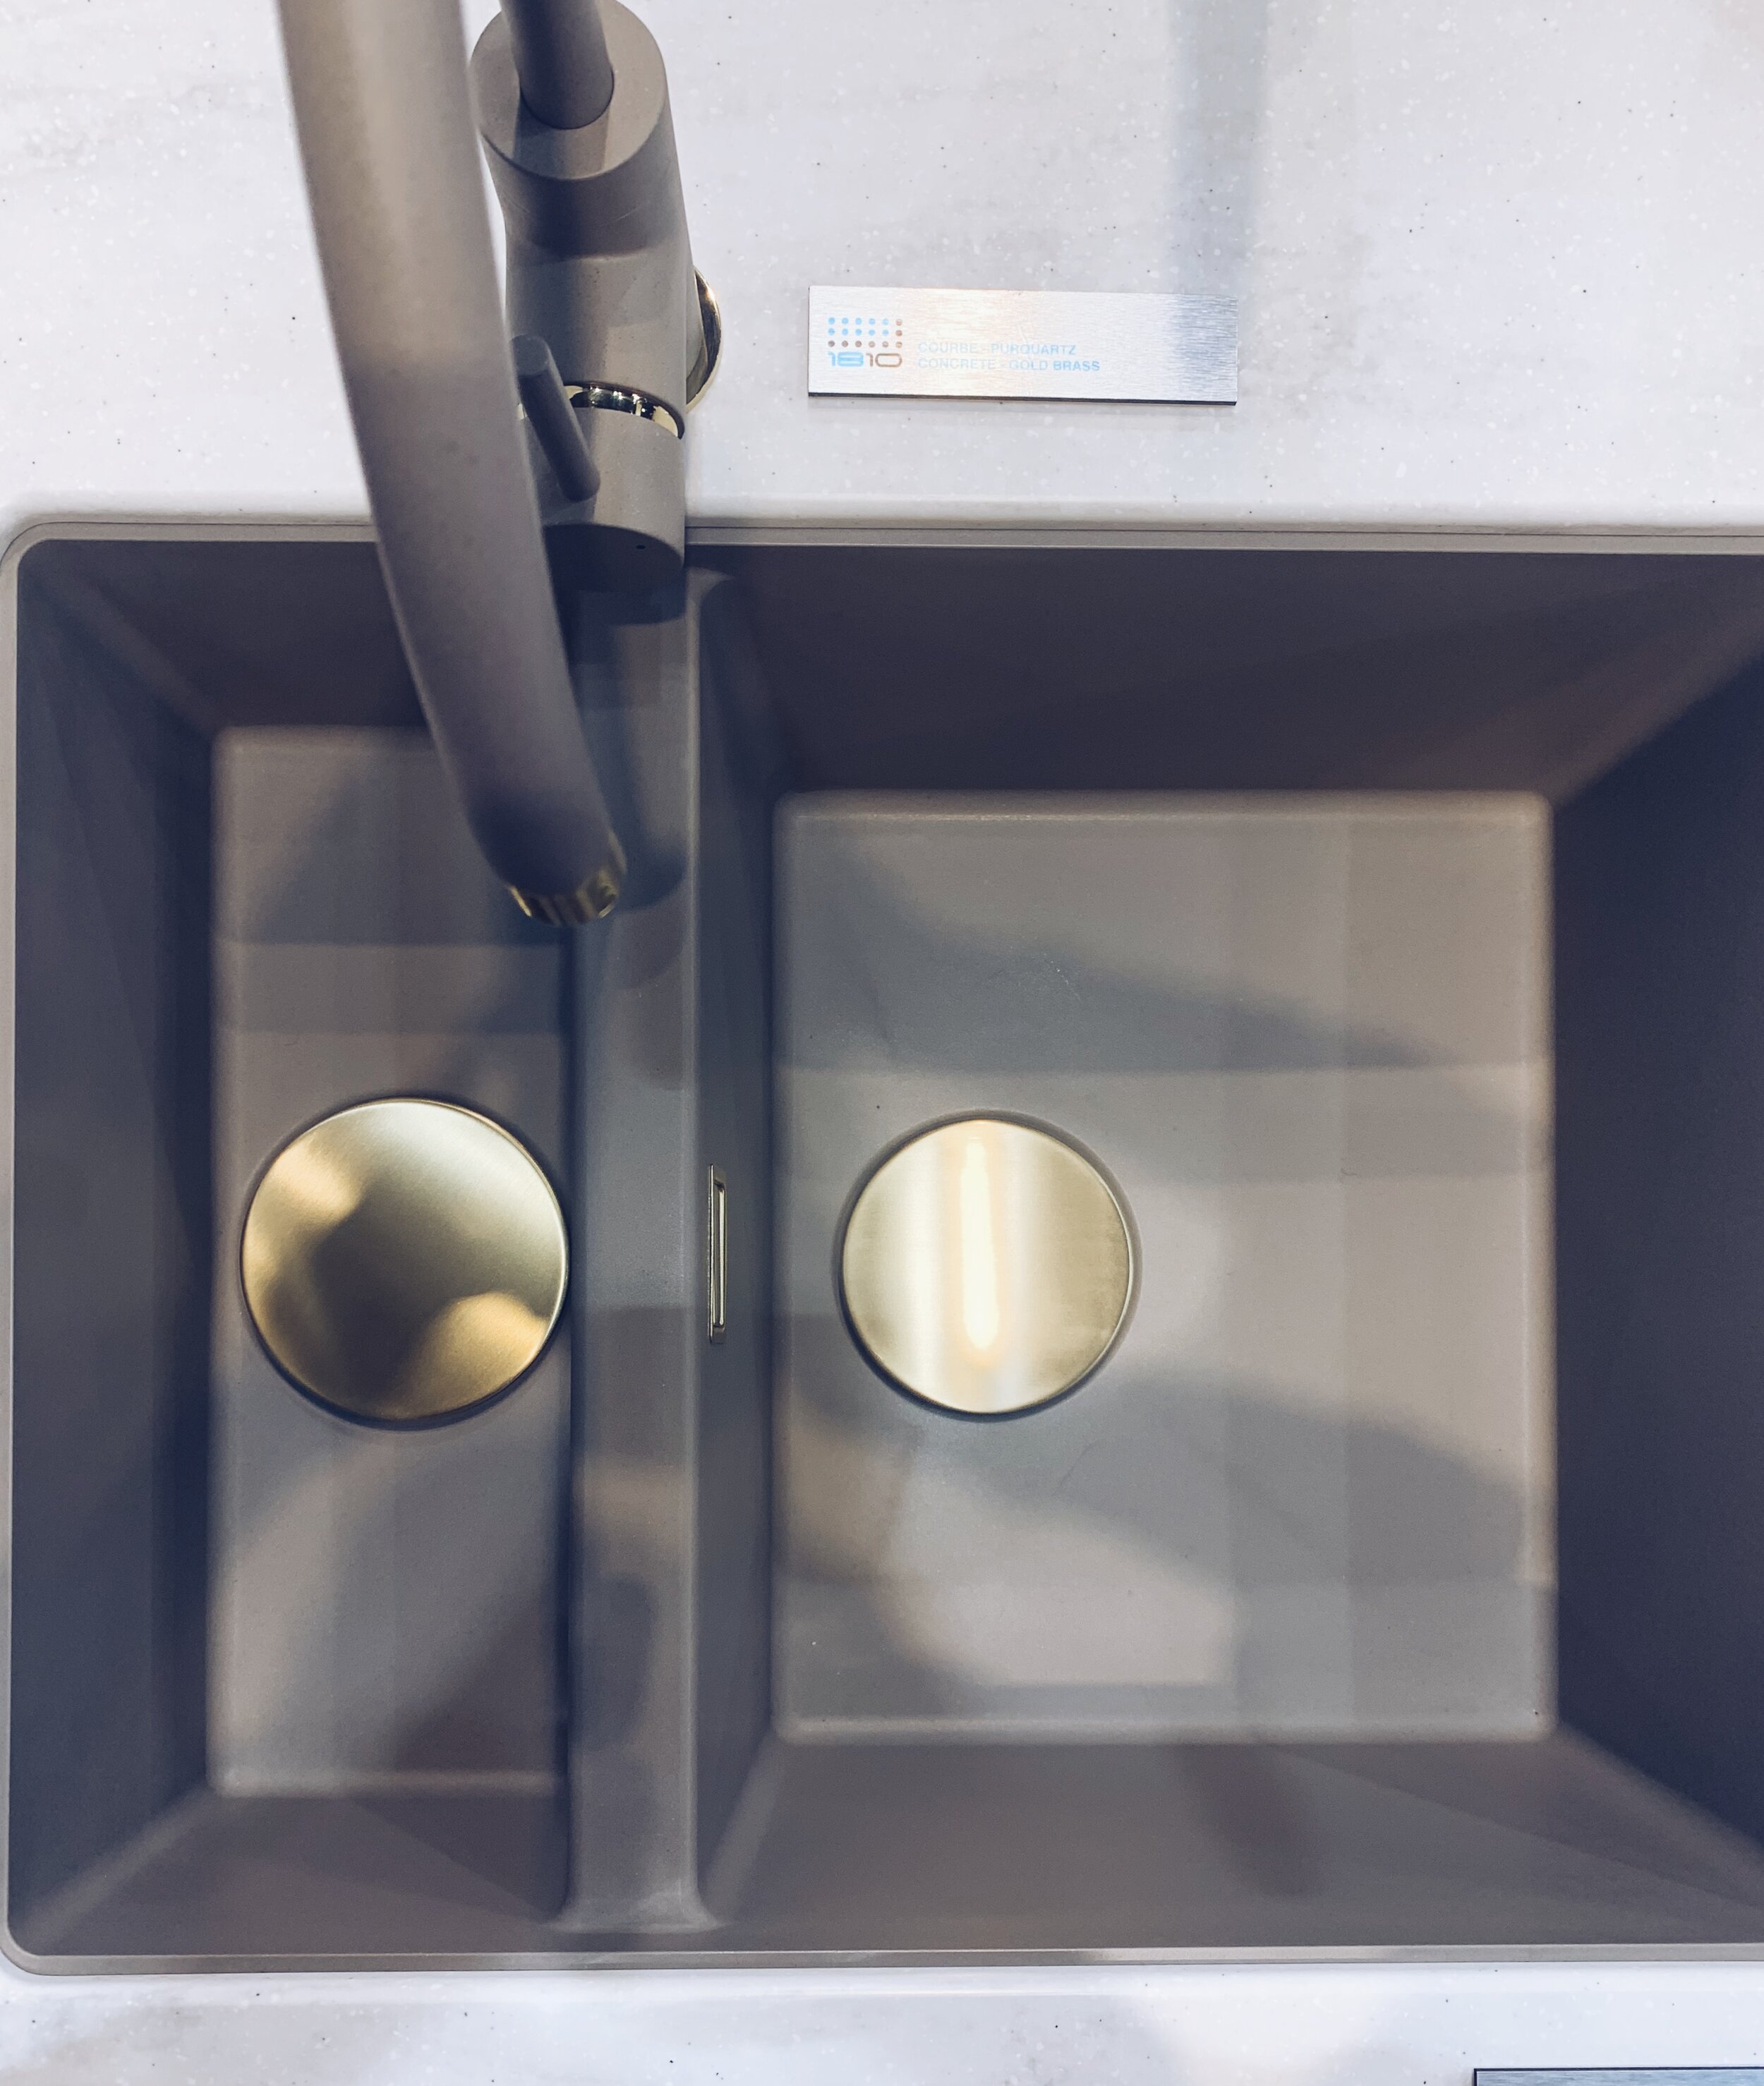
Metallic details were everywhere at KBB and I fell in love with some of the drain and waste details in the sinks and showers. Who says you have to have a bog standard design? These extra touches can really bring a space to life and leave you wanting to touch them over and over again!

Metallic details can also be introduced in the smaller accessories - gold, silvers, coppers, brasses - anything goes!

And that’s my top 3 picks from this years KBB show. Can’t wait for the rest of the design season now!
Pink Photo Wedding Pinterest Graphic.jpg

Styling A "Dinner Party Ready" Table

Featuring gifted items from MADE

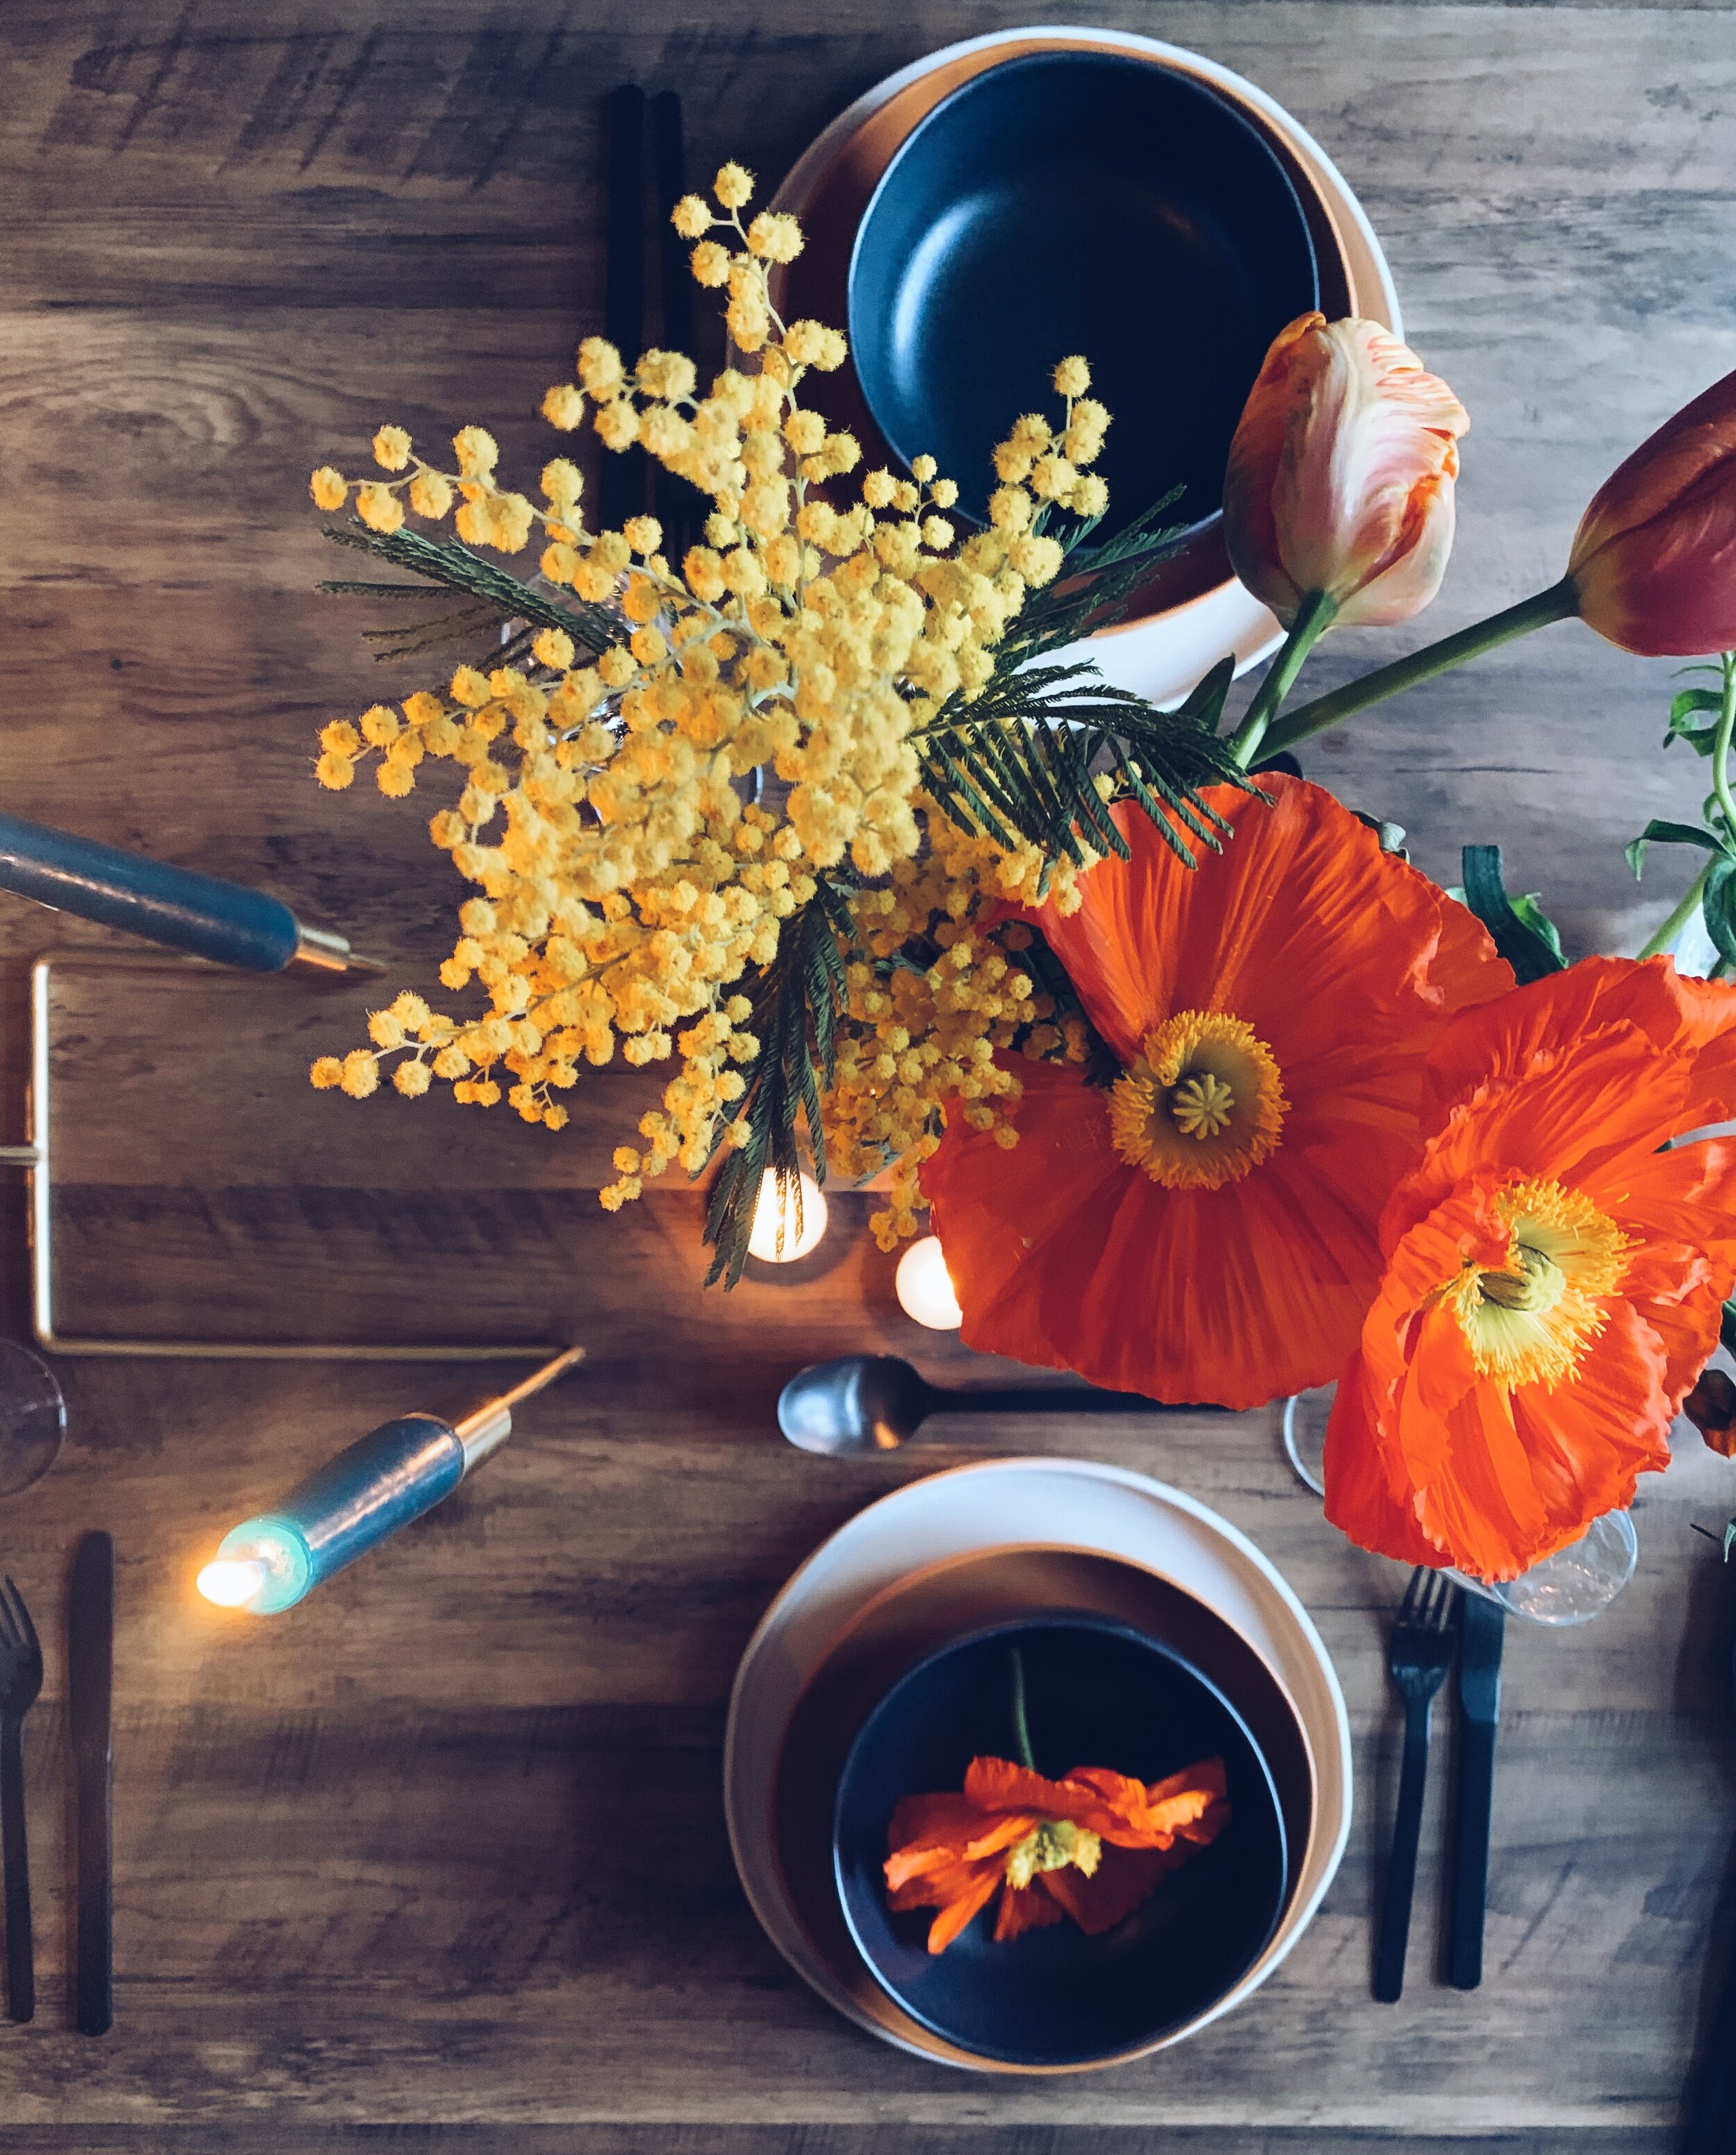
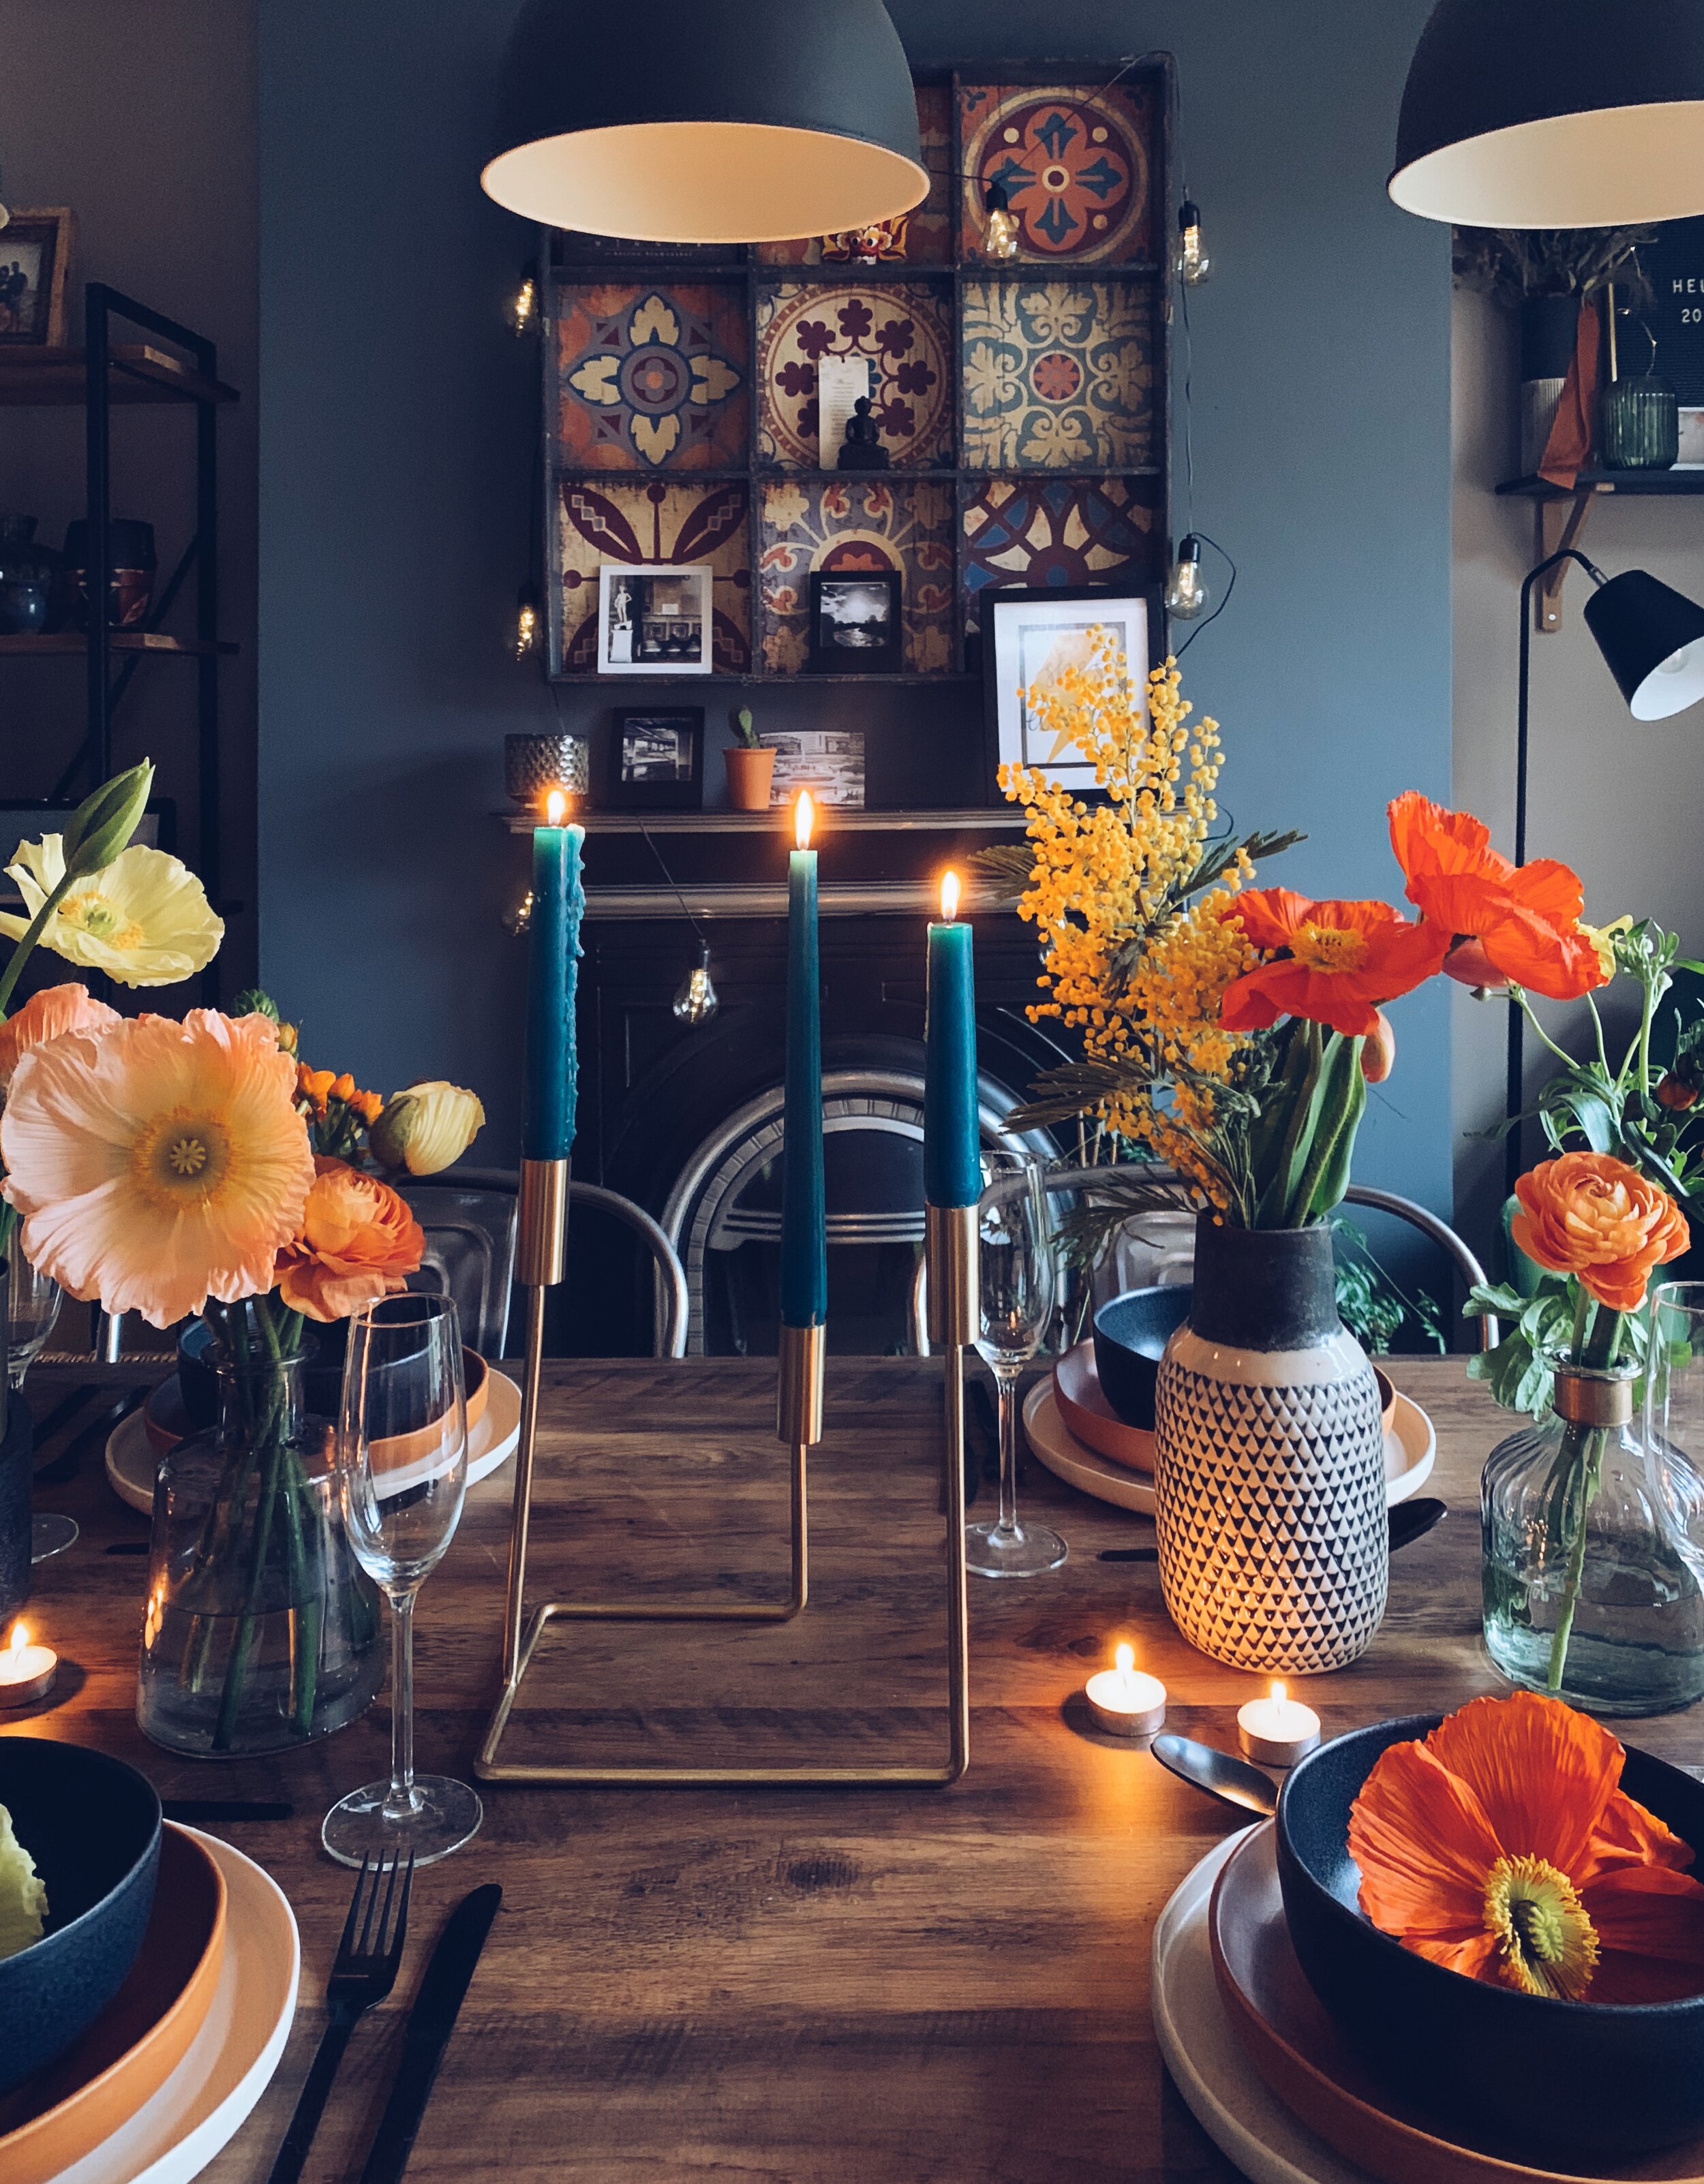
One of my favourite things to do is throw dinner parties for friends and whilst I’m staying as far away from the kitchen as possible, I am making sure the dining table has the wow factor! By breaking the styling into stages it isn’t as daunting as it may seem. I used gifted products from Made and gifted flowers from The Flower Lounge but this can just as easily be achieved with existing tableware you already have.

How To Style a “Dinner Party Ready” Table

How To Style a “Dinner Party Ready” Table

Step 1

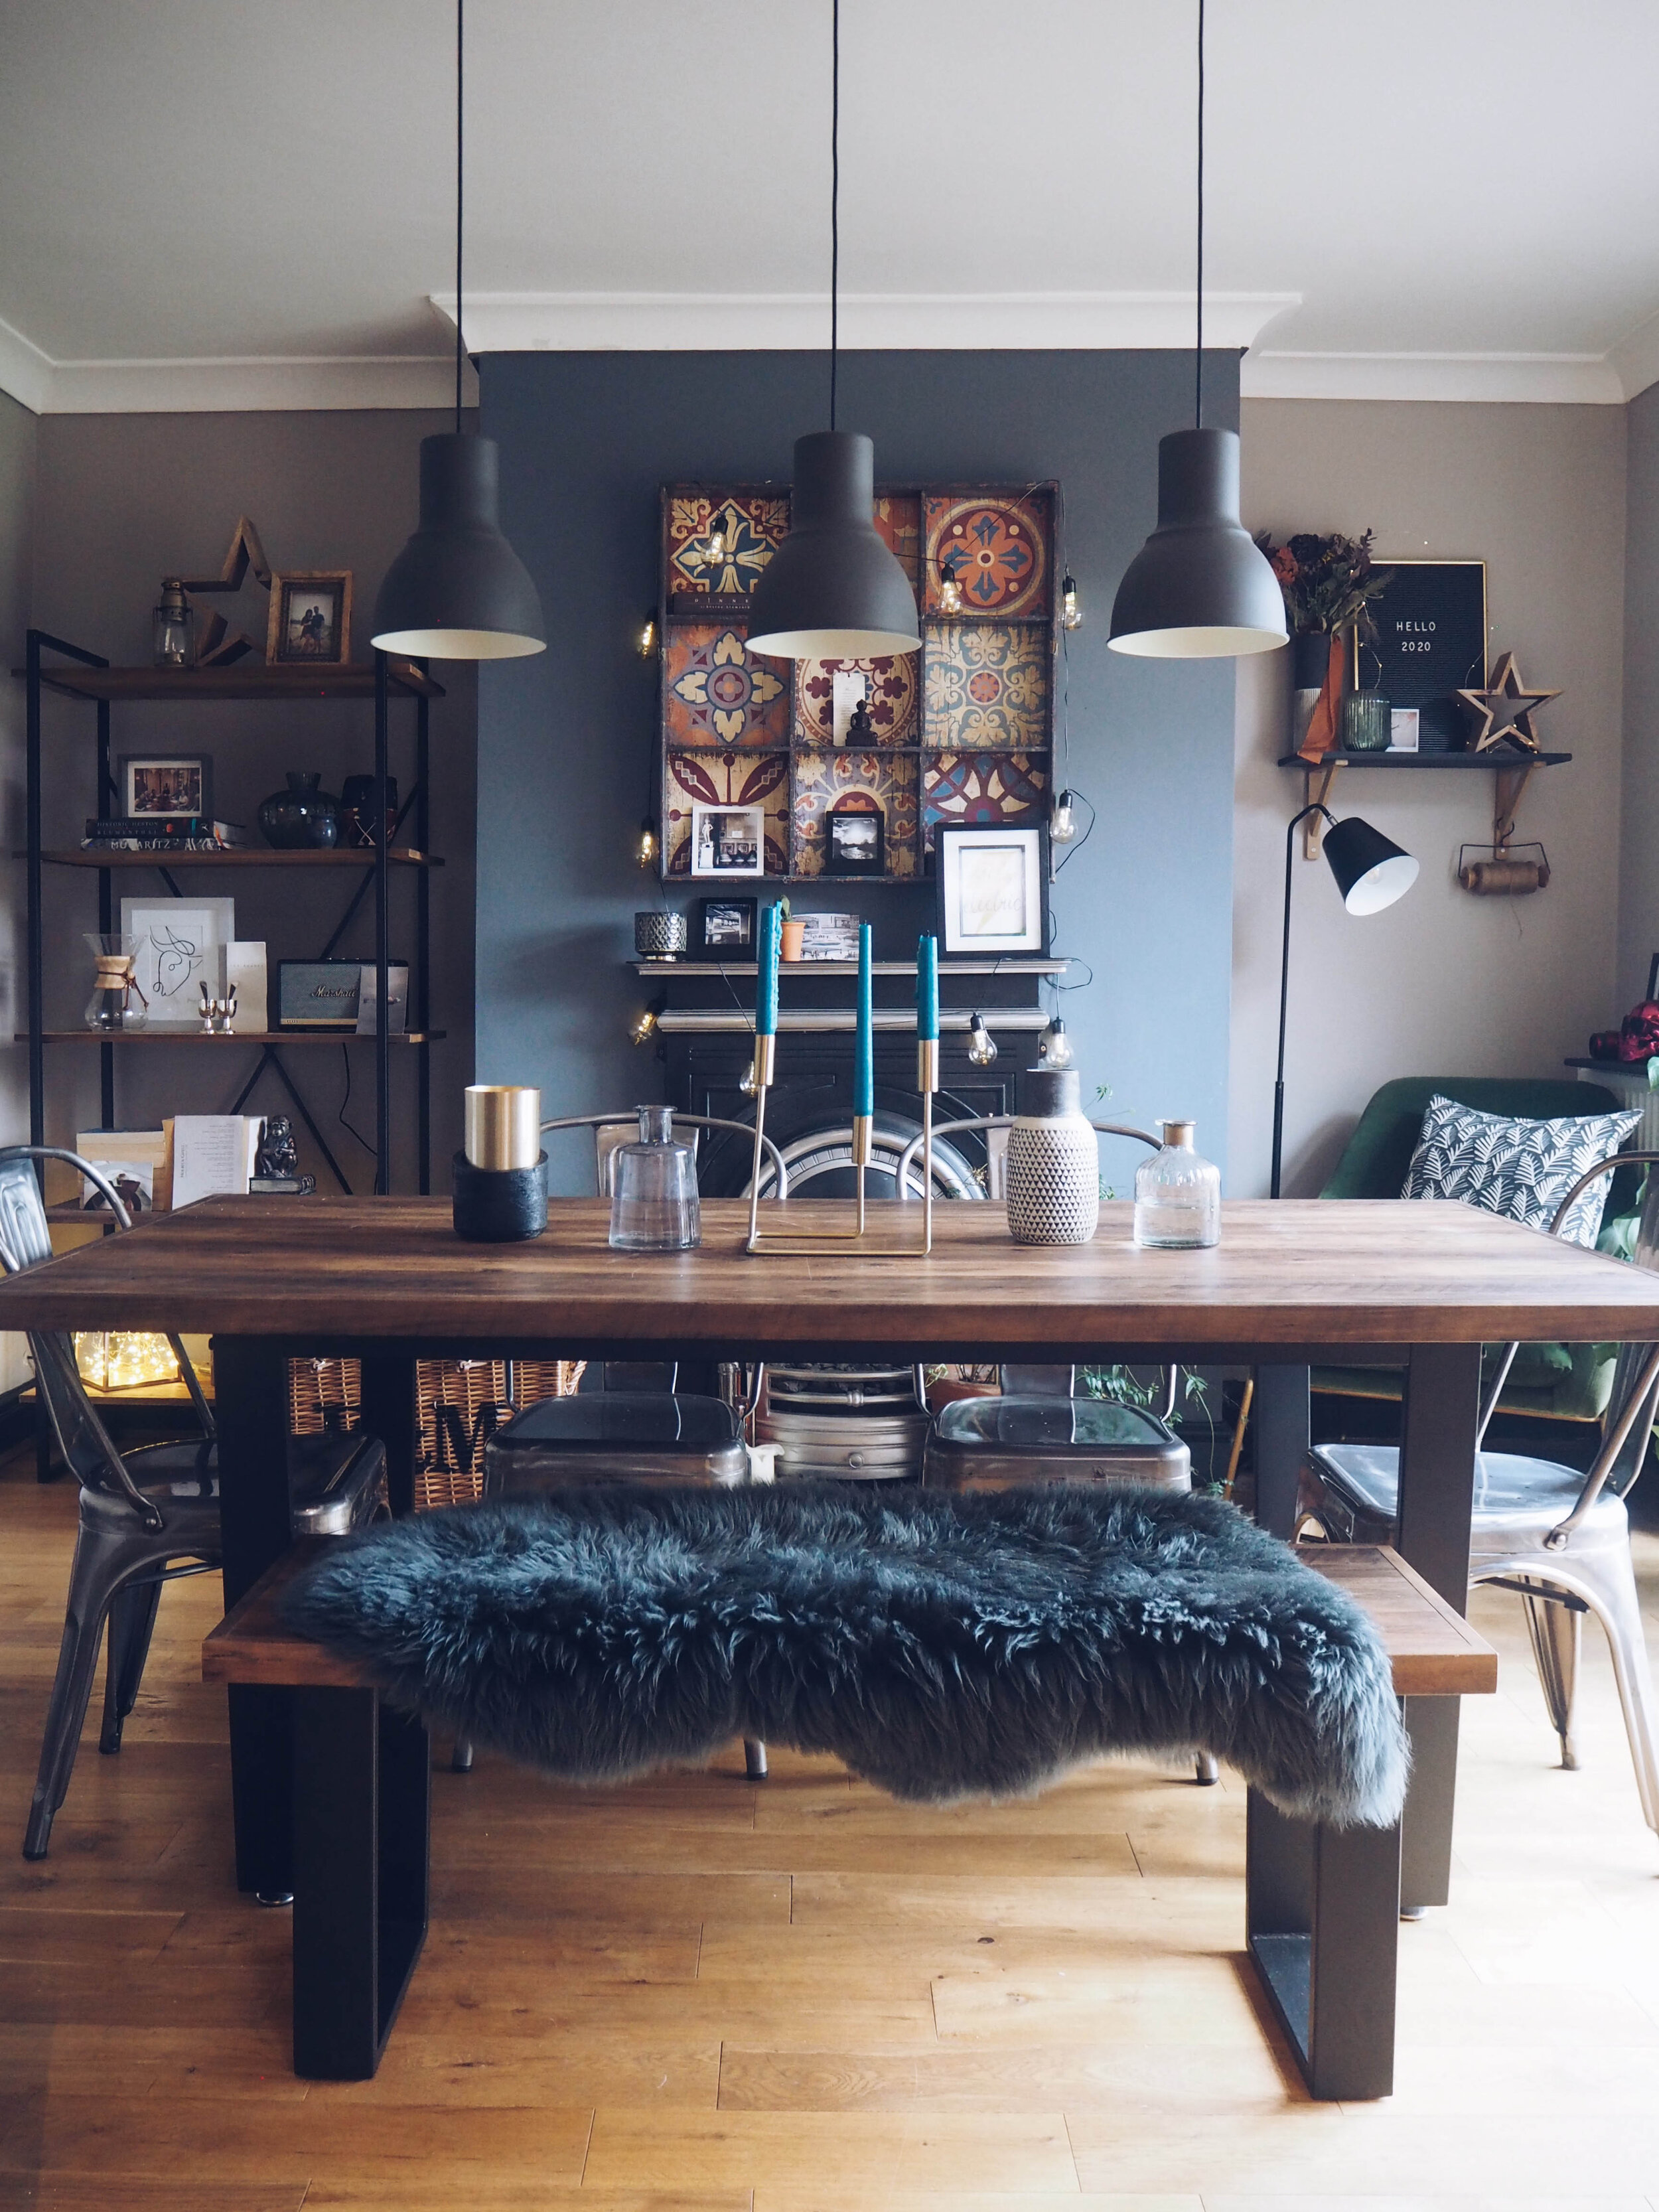
Start with a blank canvas. It may sound obvious but you’d be surprised how many people don’t strip the table first, trying to rearrange things already on there. By stripping it back completely, you are able to assess what items you do and don’t have, what bits you don’t need and what needs to go on first.

Step 1. Strip the table back to a blank canvas.

Step 1. Strip the table back to a blank canvas.

Step 2

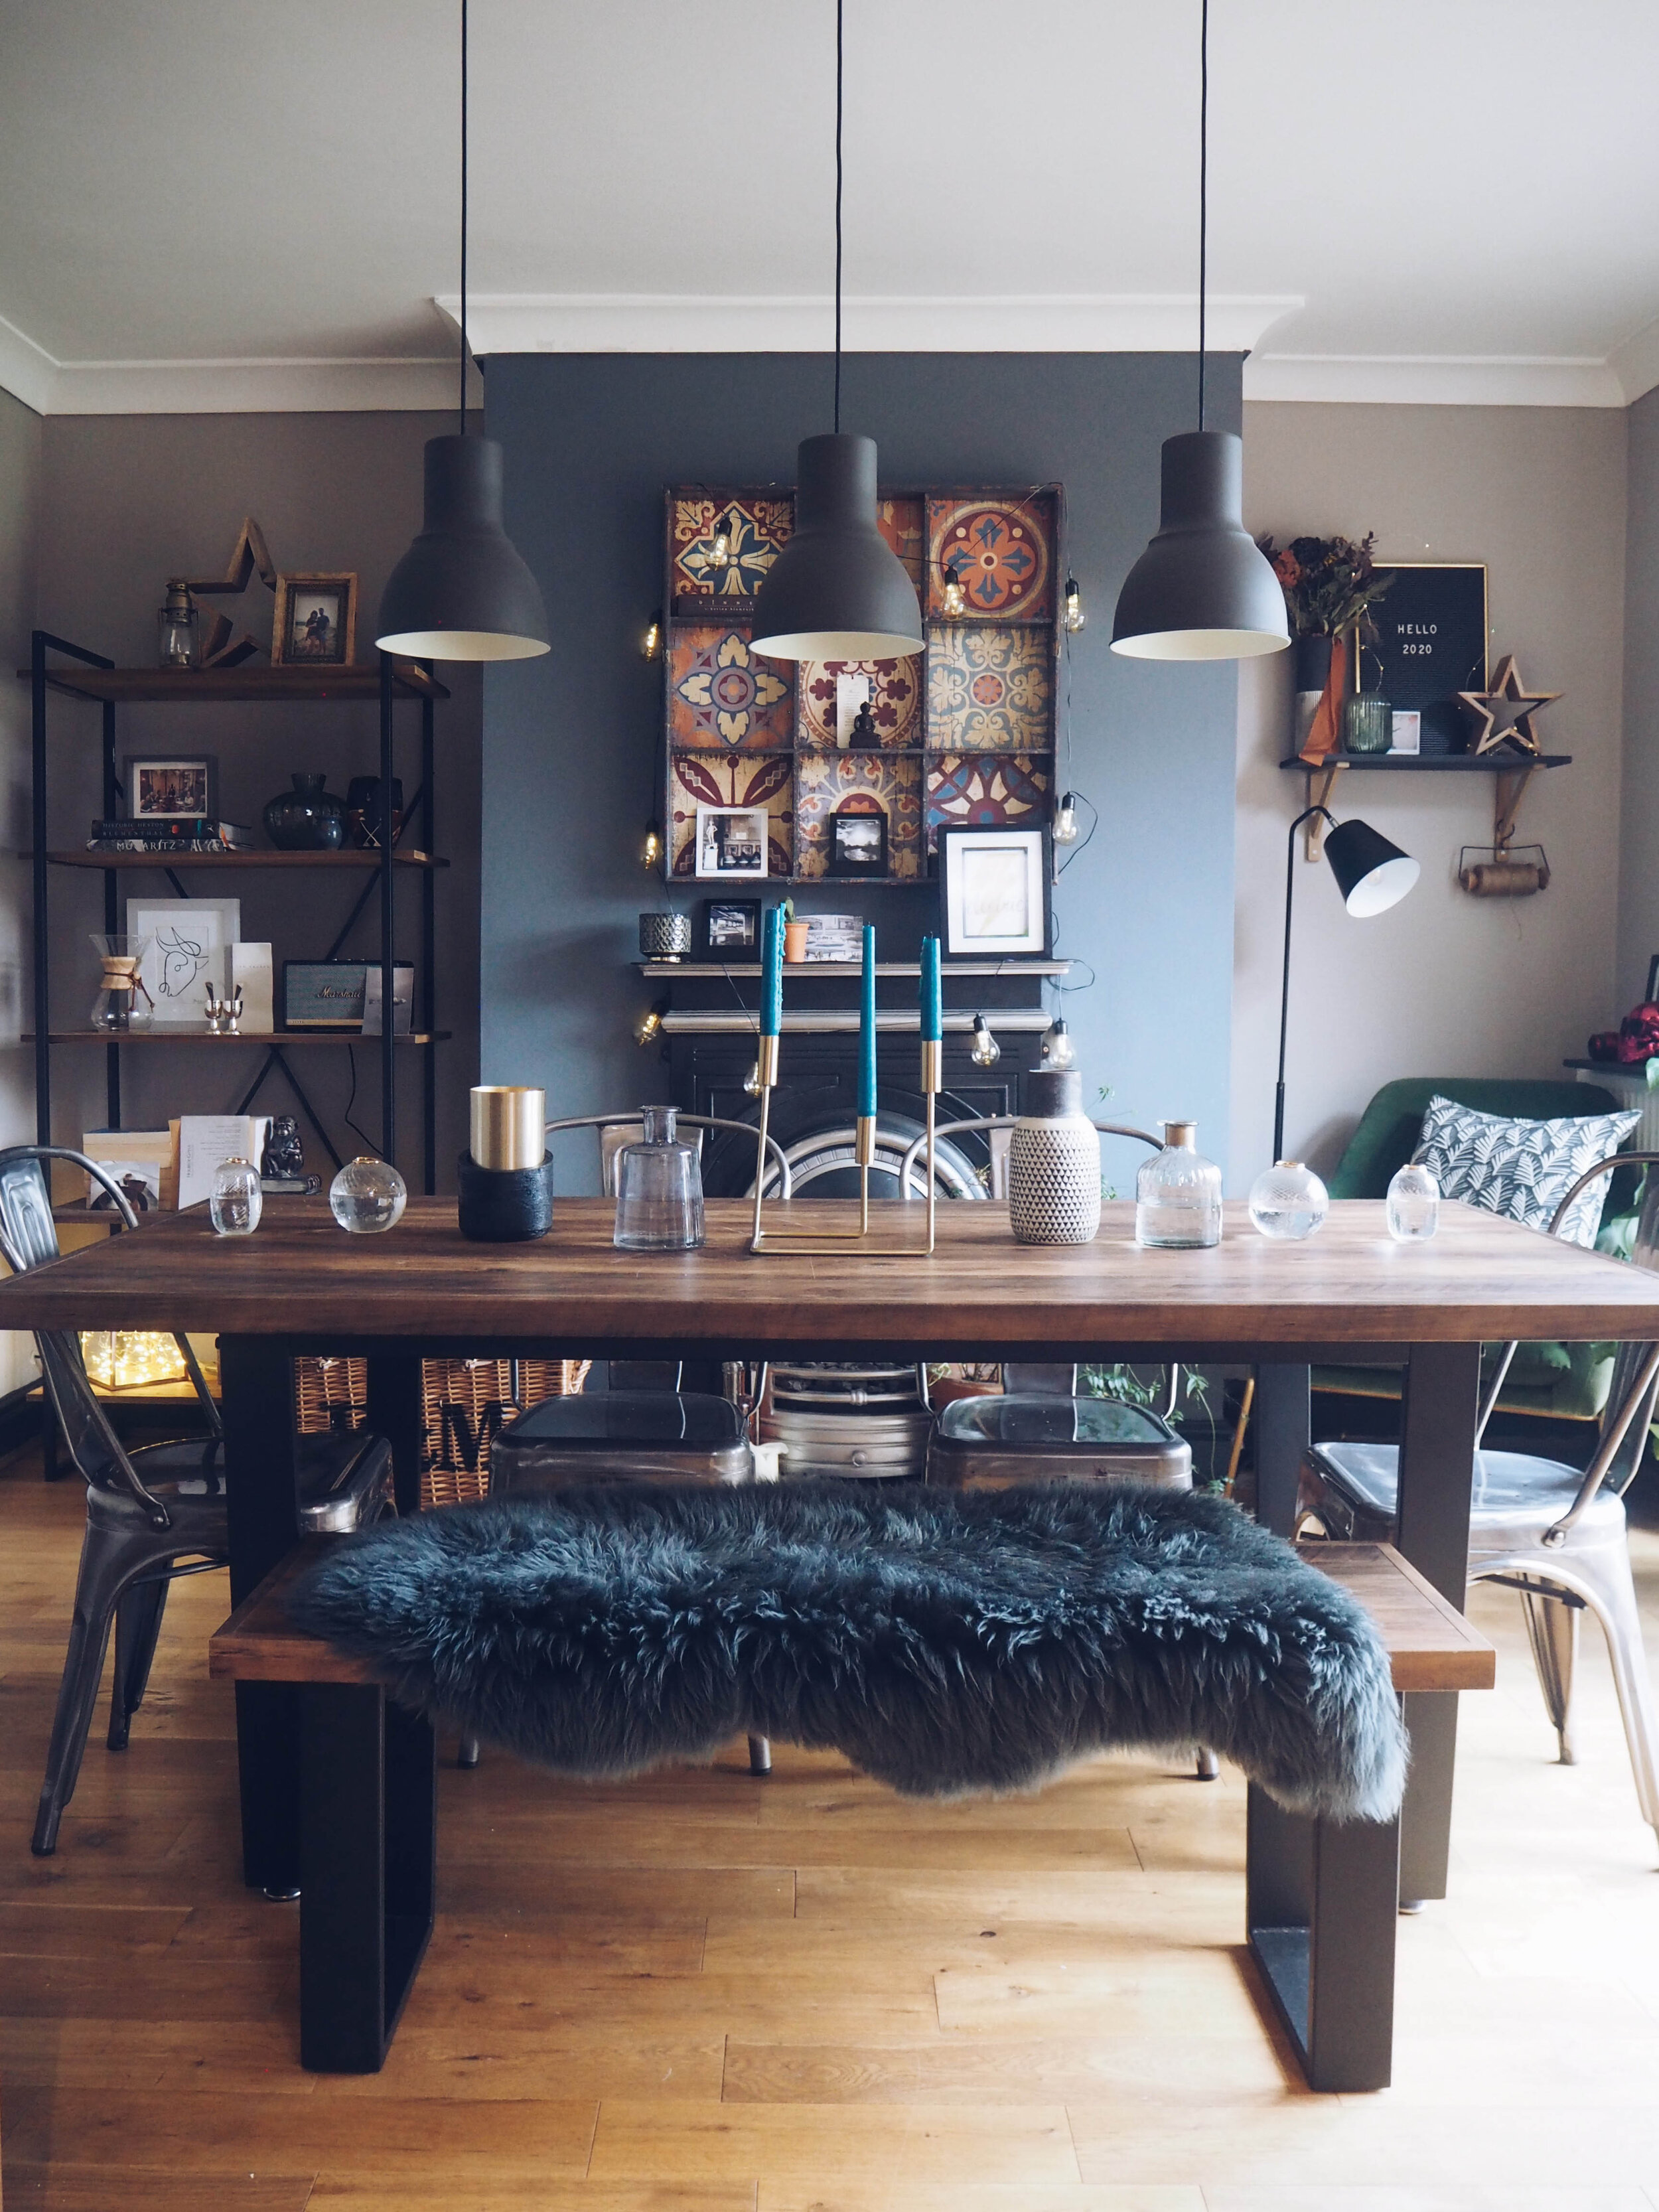
Find your centrepiece. This could be a candlestick, a bunch of flowers or a decorative ornament. Place it directly in the centre of the table. The Verona candlestick is the perfect item for me as it dictates the height of the other objects I’m going to put on the table. I have used some left over wedding candles but my next favourite place to get tapered candles is Sostrene Green. They do all different colours for whatever scheme you may be looking to achieve.

Step 2. Centrepiece.

Step 2. Centrepiece.

Step 3

Add the secondary objects. In my case it’s going to be various vases from all over the home. The more random the better for my taste, but there is no right or wrong way to do it. Matching items could work just as well. Play with the positioning of the vases, creating a pyramid shape with the tallest items towards the centre and the smaller ones towards the ends of the table.

Step 4

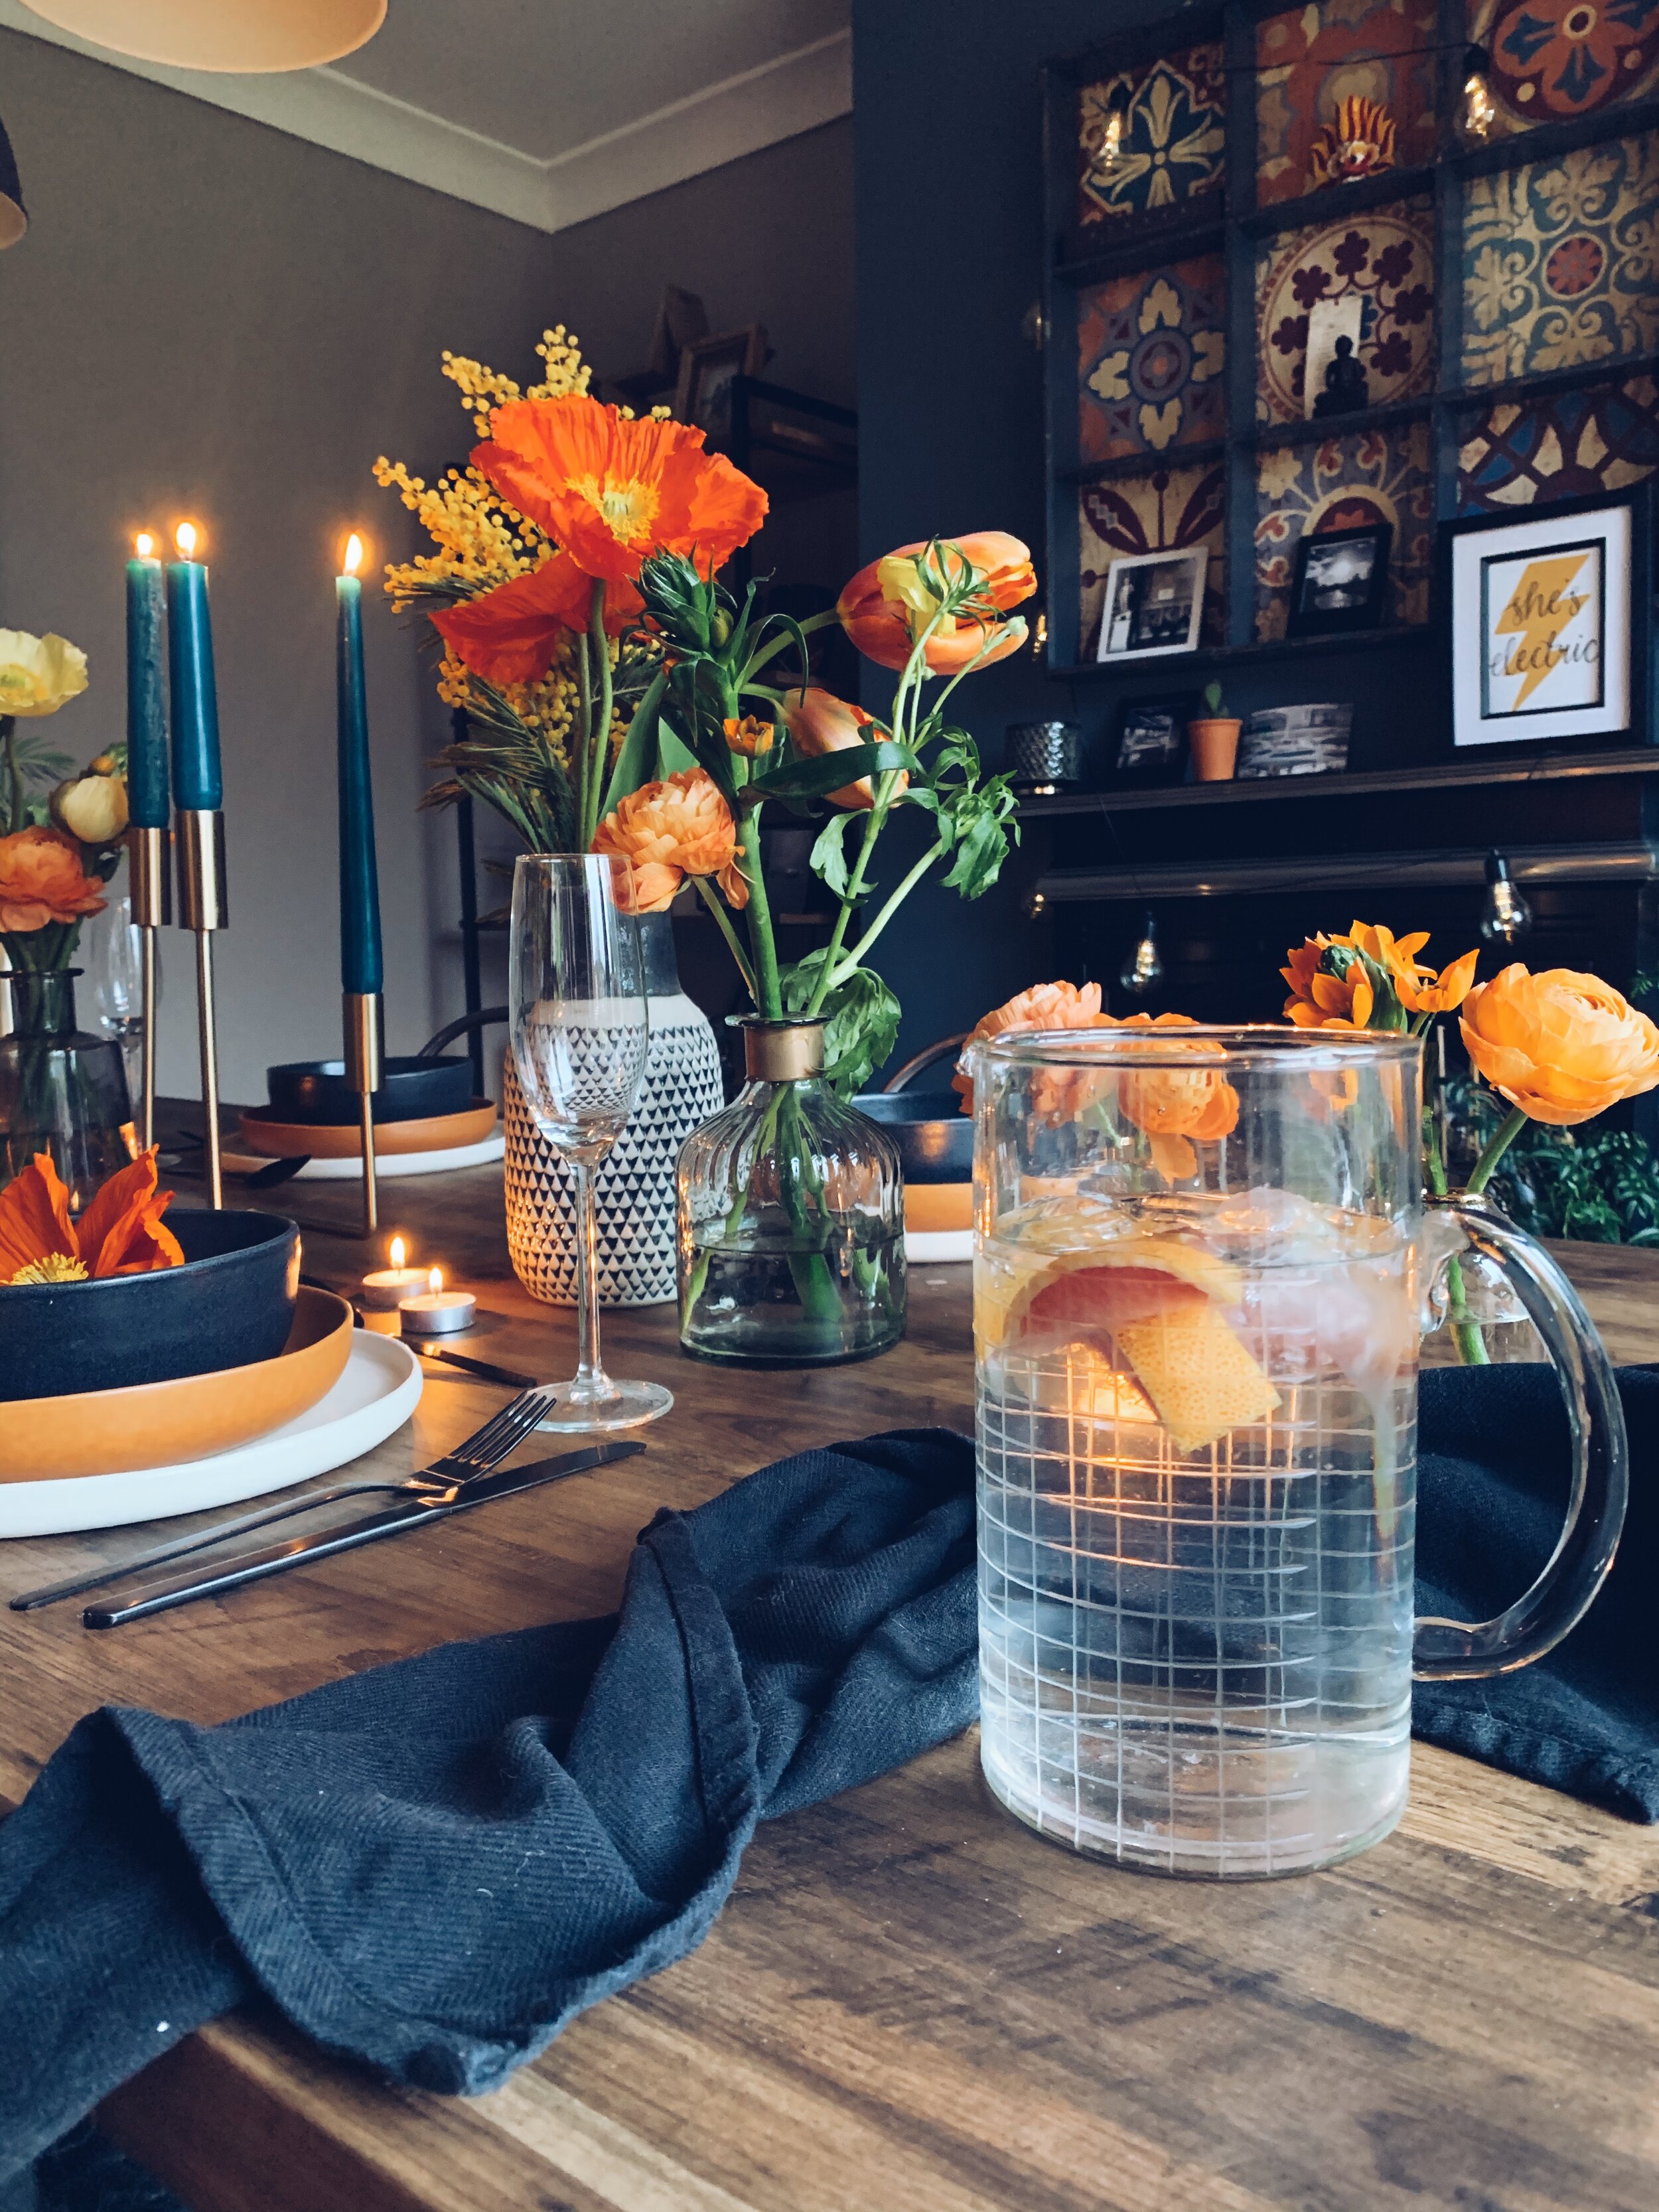
Insert Flowers. I have gone for a wild theme with lots of pops of oranges and yellows for a fresh feel. Any colour and any flower will look pretty and I love when they are spread over numerous vases - it gives a “freshly picked from the garden” feel. Shout out to Sian from The Flower Lounge in Didsbury for supplying me with the most gorgeous poppies and french tulips.

Flowers add that extra wow factor to any dining table.

Flowers add that extra wow factor to any dining table.

Step 5

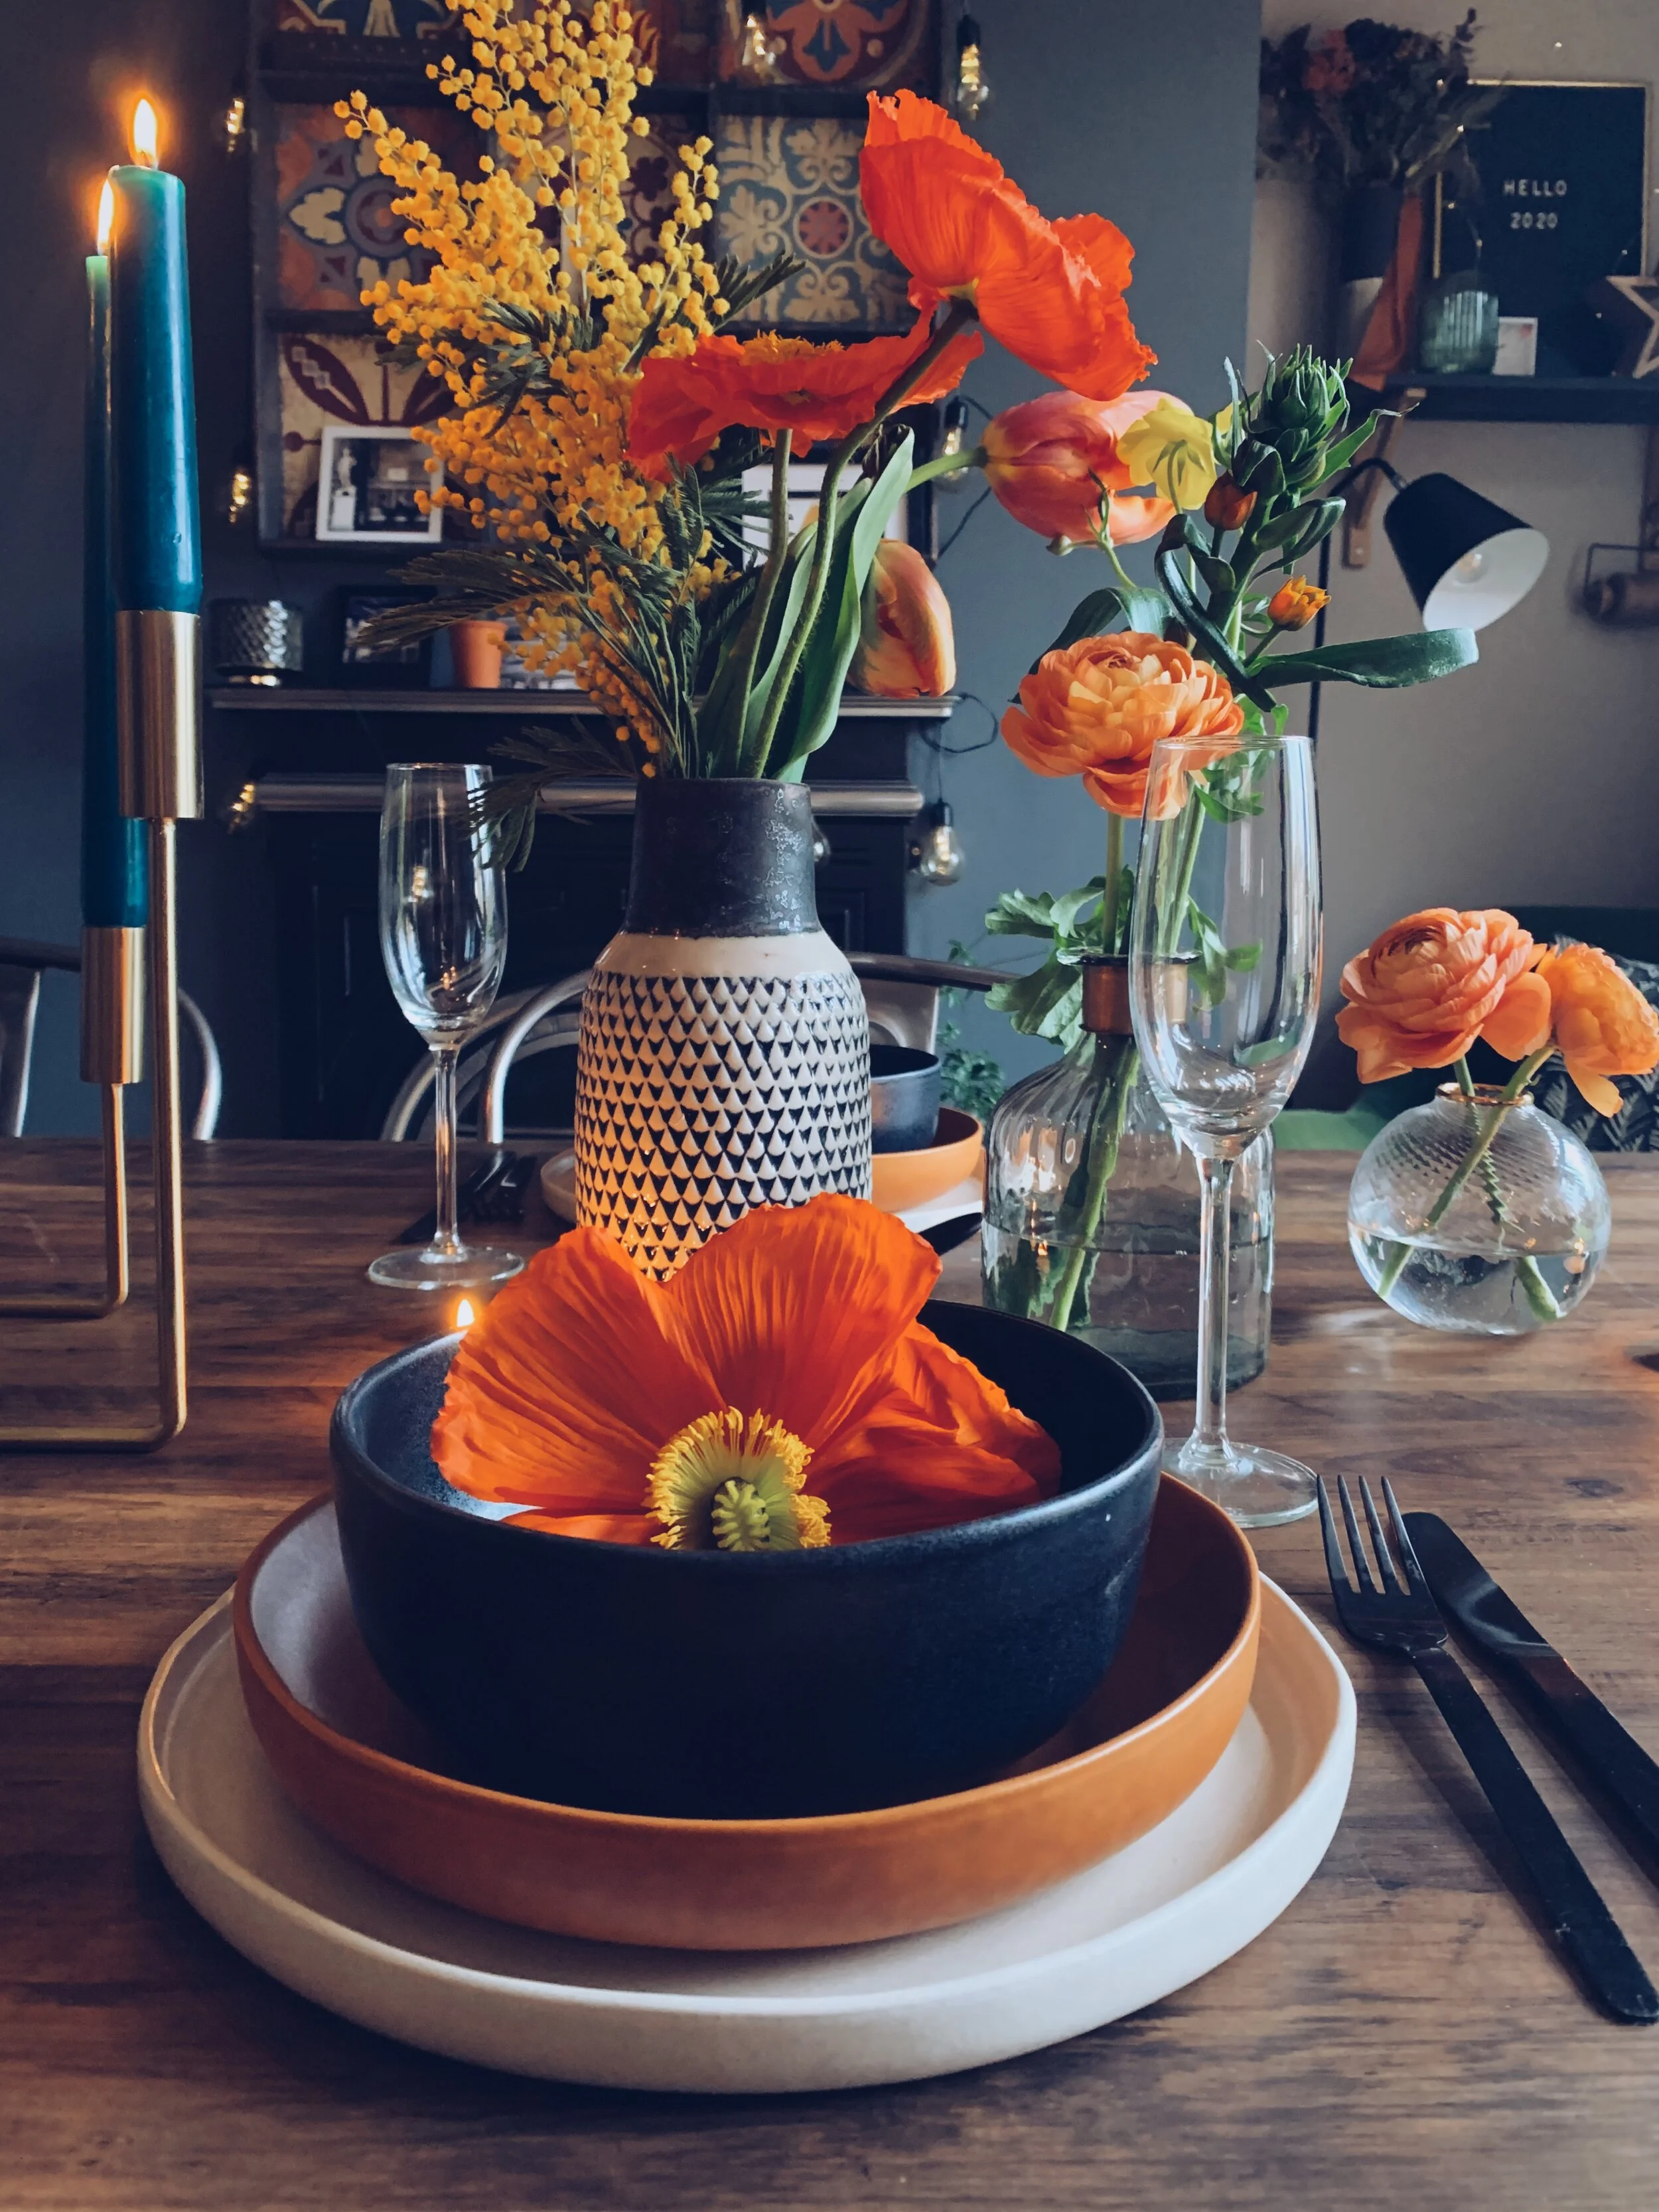
Place the tableware. Made’s gorgeous Ingram 12 piece dinner set was the inspiration for the colour scheme as you can see with the terracotta side plates. Gone are the days of matching tableware, it’s time to get adventurous. The stoneware is imperfect with different shapes making it impossible for stacking but it gives that real authentic earthy feel, which I love. Pairing with matt black Bude cutlery gives a contemporary edge.

Made x Northern Styling

Made x Northern Styling

Step 6

Final touches. Scatter tealights in between the vases, light all candles and if you want to add a extra wow factor - add a token favour on the plate. I used some left over poppy heads which looked lovely against the black bowls. Other ideas include styling the napkins in the bowls or gorgeous tonal fruit for a decorative touch.

Voila! Candles, flowers and gorgeous tableware help make a wow factor dining table.

Voila! Candles, flowers and gorgeous tableware help make a wow factor dining table.

Step 7

Admire your handiwork. Always take a step back in between stages to assess the table from afar. Does it look balanced? Is it symmetrical if that’s what you were going for? Don’t forget to take some snaps. Would love to be tagged to see all your creations!

Happy Styling!

file (1).gif
Pink Photo Wedding Pinterest Graphic.png

Kitchen Revamp On A Budget

Paid Collaboration with Valspar Paint UK

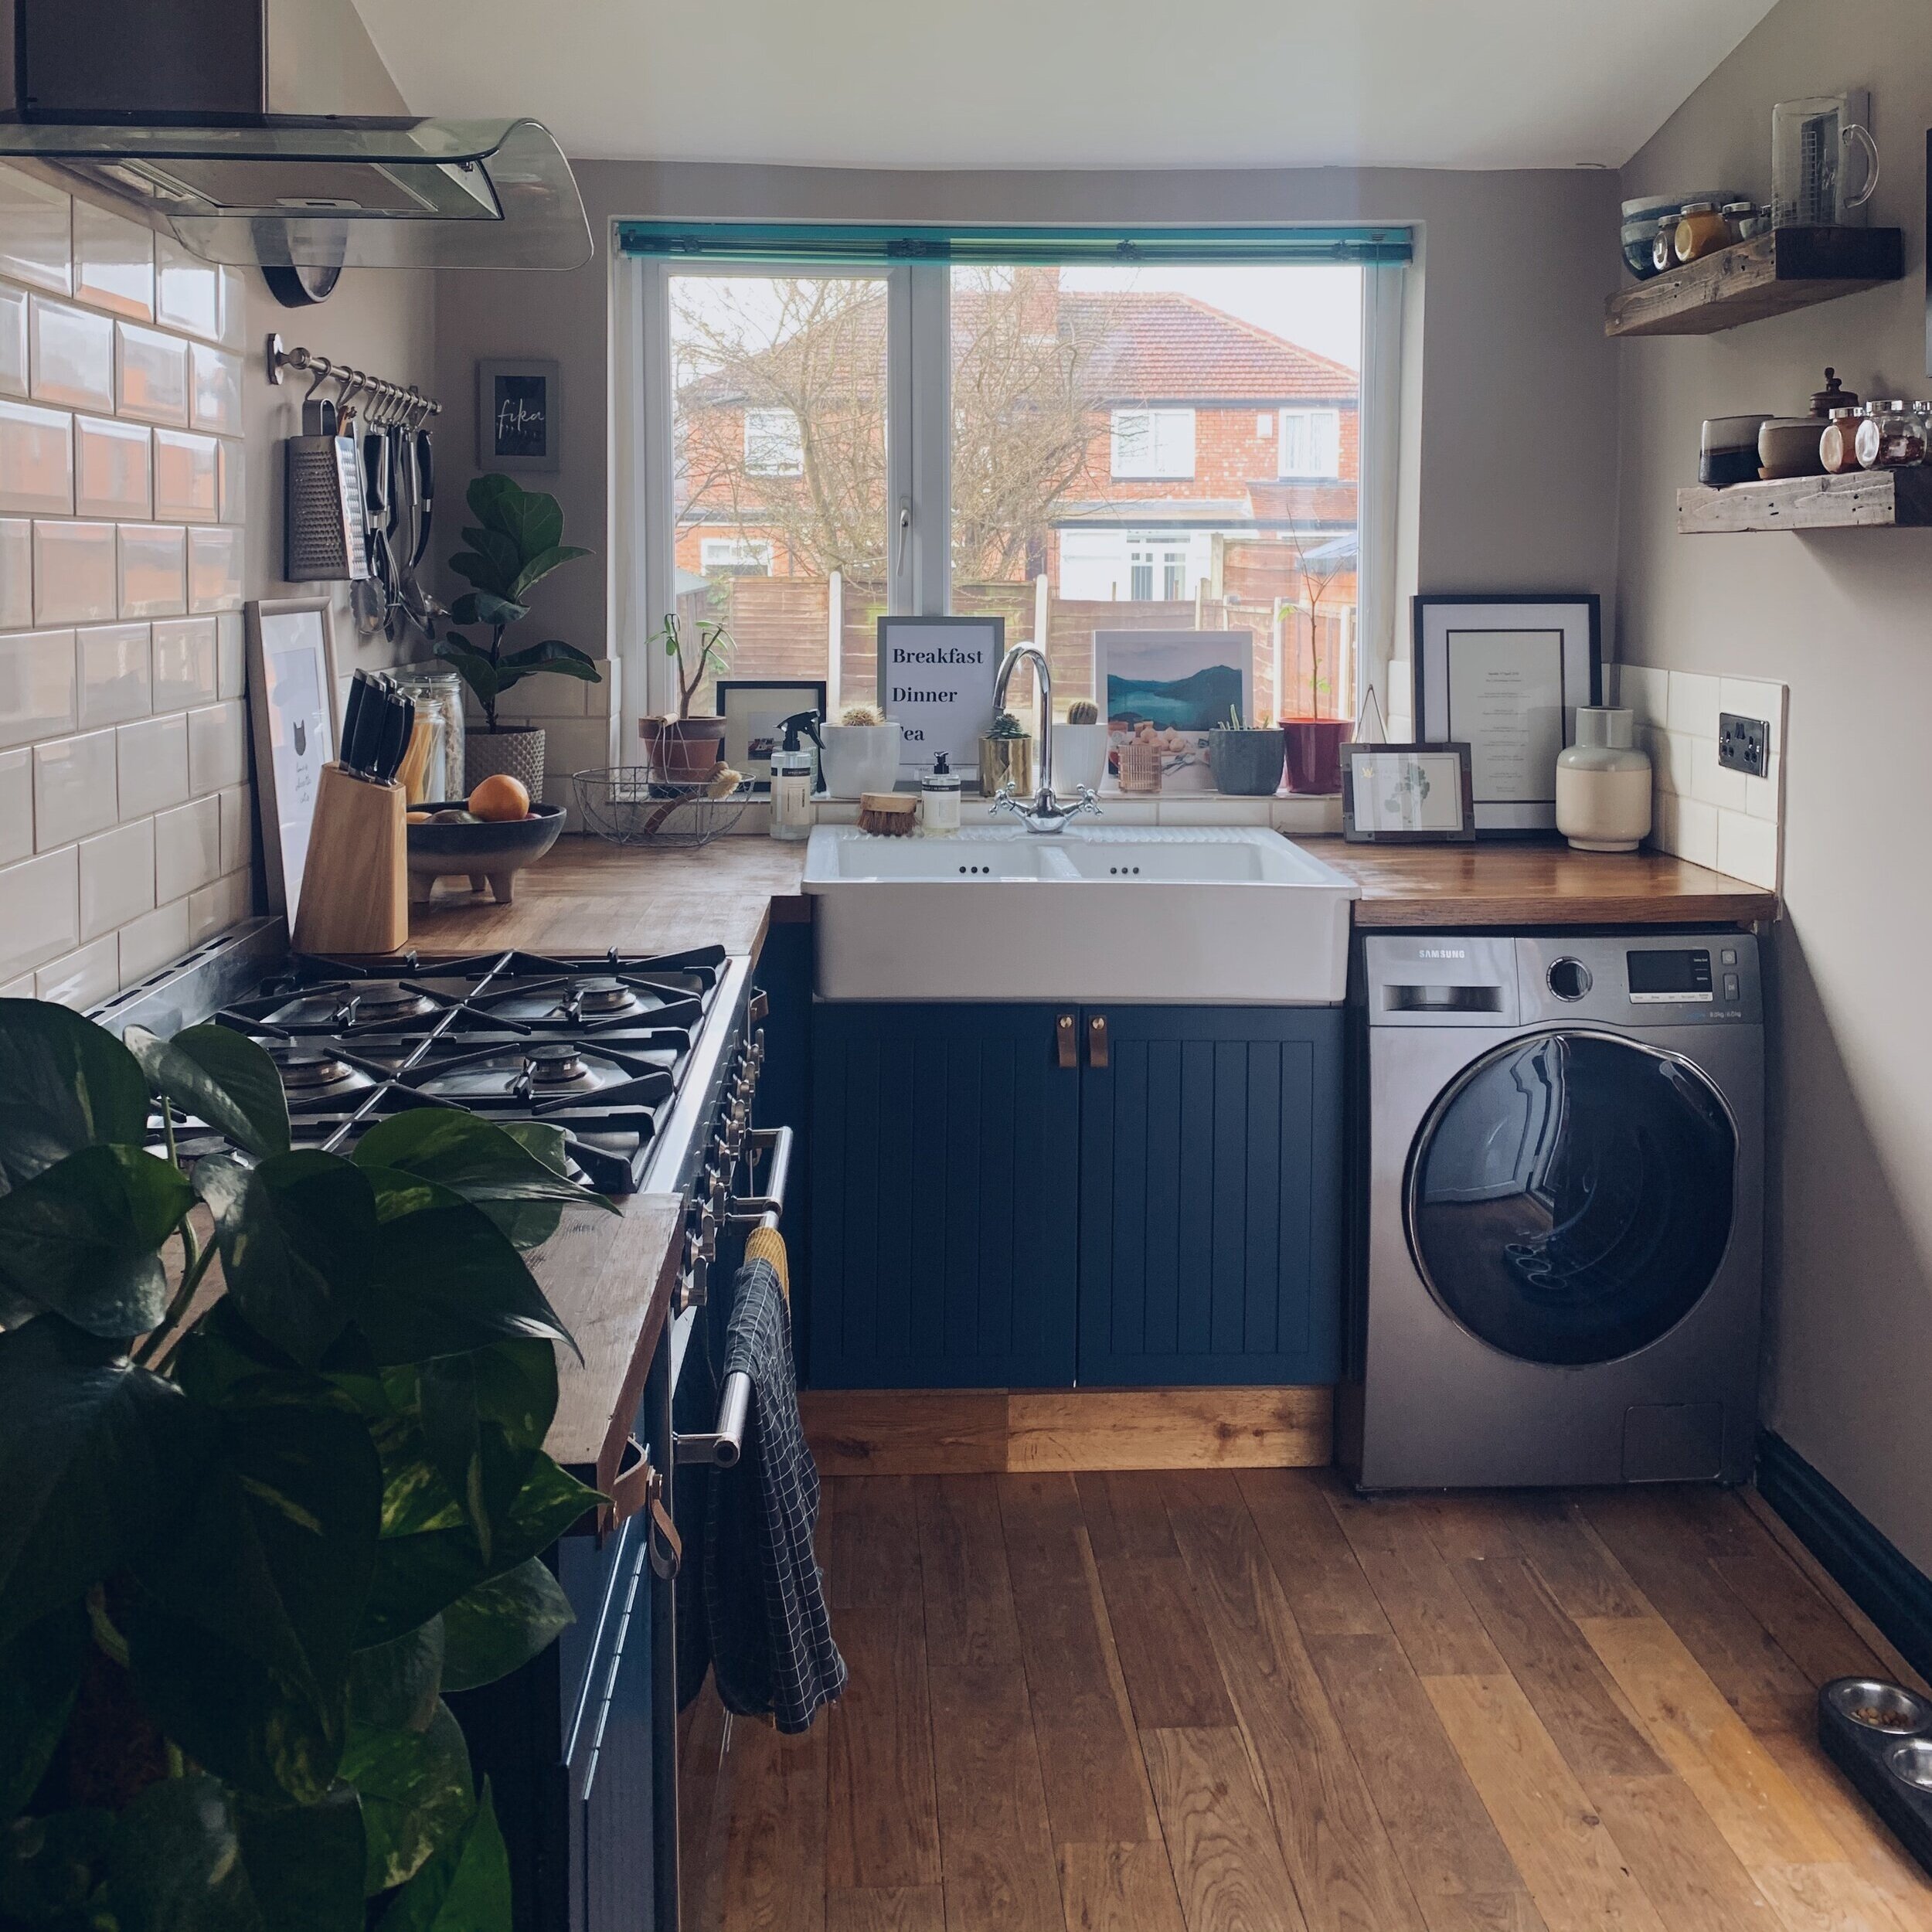
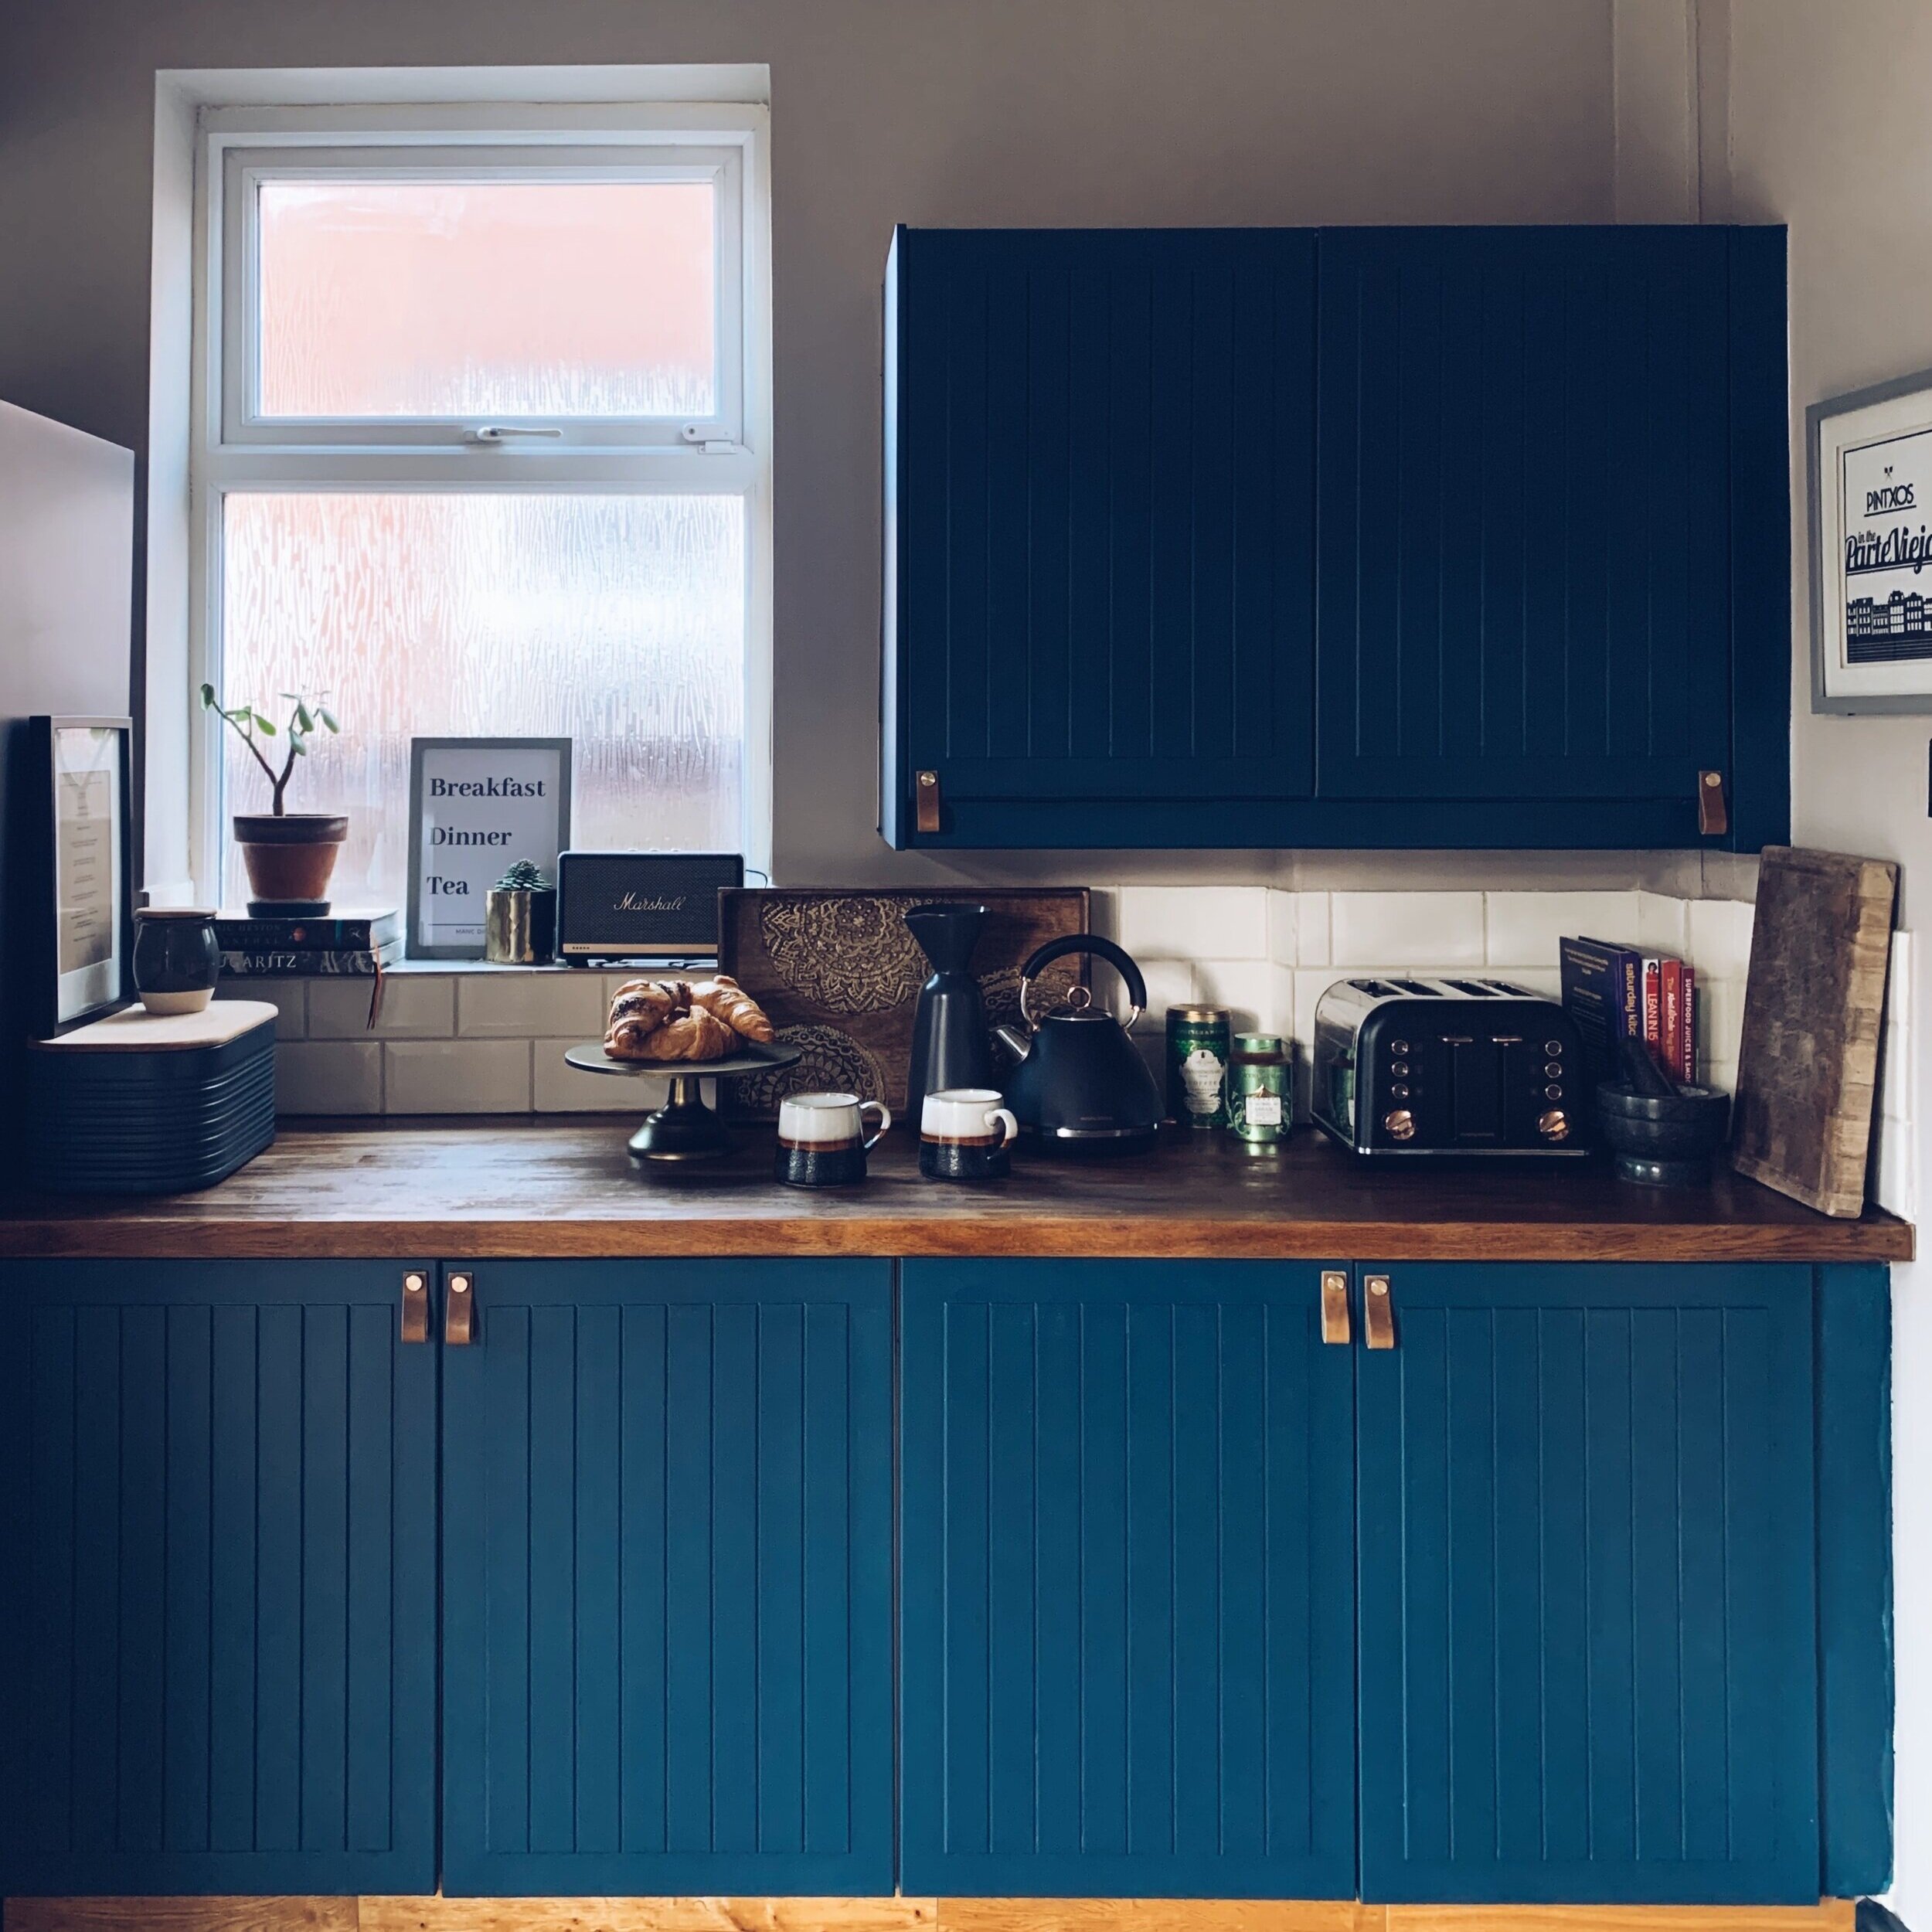
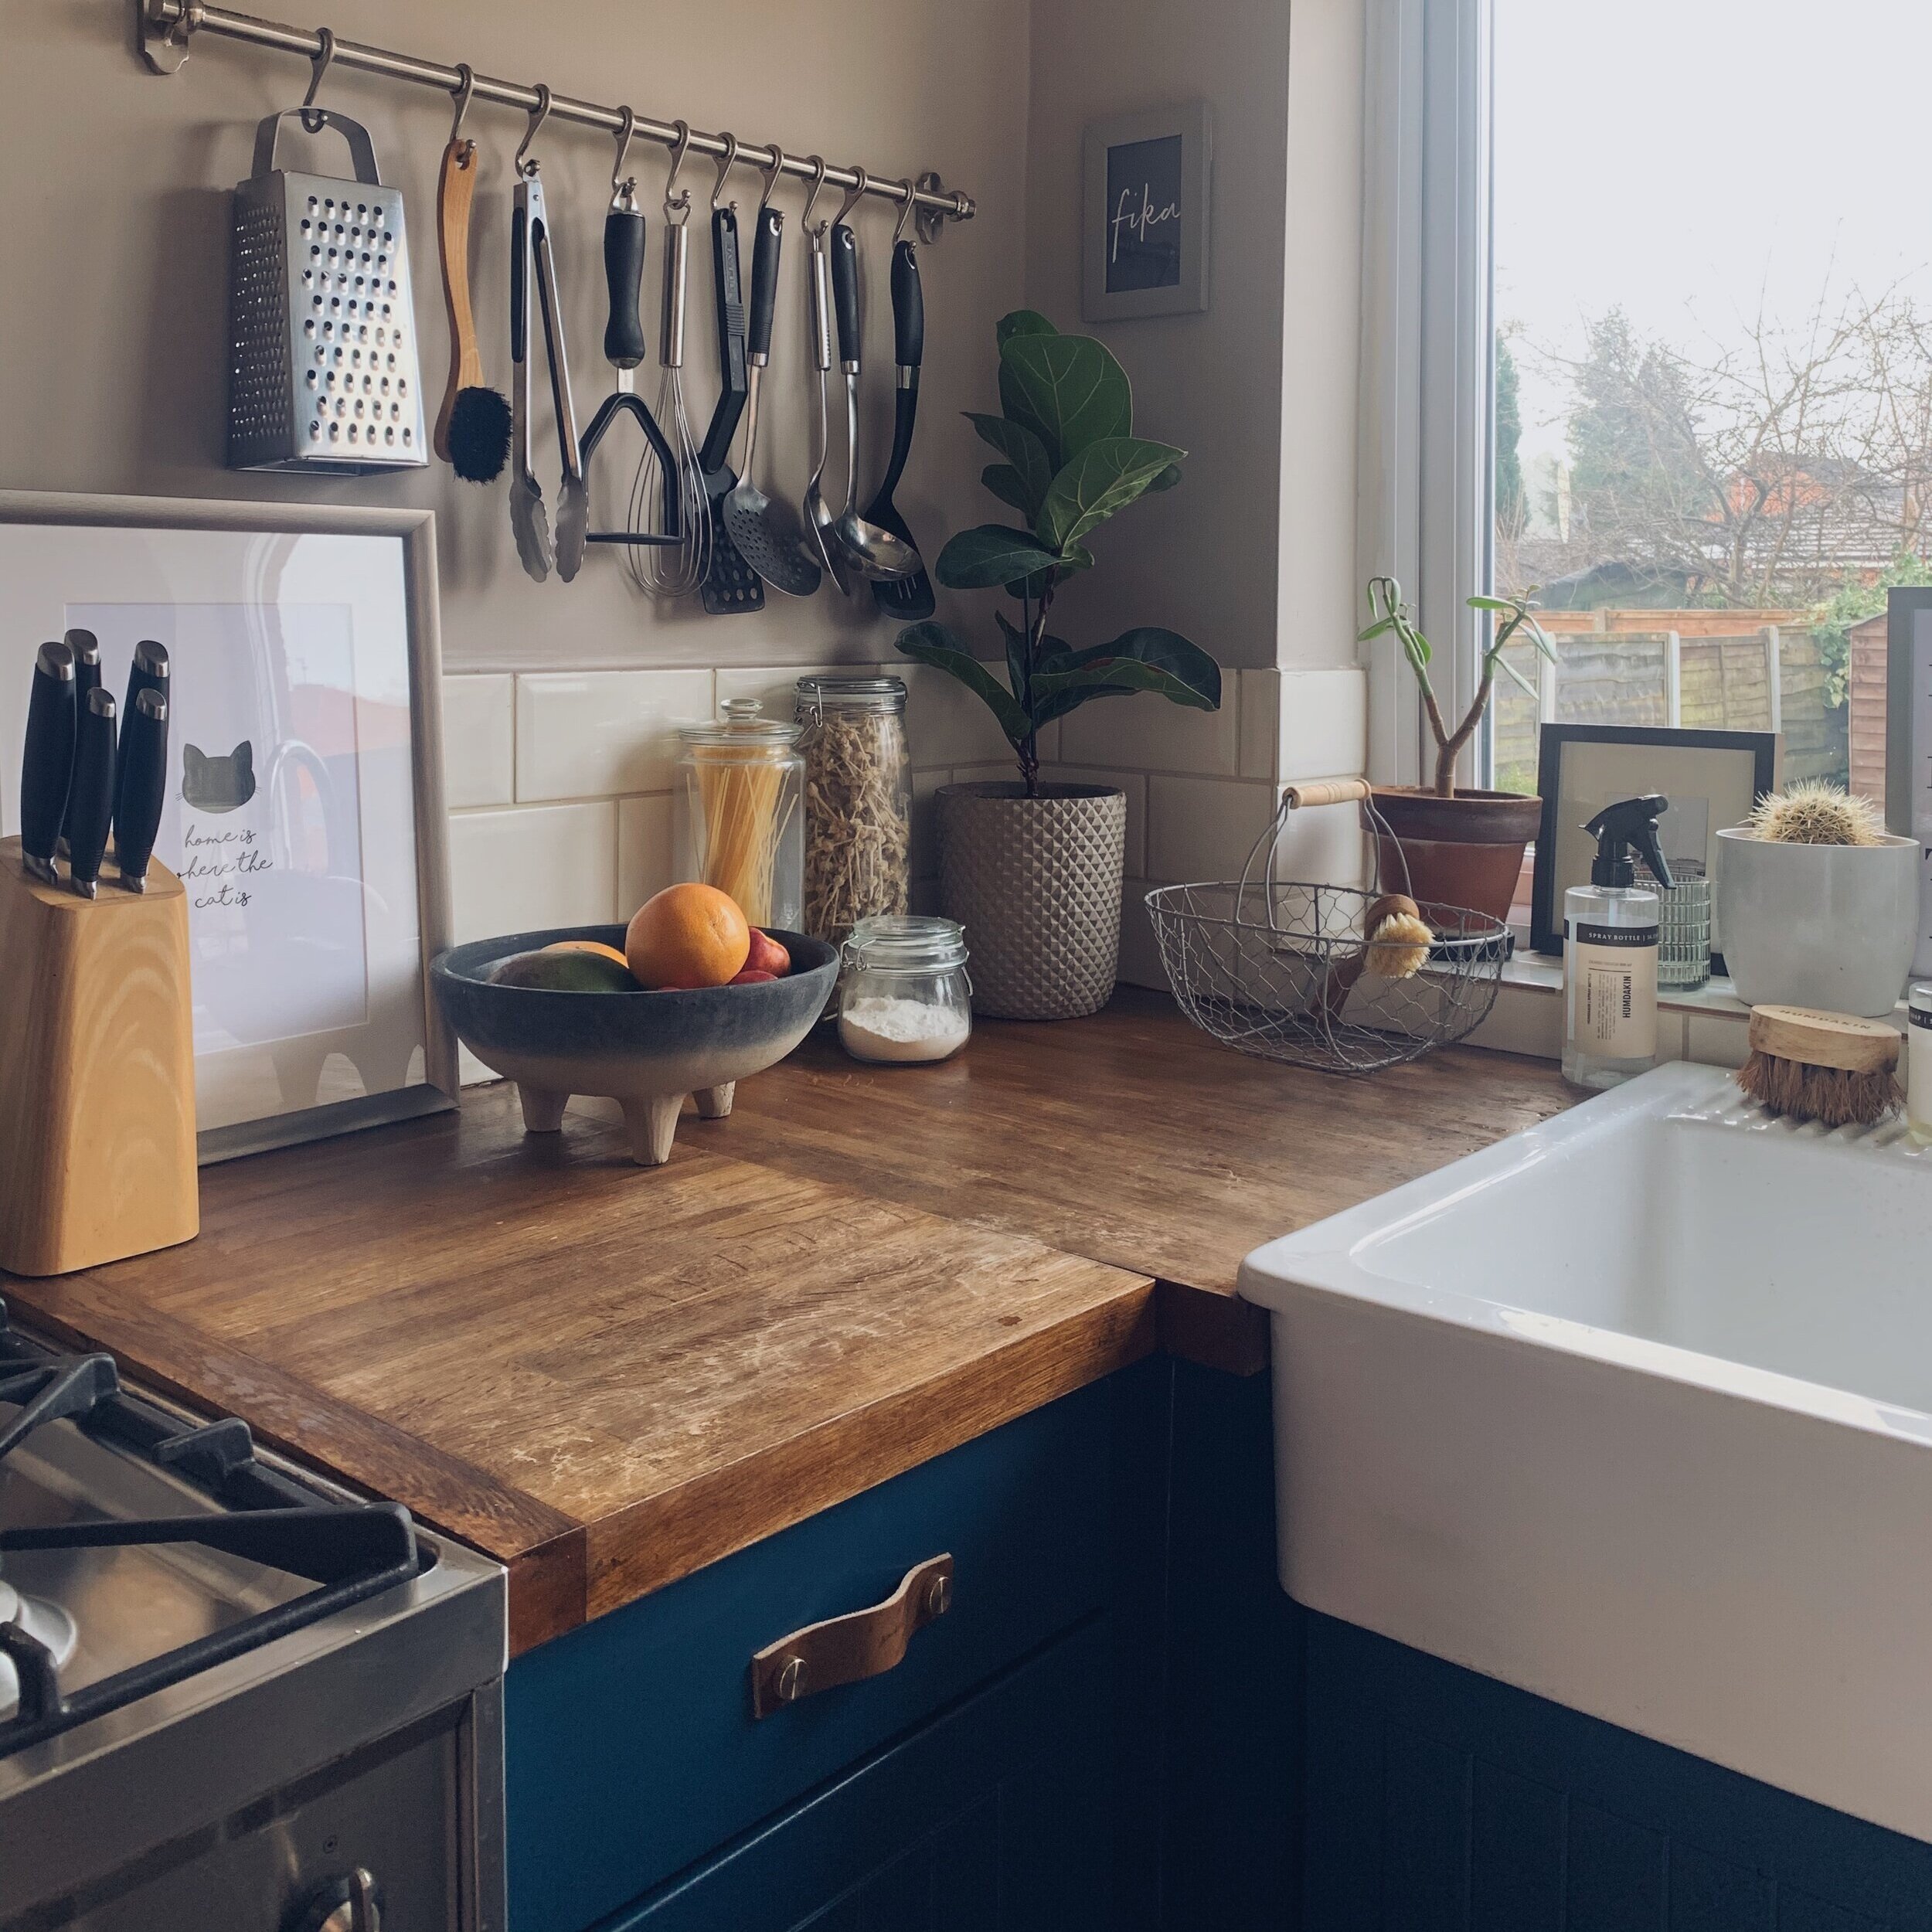
Kitchen revamp on a budget. Kitchen cabinets painted, worktops stained and new handles.

Kitchen revamp on a budget. Kitchen cabinets painted, worktops stained and new handles.

The kitchen revamp reveal is here! When Valspar Paint got in touch to see if I’d be interested in a collaboration I jumped at the chance. I have used Valspar in lots of rooms (Bottlenose Dolphin anyone?) and have always loved their vast amount of colour choice.

Full disclosure : I was paid for this collaboration and the money earned paid for a decorator but all words and thoughts are my own.

Before

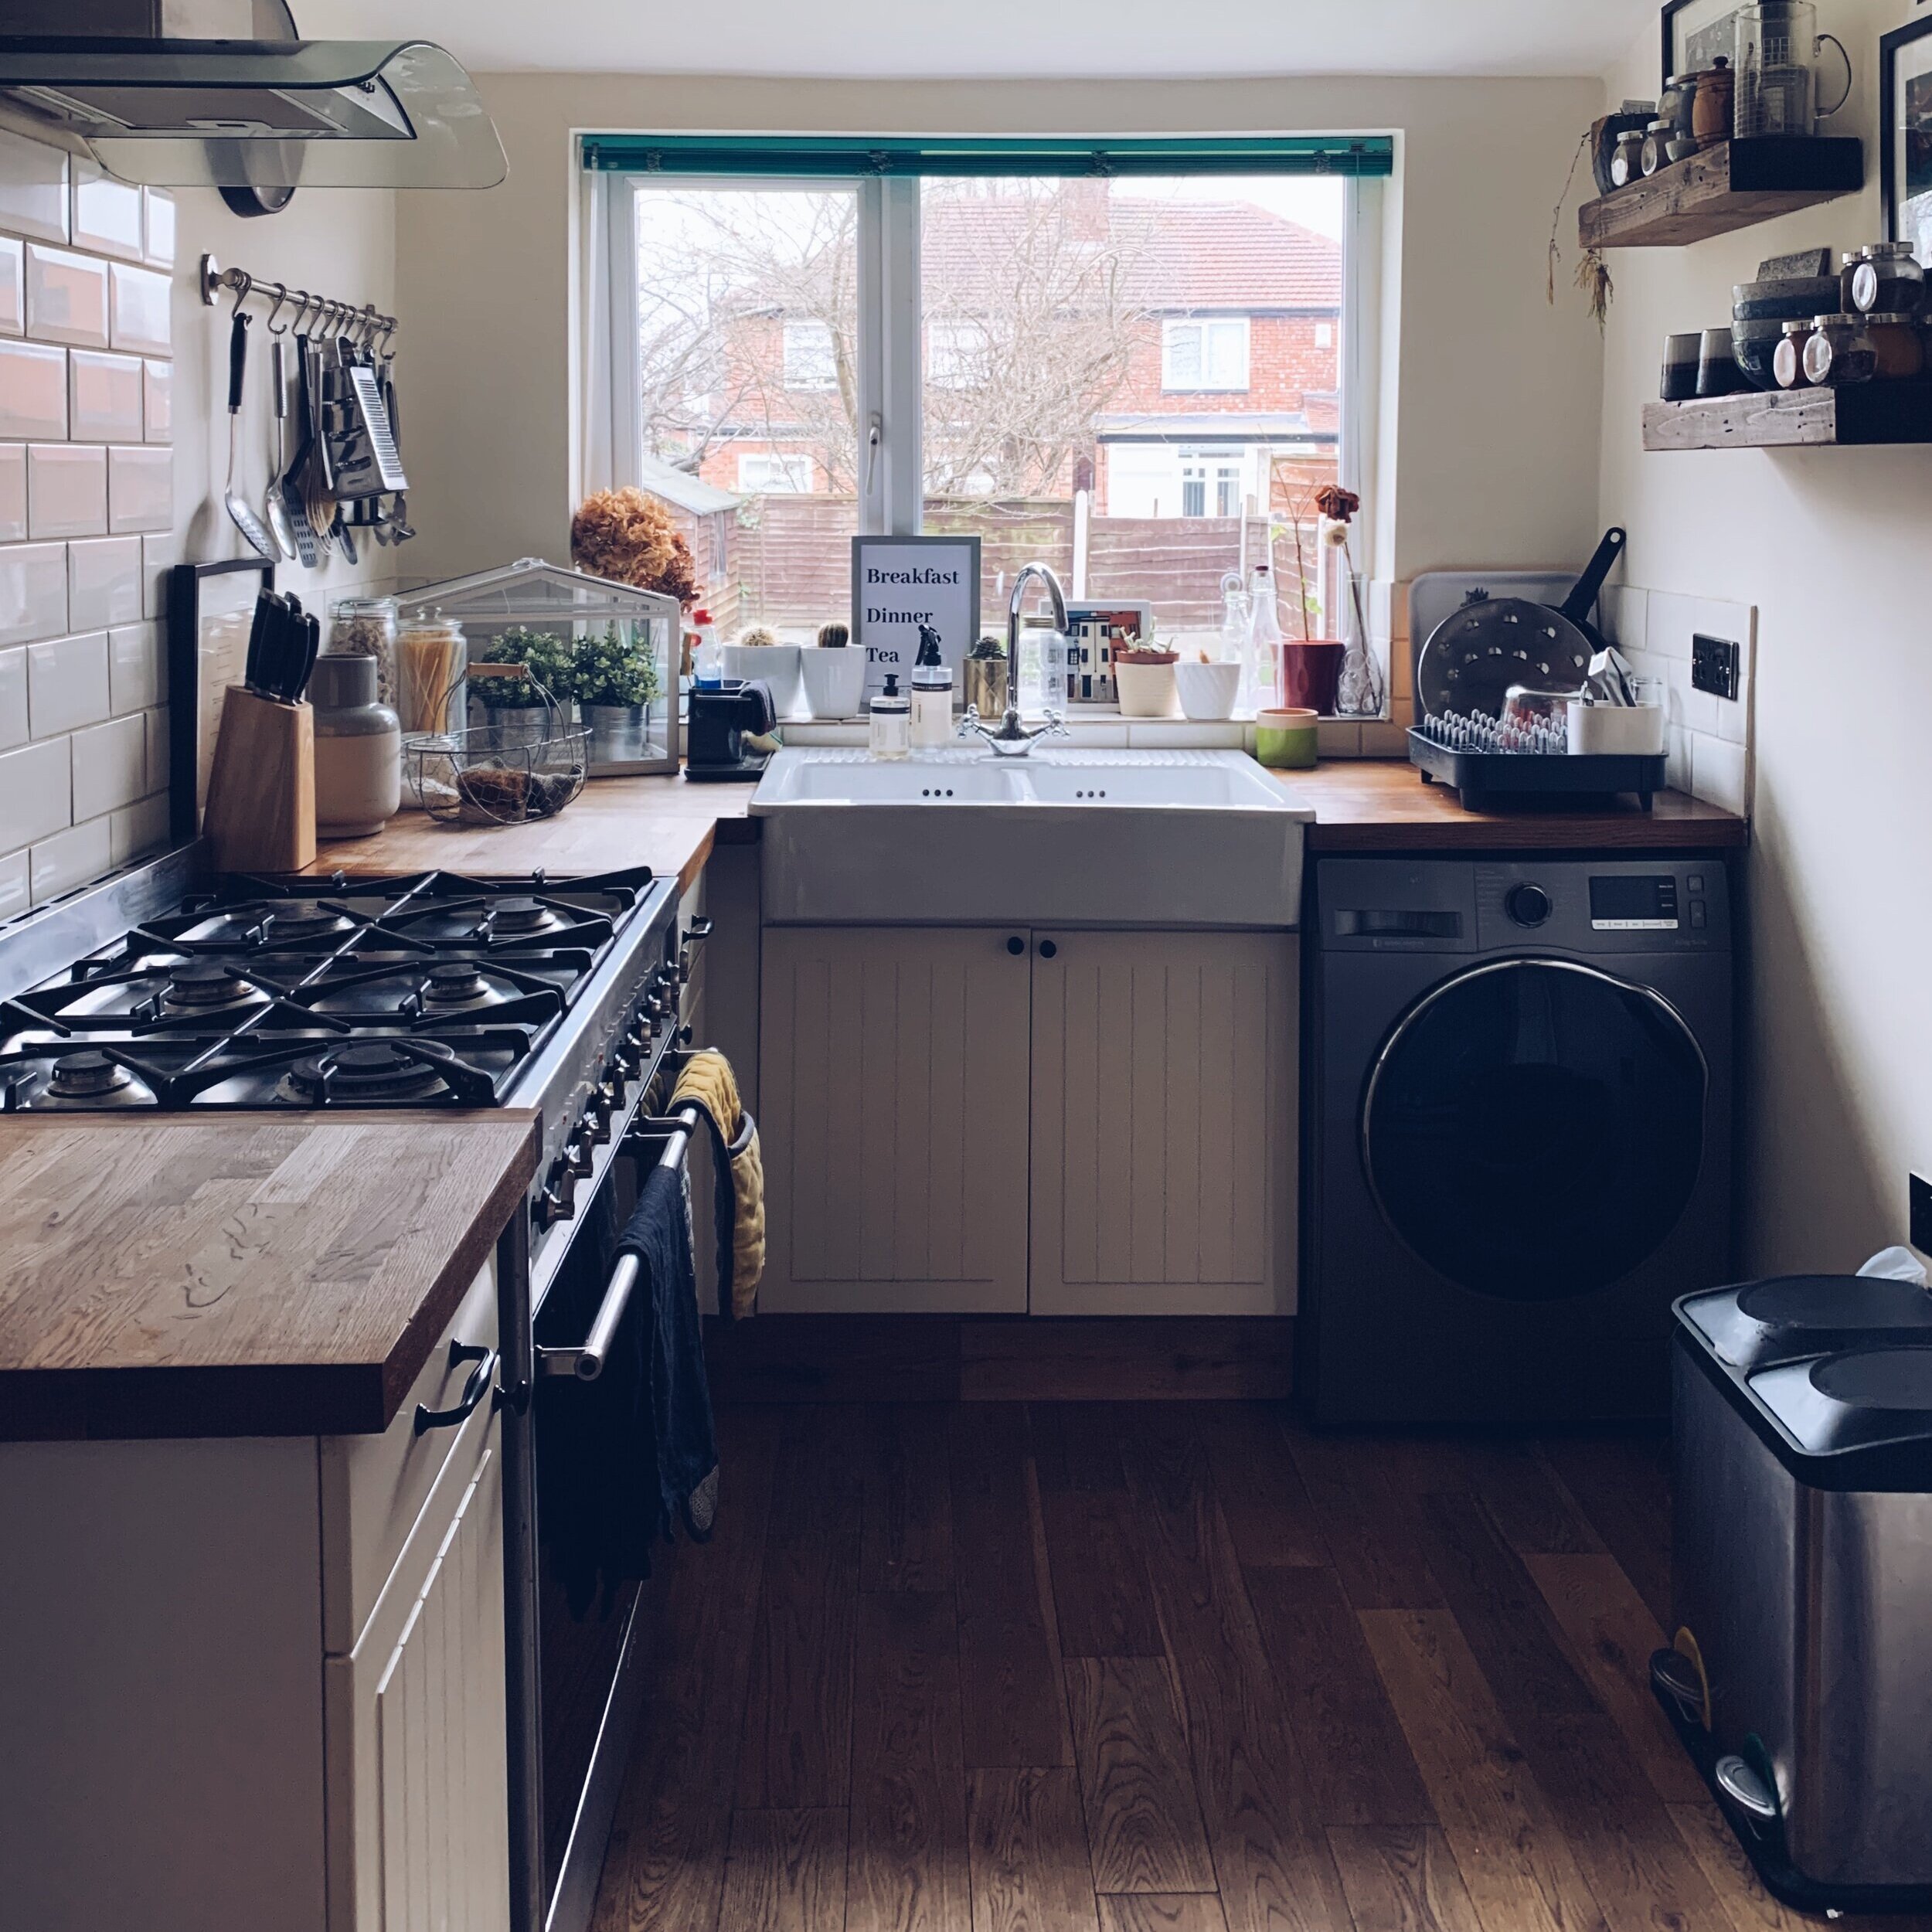
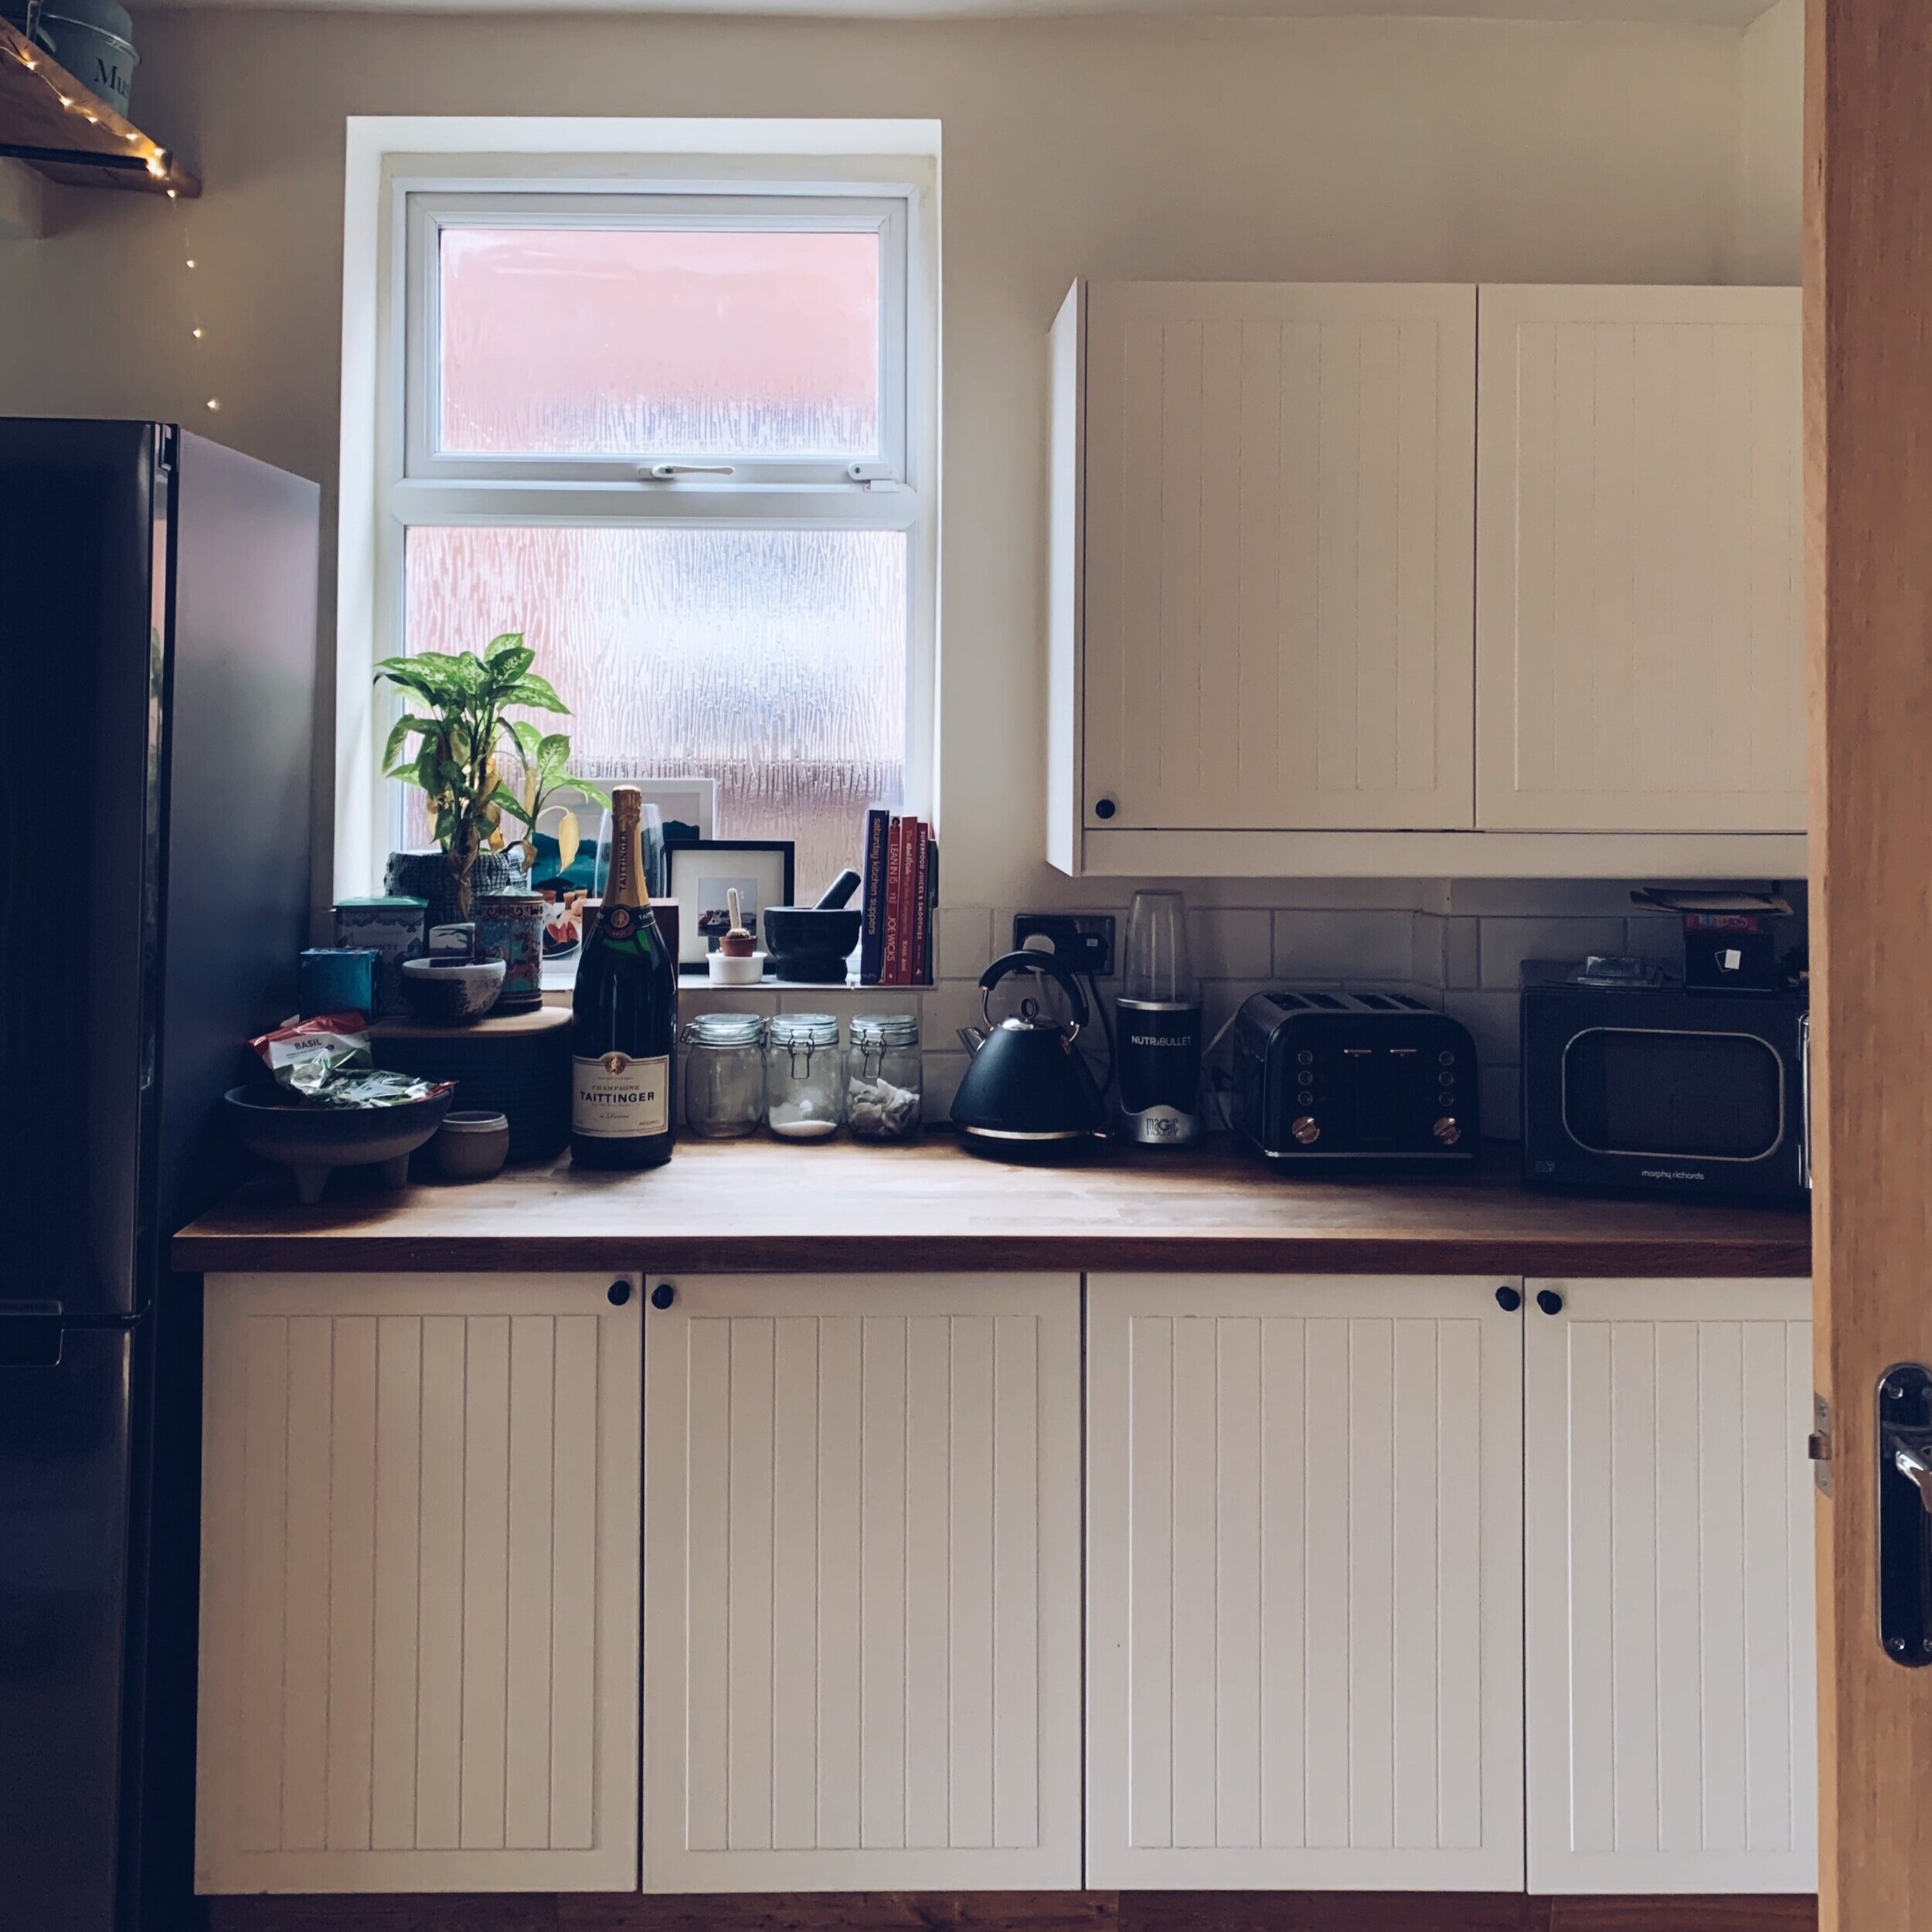
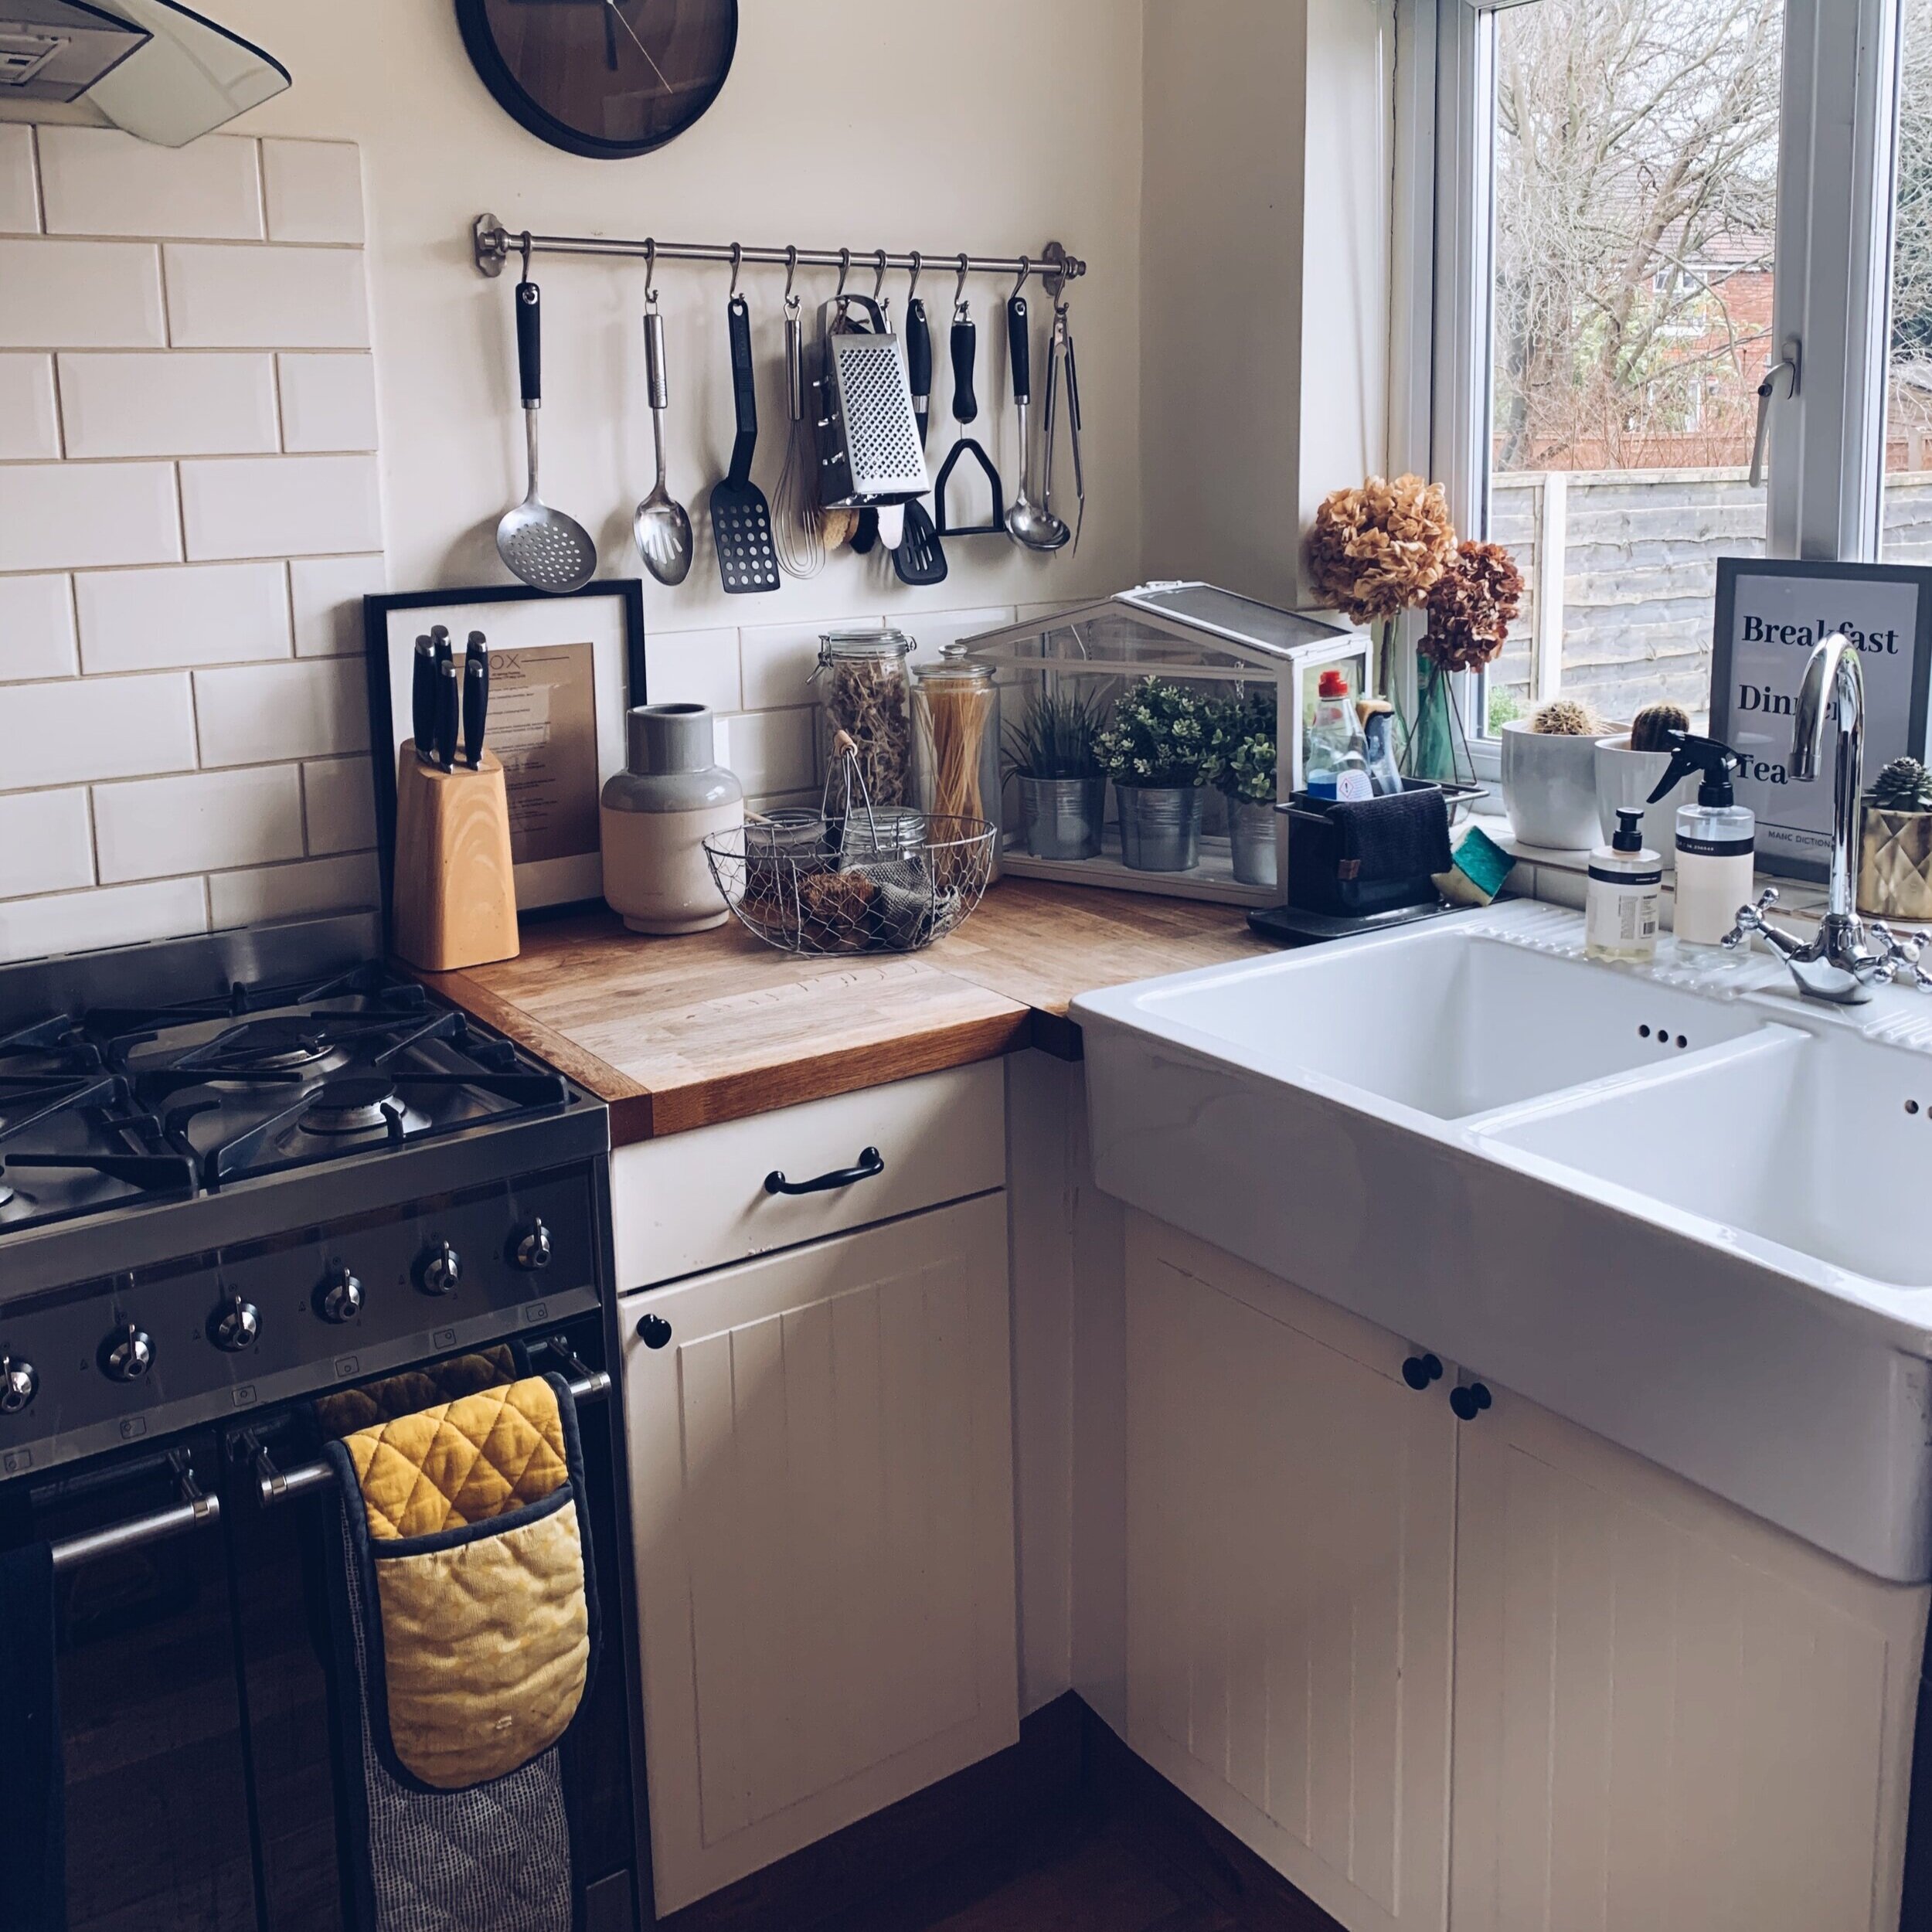
Kitchen before - complete with cat food and litter tray.

Kitchen before - complete with cat food and litter tray.

We were lucky that the kitchen was pretty much brand new when we moved in 4 years ago and has suited us just fine whilst we got the rest of the house in order. I have always had it in the plans to update the kitchen though and painting the cupboards seemed like the most budget friendly option. Although there is absolutely nothing wrong with the colours as they were, they were never our style and I have been telling all my clients that 2020 is the year to inject some colour into our homes. so practise what you preach eh?!

Inspiration

Pinterest and Instagram are still my go to for searching for inspiration. I start with one idea - this time it was blue kitchen cabinets. I explored all different shades of blue and tried to find images that kind of represented what we already had. Ceramic sinks, wooden worktops, white metro tiles. The Naked Door image on the bottom right is the one which caught my eye the most and confirmed it was a good idea to go with a bolder blue.

After

Finding the right blue for the kitchen cabinets was a bit tricky as it’s not just me I need to please - other people live in the house too! First up I thought In The Deep Sea was the perfect shade but when we got the tester pot, it was quite bright. Ben wanted slightly darker which led us to stumble on Lone Splendor. This has slightly more grey in it which suits us both just fine.

Kitchen After - completely transformed.

Kitchen After - completely transformed.

The walls are painted in Smooth Pebble which is a lovely warm stone colour. Warm neutrals are definitely on the rise and it’s amazing how much this has transformed the room. I found the walls left over by the previous owners a bit too green sometimes so this wall colour was like one big hug enveloping the room.

The third colour I chose was Evening Coat for the skirting boards. I can’t tell you how many times I designed rooms with painted woodwork but haven’t ever attempted it in my home. Dark skirting boards are fab because they ground the space and also hide a multitude of sins. Evening coat is classed as a black on Valspar’s website which can be scary but this is the perfect companion to Lone Splendor and Smooth Pebble in my eyes. Its a warm black with grey tones and believe me it looks so classy!

The Details

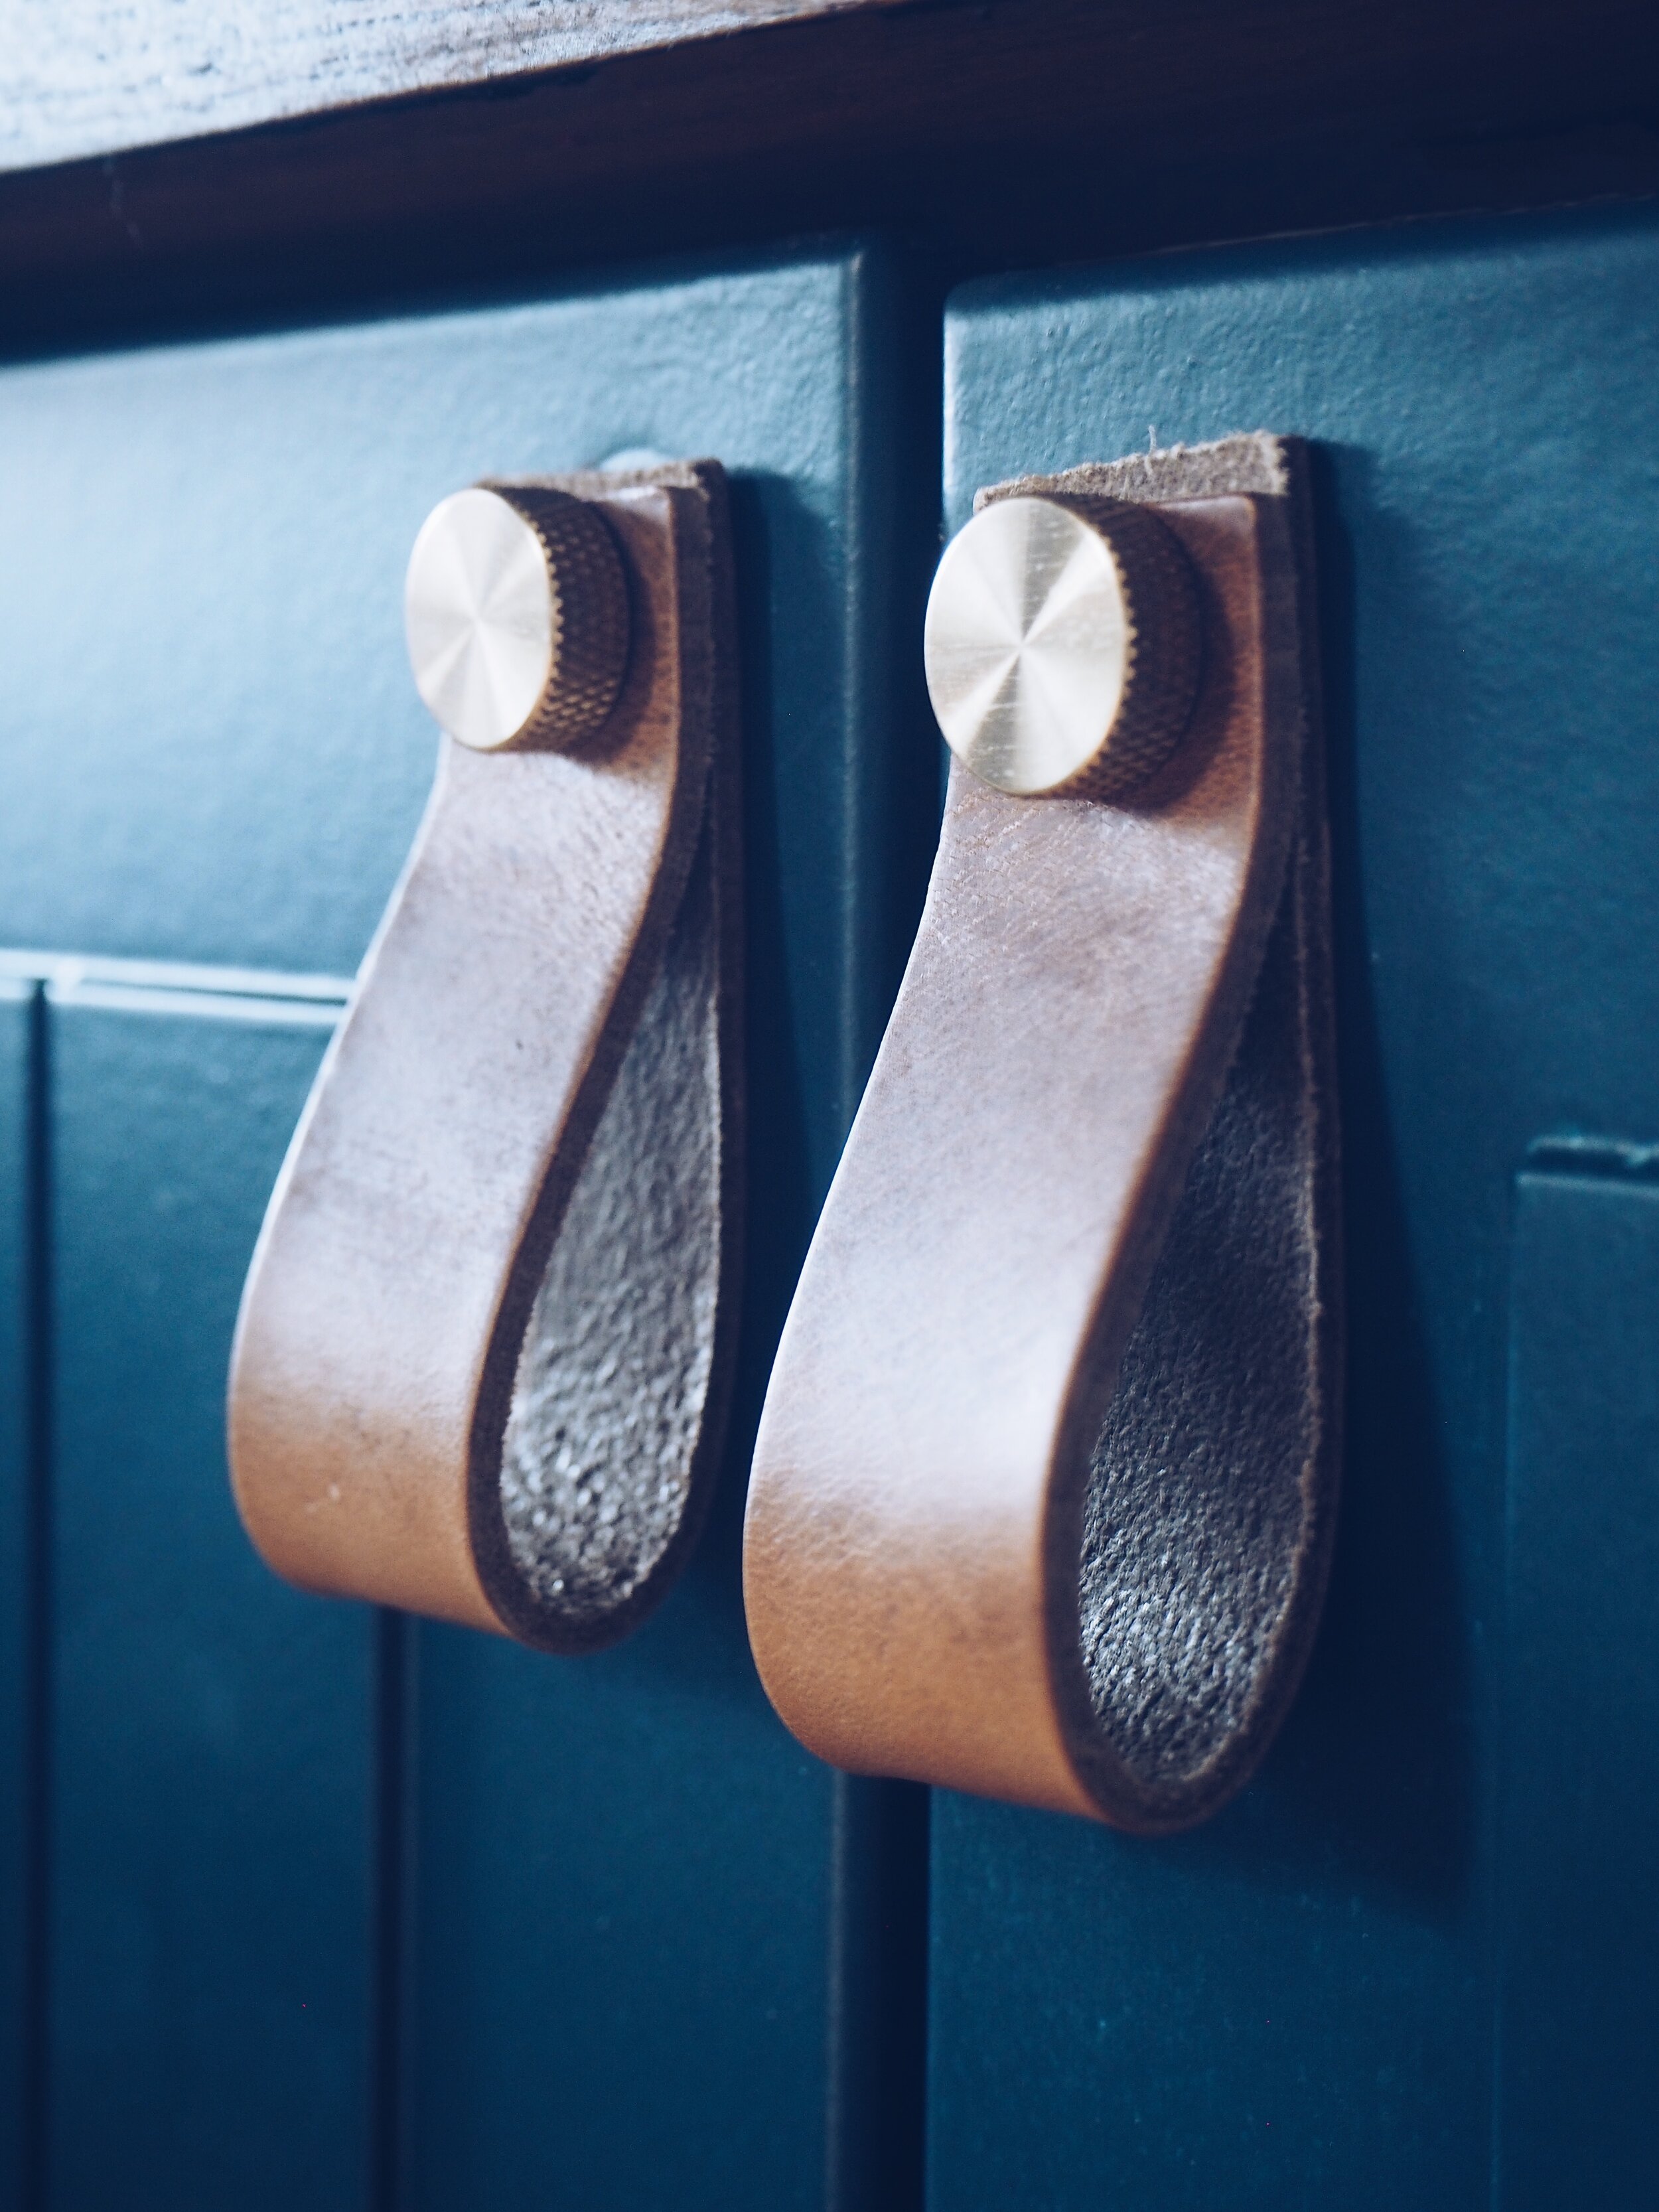
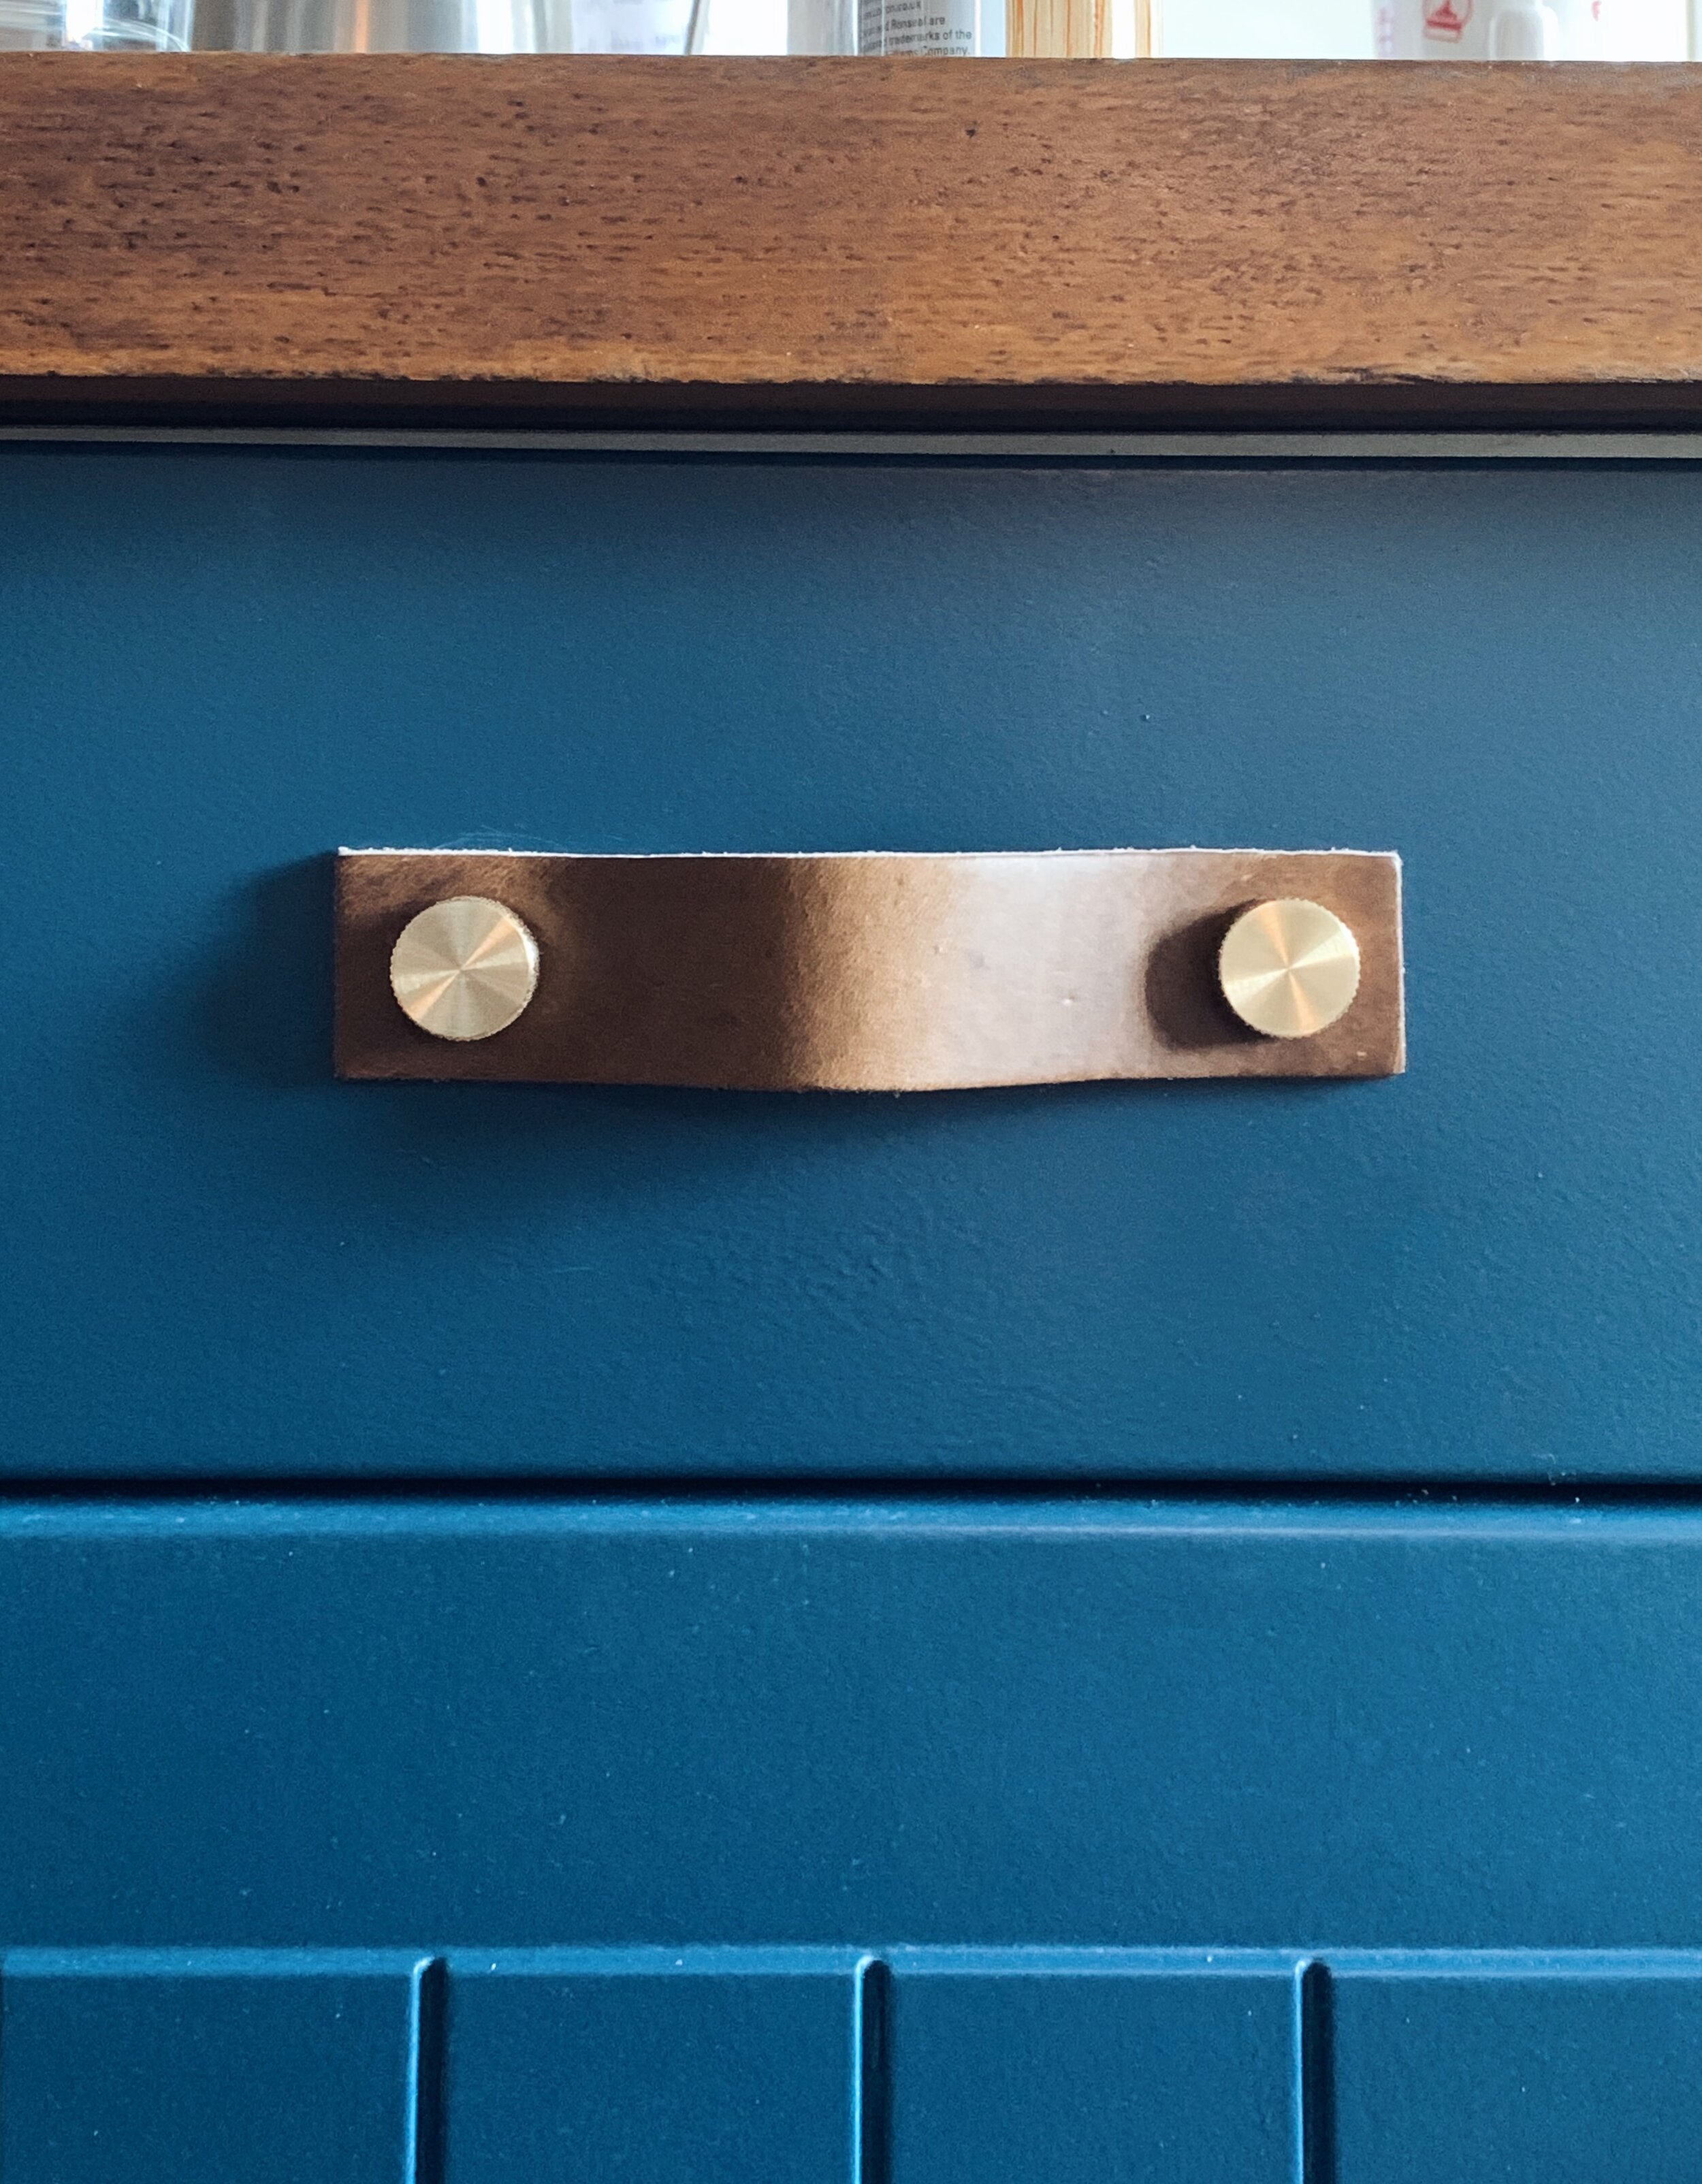
Remember that Naked Door image that started me on this path? Well one of the things I adored was the handles. After a bit of research I discovered Dowsing & Reynolds sold the perfect ones and was so happy when they agreed to send me some. I went for the Magni small leather handle in light tan & brass for the cupboards and the Thor handle for the drawers. They look so pretty against the blue and we have already had so many compliments.

Dowsing & Reynolds handles with Colron Danish Oil.

Dowsing & Reynolds handles with Colron Danish Oil.

The final piece to the puzzle was the worktop. We totally neglected the worktop in the past and if I’d known it was as easy as a quick oil I would have done this SO much sooner. We bought some Colron Danish Oil from our local B&Q and chose the Jacobean shade to go much darker than before and tie in the blue and the leather.

Styling

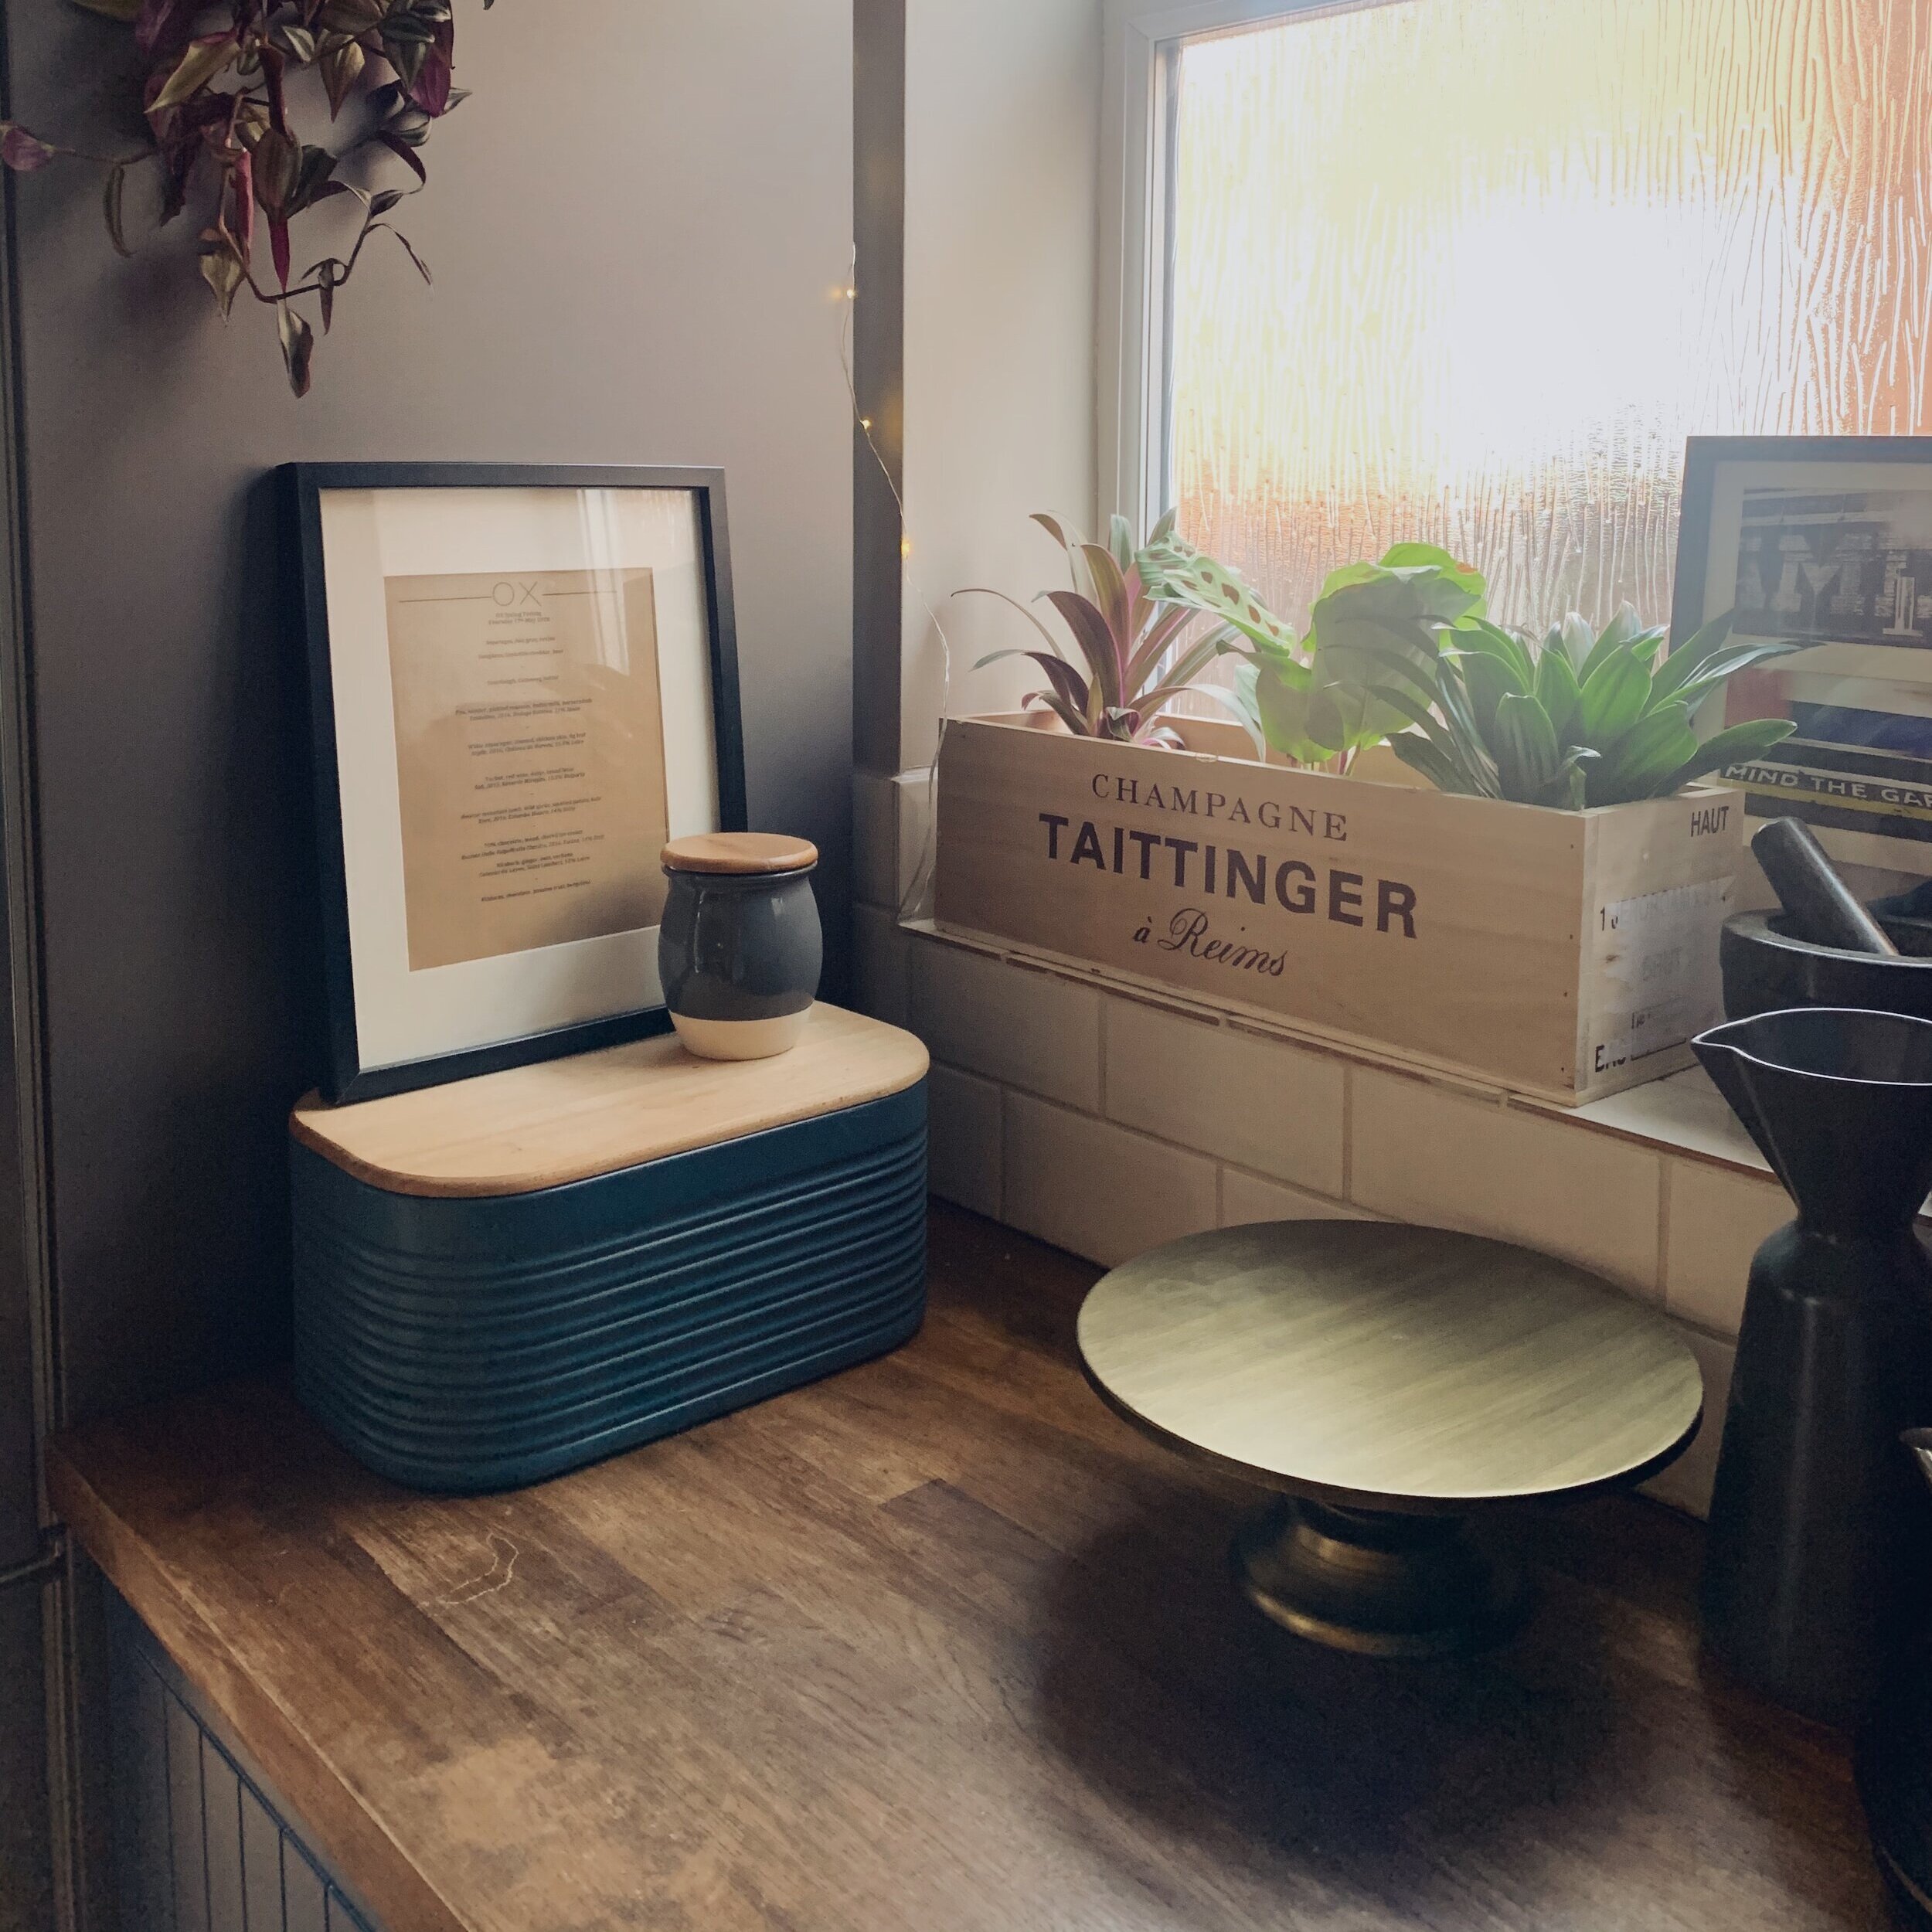
The best bit of a kitchen revamp - restyling!

The best bit of a kitchen revamp - restyling!

And finally the best bit in my eyes - putting it all back together again. Having a revamp in any room means chaos in the whole house but it’s also a good idea to strip a room and then reassess how it all goes back together. It’s not just the cabinets and walls that have had a revamp, it was the perfect opportunity to change things up. I have a new workspace near the sink area, new prints up and a new gallery wall in the dining room. I didn’t buy anything new, I just rejigged items I already have and got a whole new feeling to a space.

Costs excluding the decorator add up to around £300 which is way cheaper than buying new doors or getting a whole new kitchen. And of course you can make it even cheaper by just painting the cupboards and keeping walls, skirting and handles the same.

I hope you like it! Leave a comment or message me on Instagram for any queries or questions!

A KITCHEN REVAMP ON A BUDGET.png